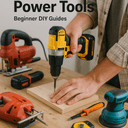
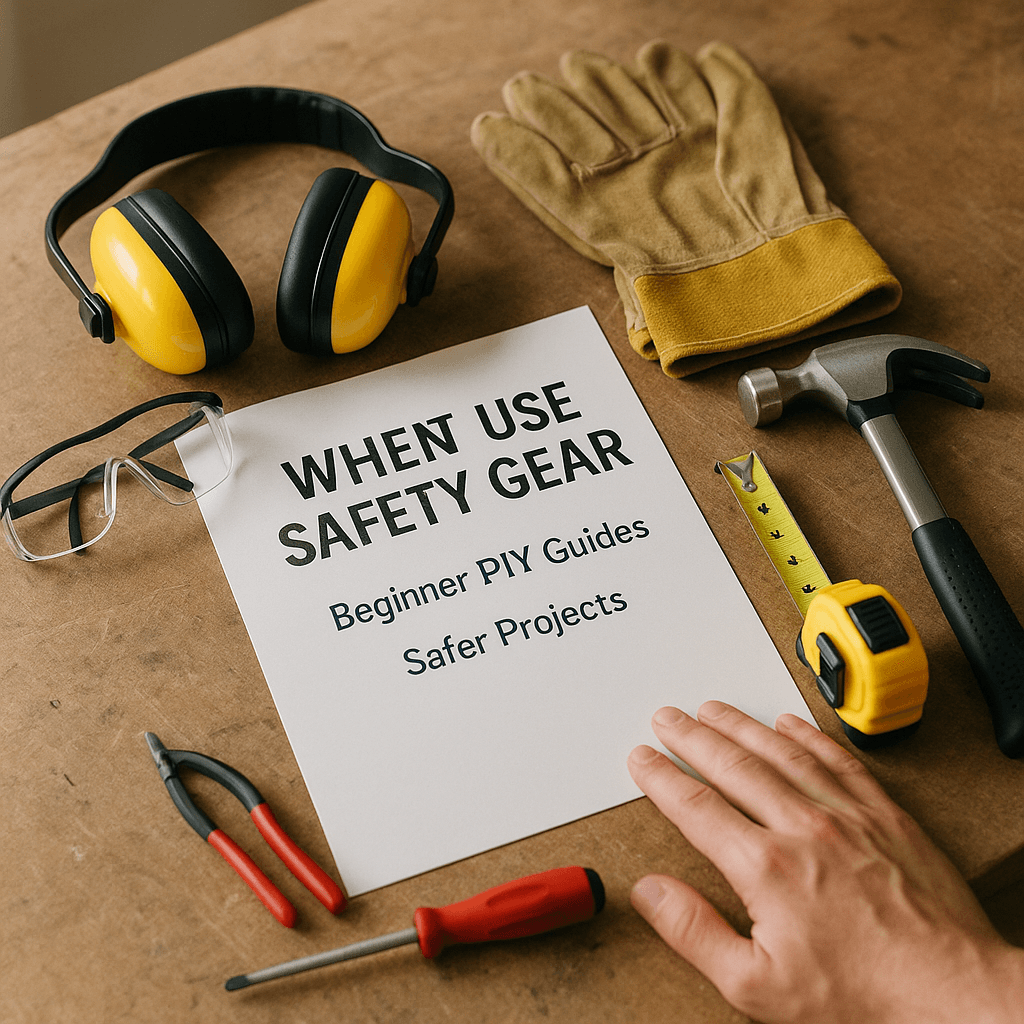
When to Use Safety Gear for Beginner DIY Guides for Safer Projects (Winter, December, Year-End)
)
Materials Needed
Safety Tips
- Always wear PPE including goggles, gloves, and masks to protect from dust, fumes, and splashes.
- Use tools safely by reading manuals and following manufacturer instructions.
- Work in well-ventilated areas to avoid harmful paint fumes.
- Keep your workspace tidy to prevent tripping hazards.
Experience Context
When I first tackled my DIY home improvement project, I was eager to jump right in. I had all my tools ready and a plan in mind. But when I realized I didn’t have my safety goggles on, I hesitated. I thought, "It’s just a quick job!" That was a mistake. A tiny splinter flew into my eye, forcing me to pause everything for first aid. That moment taught me that safety gear isn’t just for big jobs; it’s essential for even the smallest tasks. I learned the hard way that taking a few minutes to put on PPE can prevent a painful experience.
Quick Answer
Always wear safety gear like goggles, gloves, and a mask for any DIY project, no matter how simple. It protects you from injuries and health hazards. Don’t underestimate the importance of safety, even for quick tasks.
Before You Start
Before diving into a project, understand what you’re getting into. Many beginners underestimate the time it takes to gather supplies and the physical effort required. Don’t forget about planning your workspace; a cluttered environment can lead to accidents. Take a moment to organize your area to ensure a safe and efficient work environment.
What Matters
- Choose the right tools: Using the appropriate tools makes the job easier and reduces injury risk. For example, using a paint roller instead of a brush for large areas speeds up the process and minimizes hand strain.
- Know your limits: If you’re unsure about a task, don’t hesitate to call for help. I once attempted to fix a leaky faucet without knowing the proper steps and ended up flooding my kitchen!
Method Overview
For beginners, the best approach is to start small and gradually build your skills. If you want to paint a room, begin with a small accent wall before tackling the entire space. This method works for various projects, from furniture assembly to basic repairs. However, intricate electrical work or plumbing should be left to professionals, as these tasks require specialized knowledge and tools.
Deep Steps
Here’s a step-by-step guide for safely tackling a simple DIY project like painting a room:
- Gather Your Materials: You’ll need paint, brushes, rollers, painter's tape, drop cloths, and safety gear (goggles, gloves, mask).
- Prepare the Room: Move furniture and lay down drop cloths to protect your flooring. I learned the hard way that splatters can ruin hardwood!
- Clean the Walls: Dust and wipe down the walls for better paint adherence.
- Tape Off Edges: Use painter's tape for clean lines. The first time I painted, I didn’t use tape, and it was a mess.
- Put on Safety Gear: It may feel silly, but wearing goggles, gloves, and a mask will make you grateful later. Trust me.
- Start Painting: Use a brush for corners and edges, and a roller for larger sections. Apply one coat, let it dry, then a second coat if needed.
- Clean Up: Remove painter's tape while the paint is slightly wet for the best results.
- Store Leftover Paint: Seal leftover paint properly and store it in a cool, dry place for future touch-ups.
Measurements
- Room Size: Measure the walls to calculate paint needed. A gallon covers about 350 square feet.
- Drying Time: Allow at least 2-4 hours between coats, depending on paint type and humidity levels.
Decision Points
During your project, you’ll face decisions that can affect the outcome:
- Option A: Use High-Quality Paint vs. Cheap Paint
High-quality paint costs more upfront but often requires fewer coats and lasts longer, saving time and money in the long run.
- Option B: Brush vs. Roller
I opted for a roller for main wall areas because it covers larger surfaces faster. A brush was essential for corners and edges to ensure precision.
- Option A: Buy New Tools vs. Borrow
I borrowed a paint sprayer from a friend instead of buying one. This saved money and allowed me to try the tool before committing to a purchase.
Troubleshooting & Fix-ups
Even with planning, things can go wrong. Here are common failure modes and fixes:
- Uneven Paint Application: Streaks often occur from paint being too thick or unevenly applied. Lightly sand the area and apply another thin coat for a smooth finish.
- Paint Drips: Catch drips while they’re wet. Use a small brush to feather the edges and blend them into the surrounding paint.
- Painter's Tape Pulling Off Paint: If the tape removes paint when pulled, touch up with a small brush once the paint is dry. Ensure it’s fully dry before re-taping for the next coat.
- Fumes or Allergies: If you feel lightheaded or have an allergic reaction to paint fumes, ventilate the area immediately. Open windows and take breaks outside until you feel better.
Common Mistakes & How to Avoid Them
Here are some mistakes I’ve made and how to steer clear of them:
- Skipping Safety Gear: Always wear your safety equipment. It takes a few extra moments but saves you from potential injuries.
- Not Testing Paint Colors: Always test a small patch before committing to a color. It can look different once on the wall!
- Ignoring Drying Times: Rushing to apply a second coat can lead to disasters. Always check the label for recommended drying times.
- Overloading Your Brush or Roller: This leads to drips and uneven surfaces. Dip just the tip of your brush or roller in paint for better control.
Safety Tips
Keep these safety tips in mind during your DIY project:
- Always wear PPE: Goggles, gloves, and masks protect you from dust, fumes, and splashes.
- Use tools safely: Read the manuals and follow the manufacturer’s instructions for power tools.
- Work in ventilated areas: Fumes from paint can be harmful. Open windows or use fans for air circulation.
- Be aware of your surroundings: Keep your workspace tidy to avoid tripping hazards.
Budget & Time Ranges
The cost and time for a DIY project can vary:
- Cost of materials: Higher-quality materials drive costs up. Premium paint may cost more but last longer.
- Time investment: Depending on project size, expect to spend a few hours to a couple of days. Paint drying times can extend your timeline.
- Tools needed: New tools add to the budget. Borrowing or renting can help keep costs down.
Stop & Call a Pro
Recognizing when a project exceeds your skill level is crucial. Here are signs:
- Electrical Issues: If you’re unfamiliar with wiring or unsure about safety, call a professional.
- Plumbing Problems: If there’s significant leaking or you need plumbing changes, it’s best to call someone experienced.
- Structural Changes: For tasks like knocking down walls, a pro is necessary to ensure safety and compliance with building codes.
What I’d Do Differently If I Did This Again
If I could go back, here are some changes I’d consider:
- Skip unnecessary steps: I wouldn’t waste time on multiple color samples. I’d pick a color I know I like.
- Prep earlier: I’d prepare my workspace before gathering materials to save time.
- Upgrade my tools: I’d invest in a better-quality roller for a smoother finish.
- Expect surprises: I’d be more prepared for unexpected delays, like waiting for paint to dry.
By following these guidelines and tips, you can ensure that your DIY projects are not only successful but also safe. Taking the time to plan and prepare will save you headaches down the road!
Recommended Gear
Disclosure: As an Amazon Associate, we may earn from qualifying purchases at no extra cost to you.
Common Mistakes
- Skipping safety gear which can lead to injuries.
- Not testing paint colors before full application.
- Ignoring recommended drying times between coats.
- Overloading brushes or rollers causing drips and uneven surfaces.
More in Beginner Guides