What You Need for Power Tools for Beginner DIY Guides to Prep for Spring (Winter, December, Year-End)
)
Materials Needed
Safety Tips
- Always wear safety glasses, ear protection, and dust masks when using power tools.
- Read and follow the tool manuals carefully before use.
- Keep your workspace tidy and well-organized to prevent accidents.
- Start with small, manageable projects to build confidence.
What You Need for Power Tools for Beginner DIY Guides to Prep for Spring
As winter winds down and spring begins to bloom, it’s the perfect time to dive into some DIY projects. Whether you’re planning to build a raised garden bed or spruce up your home, having the right power tools can make a huge difference. Here’s a guide to help you choose the best tools for beginner DIY projects, so you can feel confident tackling your to-do list this season.
Quick Answer
Start with a basic toolkit that includes a drill, circular saw, and sander. These tools are versatile enough for most beginner projects. Don’t forget to wear protective gear and familiarize yourself with each tool’s safety guidelines.
Experience Context
Let me take you back to my first DIY project—a simple bookshelf. I was eager but quickly realized I didn’t own a power drill. A last-minute trip to the store led me to buy a cheap model that broke halfway through the project. I ended up using a manual screwdriver, which was painfully slow and frustrating. That experience taught me the value of investing in quality tools. If I’d chosen to spend a little more initially, I could have avoided that headache.
Before You Start
When gearing up for your DIY journey, think about these key factors:
- Understand Your Projects: Know what you want to accomplish; different projects call for different tools.
- Budget Wisely: Higher-quality tools may cost more but will save you time and frustration in the long run.
- Space & Storage: Consider where you’ll store your tools. A clutter-free workspace is essential for safety and efficiency.
Many beginners overlook tool maintenance. Regularly checking and cleaning your tools can prolong their lifespan and enhance performance.
Method Overview
This guide focuses on straightforward power tool selection and usage. We’ll cover tools that are versatile, safe, and essential for most beginner projects. But if you’re tackling heavy-duty tasks like framing or roofing, specialized equipment may be needed, and hiring a professional could be a better option.
Deep Steps
Here are the steps to get you started with power tools:
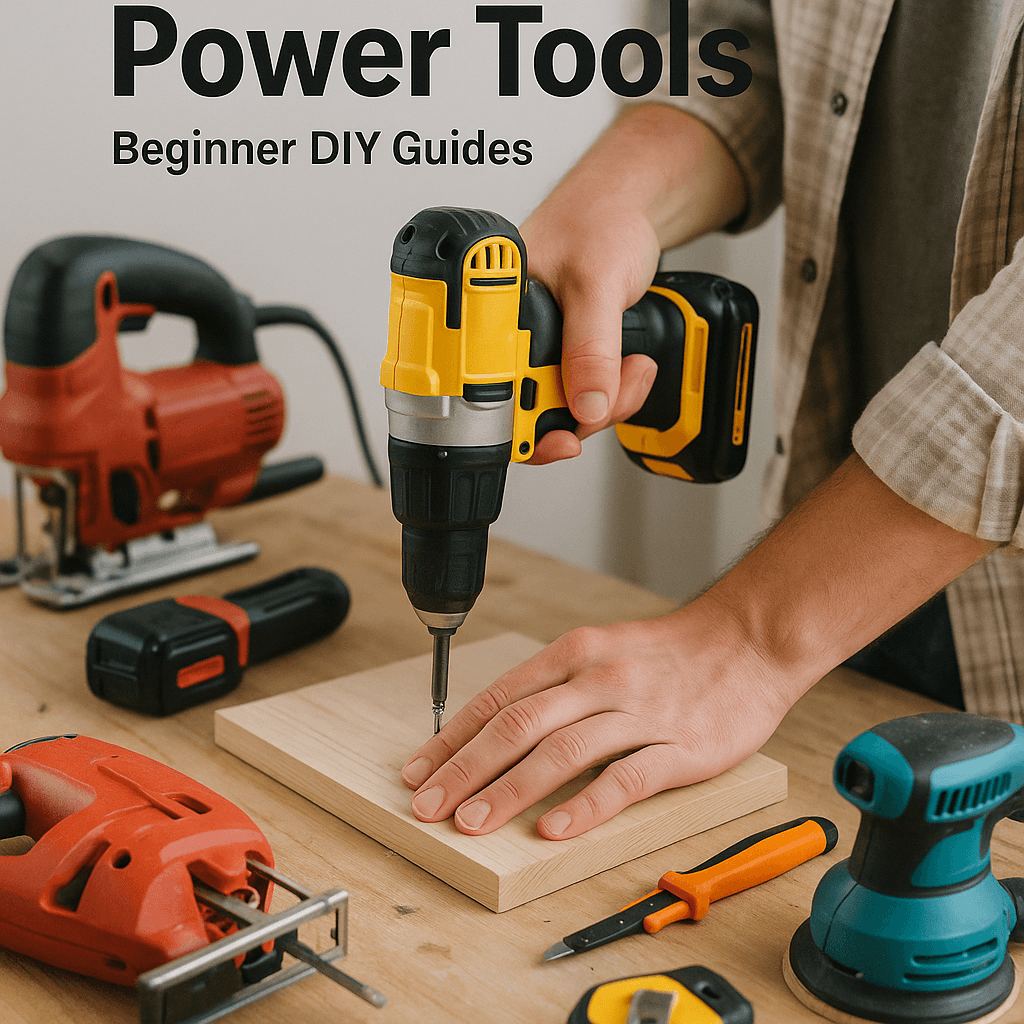
- Select Your Tools:
- Drill: Choose between a corded or cordless drill. Cordless drills are convenient, but for heavy-duty work, a corded drill provides consistent power. I went with cordless for flexibility, but I sometimes miss the reliability of a corded model.
- Circular Saw: A compact circular saw is perfect for beginners. Look for a blade size of 7-1/4 inches, as it’s powerful enough for most cuts.
- Sander: An orbital sander is user-friendly and effective for smoothing surfaces. A 5-inch sander works well for beginners.
- Gather Your Safety Gear:
- Safety Glasses: Protect your eyes from flying debris.
- Ear Protection: Many tools can be loud, so earplugs or earmuffs are essential.
- Dust Mask: Keep dust out of your lungs when sanding or cutting.
- Set Up Your Workspace:
- Choose a well-ventilated area with enough space to work comfortably.
- Ensure you have a sturdy workbench or table to hold your materials securely.
- Keep your tools organized to avoid accidents.
- Practice Safe Tool Use:
- Always read the tool’s manual before using it. Familiarize yourself with the safety features.
- Start with simple cuts or holes on scrap materials to build your confidence.
- Start Your Project:
- Remember, measure twice, cut once. This old adage can save you from costly mistakes.
- Take your time. Rushing can lead to accidents.
Decision Points
Navigating the world of power tools involves several decisions:
- Corded vs. Cordless Drill: I chose cordless for mobility, but if you’re working on demanding projects, a corded drill might offer better power.
- New vs. Used Tools: I went for new tools to ensure reliability. While used tools can save money, they can also carry hidden issues. If you do buy used, check for wear and tear thoroughly.
- Tool Brands: I trusted established brands with good warranties. It’s often worth spending a bit more for quality and customer support.
- Buying Individual Tools vs. Sets: I opted for individual tools based on my needs. While sets can be cheaper, they often include tools you won’t use, leading to wasted money.
Troubleshooting & Fix-ups
Even with the best intentions, things can go wrong. Here are some common failure modes and how to fix them:
- Drill Not Working:
- Problem: If your drill won’t turn on, check the battery charge (for cordless) or the outlet (for corded).
- Fix: Replace the battery or check the power connection. If it still doesn’t work, consult the manual or customer support.
- Uneven Cuts with Circular Saw:
- Problem: Crooked cuts might indicate you’re not using a guide or applying uneven pressure.
- Fix: Use a straight edge as a guide and maintain even pressure throughout the cut.
- Sanding Too Aggressively:
- Problem: Over-sanding can damage the surface or create uneven areas.
- Fix: Use a lighter touch and gradually work up to the desired smoothness, checking your progress frequently.
- Stripped Screws:
- Problem: Stripping a screw while drilling can complicate your project.
- Fix: Use a rubber band to grip the stripped head, or try a screw extractor set for removal.
Common Mistakes & How to Avoid Them
Here are some common pitfalls for beginners and how to steer clear of them:
- Not Reading the Manual: Always read the manual for each tool to understand its capabilities and safety features.
- Ignoring Safety Gear: Skipping safety glasses and hearing protection is a risk you don’t want to take.
- Rushing the Job: Take your time and double-check measurements. Rushing can lead to mistakes and injuries.
- Neglecting Tool Maintenance: Keep your tools clean and well-maintained to ensure they work properly and last longer.
Safety Tips
Safety always comes first in any DIY project. Here are essential safety tips:
- Start with a small scope of work to build your confidence.
- Wear basic PPE such as safety glasses, ear protection, and dust masks.
- Follow the tool manuals carefully to understand how to use them safely.
- Keep your workspace tidy to prevent accidents.
Budget & Time Ranges
The cost and time for your DIY projects can vary widely based on several factors:
- Tool Quality: Higher-quality tools often mean a bigger initial investment but can save money over time through durability.
- Project Complexity: More complex projects will take longer and may require additional tools or materials.
- Materials Used: The type of materials you choose will affect overall costs; for example, hardwoods are pricier than softwoods.
- Time Investment: Plan for extra time to account for unexpected issues or learning curves.
Stop & Call a Pro
Sometimes, it’s best to know when to call in a professional. Here are some thresholds to consider:
- Symptoms: If you experience persistent tool malfunctions despite troubleshooting.
- Measurements: If your project involves complex cuts or measurements that exceed your comfort level.
- Conditions: If you’re dealing with electrical or plumbing work, these require specialized skills and knowledge.
What I’d Do Differently If I Did This Again
Reflecting on my first DIY experience, here are four things I’d do differently:
- Skip Unnecessary Steps: I spent too much time on minor details that didn’t affect the overall project. I’d focus on the essentials.
- Start with an Earlier Step: I would practice using each tool before starting the project to build my confidence.
- Tool Upgrade: I’d invest in better quality tools upfront instead of buying cheaper ones.
- Expect Surprises: I’d prepare for surprises, like discovering my walls weren’t perfectly straight, which impacted my project.
With this guide, you’re well on your way to getting started with power tools for your spring DIY projects. Take it slow, follow safety guidelines, and don’t hesitate to ask for help when needed. Happy DIYing!
Disclaimers: Start with a small scope; wear basic PPE; and follow tool manuals.
Recommended Gear
Disclosure: As an Amazon Associate, we may earn from qualifying purchases at no extra cost to you.
Common Mistakes
- Not reading the tool manual before use.
- Ignoring the use of safety gear such as glasses and ear protection.
- Rushing the job and skipping measurements.
- Neglecting regular tool maintenance and cleaning.
More in Beginner Guides