Expert Tips for Garage Upgrades for Home Repair & Maintenance that Save Time and Money (Winter, December, Christmas)
)
Materials Needed
Safety Tips
- Wear gloves when handling insulation materials to protect your skin.
- Use a dust mask when working with insulation or dust to avoid respiratory issues.
- If uncomfortable with electrical work, hire a professional electrician.
- Ensure shelves are not overloaded to prevent collapse.
- Follow manufacturer instructions carefully when installing lighting fixtures.
Before You Start / What to Know Up Front
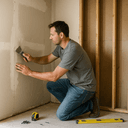
If you're like me and enjoy tackling home projects, the garage can feel like an endless sea of potential. However, it can also turn into a cluttered nightmare if not managed well. I remember when I first decided to upgrade my garage; I was overwhelmed by the mess and didn’t know where to start. I was hopeful but also a bit intimidated by the thought of organizing tools, incorporating storage solutions, and optimizing the space for winter use, especially around Christmas when I needed room for decorations.
This guide is for homeowners who are comfortable with basic repairs and want to achieve pro-like results in their garage. Whether you’re looking to create a cozy workshop, install better lighting, or simply organize the chaos, this article will walk you through the upgrades step-by-step. You'll save time and money while enhancing the functionality of your garage for winter and beyond.
Method Overview
The approach we take in upgrading your garage is straightforward and hands-on. We’ll focus on three main areas: organization, lighting, and insulation. These upgrades not only enhance the aesthetics of your space but also improve its functionality.
- Organization: Using shelving, pegboards, and storage bins will help you declutter and find things quickly. This is especially crucial in winter when you may need to access tools or decorations often.
- Lighting: Proper lighting is essential to avoid accidents and to work effectively in your garage. We’ll explore installing LED lights that can brighten up even the darkest corners.
- Insulation: Insulating your garage door and walls can help maintain a consistent temperature, which is especially important during the cold months. It not only keeps your space comfortable but can also save on heating costs.
This method works well for most garages, but if you have a unique layout or specific structural issues, it might not be the best fit. If your garage has significant water damage or structural problems, it's best to consult a professional before diving into upgrades.
Deep Step Detail
Let’s break down the steps for each of these upgrades in detail. Remember, preparation is key, so gather your materials and tools before you begin.
Step 1: Organizing Your Garage
- Clear Everything Out: Empty your garage completely. This may take some time, but it’s necessary to see what you actually have and what needs organizing. I once spent a whole Saturday doing this, but it was a game-changer for my space.
- Sort Items: As you take everything out, sort items into categories: tools, seasonal decorations, sporting goods, etc. I once found three of the same hammer when I did this—what a waste of space!
- Choose Your Storage Solutions:
- Shelving: Opt for heavy-duty shelving units that can hold a good amount of weight. I recommend adjustable metal shelving for flexibility, especially if your storage needs change.
- Pegboards: Install pegboards for tools. These can be customized to fit your tools easily and keep them visible and accessible. I love how I can see everything at a glance now.
- Bins and Baskets: Use clear bins for small items. Label them so you can quickly find what you need. Don’t forget to use waterproof bins for items that could be affected by moisture!
- Put it Back Together: Start placing the items back in their designated spots, keeping heavier items lower and frequently used tools at arm’s reach. This will save you time and frustration later on.
Step 2: Installing Lighting
- Assess Your Current Lighting: Look around and see where the shadows are. I remember struggling to find my tools in dim light, and it’s not a fun experience. Make a note of dark corners that need attention.
- Choose LED Fixtures: Purchase LED shop lights for brightness and energy efficiency. They last longer than traditional bulbs and can be mounted easily. Look for fixtures with a high lumen output for the best visibility.
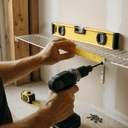
- Install the Fixtures:
- Measure and mark where you want to hang the lights. A laser level can save you a lot of hassle here!
- Use a drill to create holes for mounting brackets.
- Connect the wiring according to the manufacturer’s instructions. If you aren’t comfortable with electrical work, it’s best to call a pro here. Safety first!
- Test the Lights: Once installed, turn on the lights and check for any dark spots. Moving the fixtures can help eliminate shadows and improve your workspace.
Step 3: Insulating the Garage
- Choose Insulation Materials: For the garage door, consider foam board insulation or garage door insulation kits. For walls, fiberglass batts are a good option. I always recommend checking the R-value to ensure you’re getting the right level of insulation for your climate.
- Prepare the Area: Clean the surfaces where you’ll be applying insulation. If you have an older garage, check for any water damage or mold and address it before proceeding. This is crucial—don’t skip this step!
- Install Insulation:
- For the door, measure each panel and cut the insulation to fit. Adhere it with adhesive or tape.
- For walls, cut the batts to size and fit them snugly between the studs.
- Seal Gaps: Use caulk or spray foam to seal any gaps around windows and doors to prevent drafts. This can significantly improve your garage’s energy efficiency. I can’t stress enough how much this step can help with heating costs.
Troubleshooting & Fix-ups
As you work through these steps, you might run into some common issues. Here’s how to tackle them:
- Shelving Not Sturdy: If your shelves start to sag, it’s likely due to overloading. Reinforce them with additional brackets or redistribute the weight. I’ve had to redo my shelving after overloading it, and it’s a hassle!
- Lighting Flickers: A flickering light can indicate a loose connection or a faulty fixture. Check the wiring and connections carefully. If it continues, replacing the fixture may be necessary.
- Insulation Gaps: If you notice drafts, it might mean you missed a spot. Revisit your insulation and fill any gaps you find. A quick check with a candle can help you spot drafts.
Common Mistakes & How to Avoid Them
In my years of DIYing, I’ve seen many people make the same mistakes, and I’ve made a few myself! Here are some common pitfalls:
- Not Planning Enough: Jumping into the project without a solid plan can lead to chaos. Take the time to sketch out your garage layout and think through your storage needs before starting. I learned this the hard way when I had to redo my shelving layout!
- Ignoring Safety: People often overlook the importance of safety gear. Always wear gloves when handling insulation and a mask if you’re working with dust or chemicals. This is especially important during winter when the garage can get a bit more dusty.
- Overloading Shelves: I can’t tell you how many times I’ve seen shelves collapse because people stuffed them too full. Always check the weight limits and distribute items evenly.
- Rushing the Insulation: Properly fitting insulation takes time. If you rush this step, you could end up with gaps that will let the cold air in. Make sure to take your time to do it right.
Pro Tips & Lessons Learned
Throughout my DIY journey, I’ve picked up some tips that save time and money:
- Use a Label Maker: This can make a world of difference in keeping your garage organized. I started labeling bins, and now I can find what I need in seconds. It’s worth the small investment!
- Install Lighting Before Organizing: It seems obvious, but many forget to do this. Make sure you can see what you’re working with before you start organizing. I often make this mistake when I’m in a hurry.
- Opt for Multi-Functional Storage: Look for storage solutions that can serve more than one purpose. For example, a workbench with built-in storage can save space and keep tools handy. I have one, and it’s a lifesaver!
- Plan for Seasonal Changes: As winter approaches, think about how you’ll store holiday decorations. Designate a specific area for them to make setup easier next year. It really pays off during the busy holiday season.
Budget & Time Signals
When it comes to budgeting for your garage upgrades, here’s what to expect:
- Organizing: Expect to spend between $100 to $500, depending on whether you’re buying shelving units or pegboards. You can phase this project by starting with the most cluttered areas.
- Lighting: Installing LED fixtures can cost between $50 to $200, depending on how many you need. This is a relatively quick project that can be done in a day.
- Insulation: For insulation, budget about $200 to $600 based on the size of your garage and the materials you choose. Insulating can take a weekend but will pay off in energy savings.
When to Call a Pro
While many garage upgrades are manageable for the average DIYer, certain situations call for professional help:
- Electrical Work: If you're unsure about installing lighting or dealing with electrical wiring, it’s best to call a local electrician. Safety first!
- Structural Issues: If your garage has significant damage or structural problems, don’t hesitate to reach out to a contractor. It’s not worth risking your safety.
- Water Damage: If you find water damage, a professional should assess the situation to prevent mold and further issues.
Conclusion
Upgrading your garage can be a rewarding experience that transforms this often-overlooked space into a functional and organized area. By focusing on organization, lighting, and insulation, you can make the most of your garage, especially as winter approaches.
Remember, it’s okay to take your time and ask for help when needed. Celebrate your victories, no matter how small, and enjoy the satisfaction of creating a space that works for you. Take a moment today to sketch out your garage plans or pick up that first storage bin. You've got this!
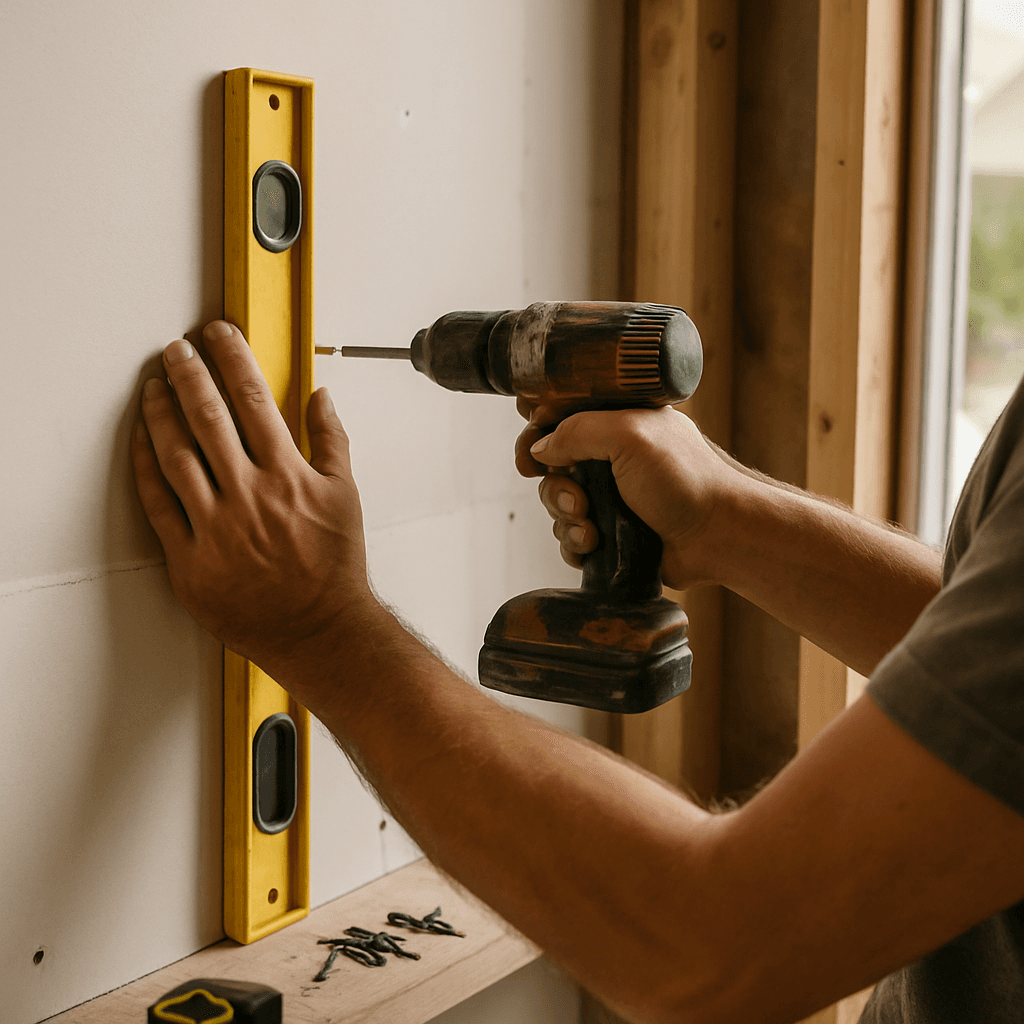
Essential Tools for Garage Upgrades
When upgrading your garage, having the right tools is crucial. For instance, a stud finder can save you from hitting electrical wires when installing shelves. Always remember to set your drill on the correct torque setting; if it’s too high, you could strip screws or damage soft wood. A good quality level is also invaluable for ensuring everything is straight.
Surface Preparation Tips
Before painting or applying any finishes, ensure the surface is clean and dry. I once rushed a paint job without priming the drywall, leading to peeling within a month. I learned to always use a quality primer, especially in high-moisture areas. Taking the time to prep will always pay off.
Real-Life Scenario: The Plywood Misstep
A friend once attempted to build a workbench using untreated plywood. The wood warped after several months. To fix this, I suggested using exterior-grade plywood instead, which is treated for moisture. We added a layer of epoxy sealer to protect it further. It turned out to be a solid solution that held up well!
Pro Tips
- Use a laser level for accurate shelving installation; it saves time and reduces the hassle of readjustments.
- Consider installing LED strip lights in your garage for better visibility and energy efficiency. They last longer than traditional bulbs and brighten the workspace significantly.
Recommended Gear
Disclosure: As an Amazon Associate, we may earn from qualifying purchases at no extra cost to you.
Common Mistakes
- Starting the project without a clear plan leading to disorganization.
- Ignoring safety gear such as gloves and masks during insulation installation.
- Overloading shelves causing sagging or collapse.
- Rushing insulation installation resulting in gaps and drafts.
- Installing lighting after organizing, making it harder to see tools and items.
More in Home Repair