Essential Outdoor Upgrades for Beginner DIY Guides This Year (Winter, December)
Materials Needed
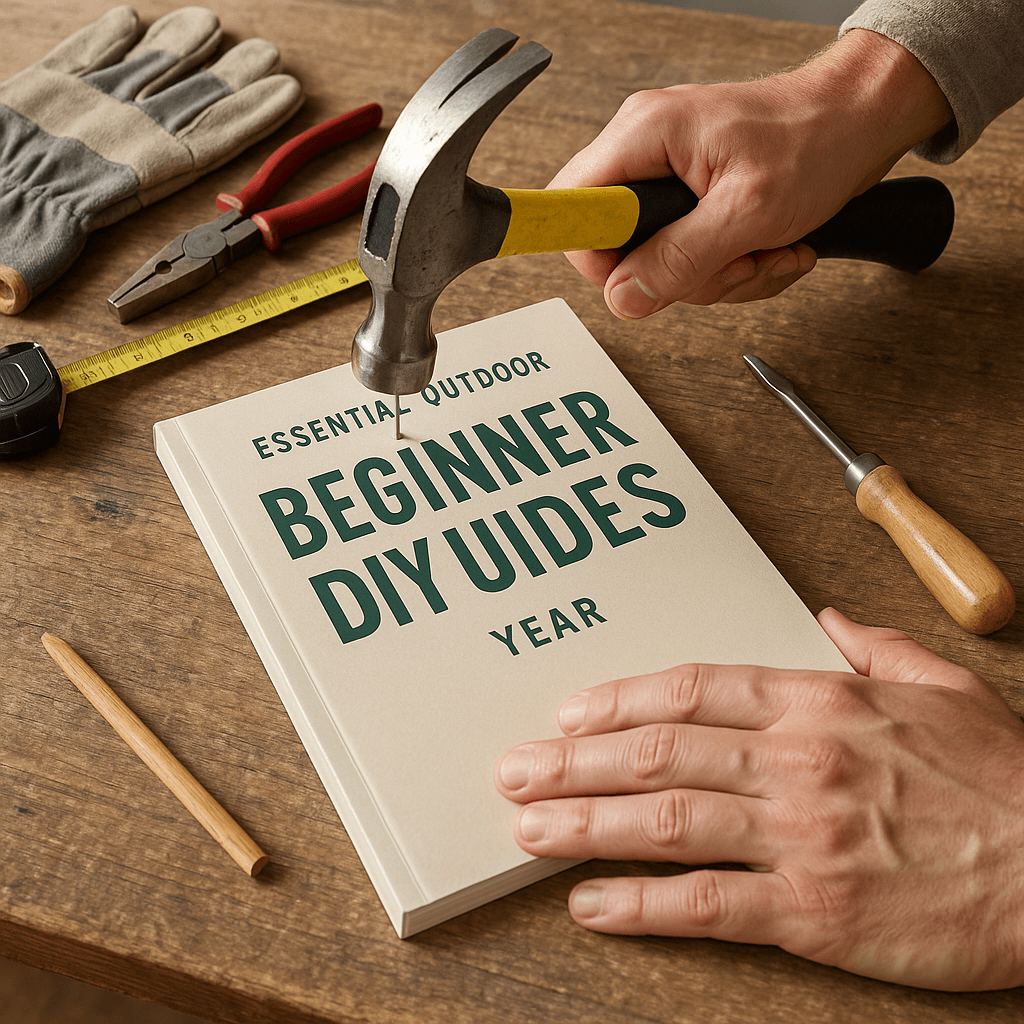
Safety Tips
- Wear gloves and safety goggles when using power tools.
- Drill pilot holes before screwing to prevent wood splitting.
- Follow safety guidelines when using fire pits or patio heaters, keeping flammable items at a safe distance.
- Always measure twice before cutting materials.
- Take your time to avoid rushed mistakes.
Before You Start / What to Know Up Front
Hey there, fellow DIYer! If you’re reading this, you’re probably looking to spruce up your outdoor space this winter. I remember when I first dove into outdoor projects during the colder months. The excitement was palpable, but I found myself a bit overwhelmed by all the possibilities. The good news is that creating a cozy and functional outdoor area doesn't have to be complicated. This guide is for you if you’re a beginner ready to learn the ropes of DIY projects. We’ll cover essential upgrades that not only enhance your outdoor living but also give you that gratifying sense of accomplishment when you see the results of your hard work.
When planning your outdoor upgrades, set realistic expectations. You don't need to transform your entire yard overnight. Start small with one or two projects, and you’ll build confidence as you go. We’ll walk through various upgrades that are perfect for beginners, including building raised garden beds, installing outdoor lighting, and creating a winter-friendly seating area. Let’s get started!
Method Overview
Our approach is straightforward and hands-on. We’ll go step-by-step through each project, ensuring you understand what tools you need and why each step matters. We’ll also highlight when a project might not be suitable for DIY, so you can make informed decisions. This isn’t just about following instructions; it’s about understanding the principles behind what you’re doing.
While DIY projects can be rewarding, they aren’t always the best fit for everyone. If you’re dealing with electrical work or plumbing, it might be wise to call in a professional. This guide focuses on projects that are manageable for beginners with basic tools and skills.
Deep Step Detail
1. Building Raised Garden Beds
Building raised garden beds is a fantastic way to start your outdoor upgrades. They’re great for growing vegetables and flowers, and they help with drainage and soil quality. Here’s how to build one:
- Gather Your Materials: You’ll need untreated wood (like cedar or pine), wood screws, a drill, a saw, and a level. For a 4x4 foot bed, you’ll need four 4-foot long boards for the sides and four 2-foot long boards for the ends.
- Cut the Wood: If you don’t have a saw, many home improvement stores will cut the wood for you. Ensure the cuts are straight – this ensures your bed will be level. I recommend using a miter saw for that clean cut.
- Assemble the Frame: Use wood screws to attach the boards into a square. Drill pilot holes first to prevent the wood from splitting. I learned this the hard way when my first attempt splintered!
- Level the Ground: Choose a sunny spot in your yard. Use a level to make sure your frame is even on the ground. Dig out any high spots or fill in low spots. I once had to adjust my frame multiple times until it sat just right.
- Fill with Soil: Once your frame is in place, fill it with a mix of garden soil and compost. This will provide nutrients for your plants.
I remember the first raised bed I built; it wasn’t as level as I thought! I had to do some digging and adjusting, but it was worth it when I saw my veggies thrive.
2. Installing Outdoor Lighting
Outdoor lighting can transform your space, making it inviting even during the dark winter months. Here’s a simple way to install solar-powered lights:
- Choose Your Lights: Look for solar-powered lights that fit your style. There are many options, from string lights to path lights. I’ve found that warm white LED lights create a lovely ambiance.
- Select Locations: Walk around your yard and decide where to place the lights. Think about areas that need illumination, like pathways or seating areas. Avoid placing them in shaded spots; they need direct sunlight during the day.
- Install the Lights: Most solar lights come with a stake for easy installation. Simply push the stake into the ground where you want the light to go. Make sure they’re in a sunny spot to charge efficiently.
- Test the Lights: Once installed, check to see if they turn on at night. If they don’t, try moving them to a sunnier spot or recheck the connections. I learned the hard way that some lights need a good amount of sunlight to function properly.
I had a lovely string of lights that didn’t get enough sun and flickered out early in the evening. Now, I always check sunlight exposure before I commit!
3. Creating a Winter-Friendly Seating Area
A cozy outdoor seating area can be a perfect spot to enjoy a hot drink while watching the snow fall. Here’s how to create one:
- Choose Your Location: Find a sheltered spot in your yard, perhaps near a tree or fence to block wind. I found a nook that’s perfect for this purpose!
- Select Seating: Consider buying weather-resistant outdoor furniture or building a simple bench with leftover wood. For a DIY bench, use the same wood as your garden bed for a cohesive look. A simple design can be made with just a few 2x4s.
- Add Comfort: Invest in outdoor cushions that are water-resistant. This will make your seating area more inviting and comfortable. I learned that cushions can get soggy if not protected!
- Incorporate Heat: If you want to use this space during chilly evenings, think about adding a fire pit or patio heater. Just be sure to follow the safety guidelines for outdoor heating, like keeping flammable items at a safe distance.
- Decorate: Add some string lights or lanterns to create a warm atmosphere at night. I love using rustic lanterns to add a touch of charm.
The first time I created a seating area, I didn’t think about the wind and ended up getting blown away! Now, I always consider the elements when planning my outdoor spaces.
Troubleshooting & Fix-ups
Even the best-laid plans can go awry, especially when you’re new to DIY. Here are some common issues and how to fix them:
- Uneven Raised Beds: If your bed isn’t level, don’t fret! Simply remove the soil, adjust the frame, and refill it. Check with a level frequently as you go.
- Solar Lights Not Working: If your solar lights aren’t turning on, check for obstructions blocking sunlight. Clean the solar panel to ensure it’s free of dirt. I once had to clear away some leaves that were blocking the panel.
- Cushions Getting Wet: If your cushions are exposed to rain and getting soaked, consider investing in cushion covers or bringing them inside during wet weather. I always store mine in a shed during storms.
These troubleshooting tips come from experience. I once had a bench that I built too low, and it was uncomfortable to sit on. I had to take it apart and rebuild it, which taught me to measure twice and cut once!
Common Mistakes & How to Avoid Them
As a beginner DIYer, it’s easy to fall into some traps. Here’s what I see most DIYers do wrong and how you can avoid these pitfalls:
- Not Measuring Properly: Always measure your space and materials before cutting. I’ve made this mistake more times than I’d like to admit, leading to wasted materials. A simple tape measure can save you from headaches.
- Rushing the Project: Take your time. It’s better to finish a project slowly and correctly than to rush and end up with something you’re unhappy with. I’ve learned this the hard way!
- Ignoring Safety Gear: Always wear proper PPE like gloves and goggles, especially when using power tools. It’s easy to forget in the excitement, but safety should always come first. I always keep my safety glasses within reach now.
- Underestimating Time: New projects often take longer than expected. Allow yourself extra time to avoid frustration. I’ve had projects that took double the time I planned. It’s okay to break things into smaller tasks!
- Not Asking for Help: Don’t hesitate to ask for help or advice from more experienced DIYers. We’ve all been there, and it’s okay to seek guidance! YouTube tutorials or local DIY groups can be invaluable.
Pro Tips & Lessons Learned
Here are a few tricks that have saved me time and money over the years:
- Use Leftover Materials: Always save scrap wood and materials from previous projects. They often come in handy for smaller tasks. I’ve built birdhouses from leftover wood!
- Invest in Quality Tools: While it’s tempting to go for the cheapest option, investing in good quality tools can save you headaches down the line. A reliable drill is worth its weight in gold.
- Plan for Weather: Always check the weather before starting an outdoor project. Rain can ruin your plans, so make sure you have a backup day. I’ve had to postpone more than one project due to unexpected showers!
- Practice Patience: A little patience goes a long way in DIY. If something doesn’t go as planned, take a step back, breathe, and reassess. It’s part of the learning process.
- Document Your Work: Take photos along the way. Not only does this help you remember what you did, but it’s also great for sharing your progress with friends and family. I love looking back at my projects!
Budget & Time Signals
Budget and time can vary significantly based on the projects you choose. Here’s a rough idea:
- Raised Garden Beds: Expect to spend around $100-$200, depending on the wood and soil. This project can usually be completed in a weekend.
- Outdoor Lighting: A set of solar lights can cost between $30-$100. Installation can be done in a few hours.
- Seating Area: Depending on the materials chosen, this could range from $150-$500 and take a weekend to complete.
The costs can drive up if you choose high-end materials or complex designs. Don’t forget that some projects can be phased, meaning you can spread the costs over time by doing them one at a time.
When to Call a Pro
While many outdoor upgrades are doable for beginners, some situations are better left to professionals. Here are some signs that you should call in an expert:
- Electrical Work: If you’re thinking about adding wired outdoor lighting, it’s best to hire a licensed electrician. They know the codes and safety protocols.
- Complex Landscaping: If you’re planning major landscaping changes, like grading your yard, consider hiring a landscaper. They’ll ensure proper drainage and design.
- Structural Changes: If your project involves building structures (like a deck or gazebo), check local building codes and consider hiring a pro to avoid costly mistakes. I once tried to tackle some structural work myself, and it didn’t end well!
Conclusion
Congratulations on taking the first steps toward upgrading your outdoor space! Remember, the key to a successful DIY project is patience, planning, and a willingness to learn from mistakes. By starting with small projects like raised garden beds, outdoor lighting, or a cozy seating area, you’ll build your skills and confidence.
So, what’s your next move? Maybe gather your materials for that raised garden bed you’ve been thinking about. Take it one step at a time, and you’ll be amazed at what you can achieve. Happy DIYing!
Recommended Gear
Disclosure: As an Amazon Associate, we may earn from qualifying purchases at no extra cost to you.
Common Mistakes
- Not measuring properly before cutting materials.
- Rushing projects leading to unsatisfactory results.
- Ignoring safety gear such as gloves and goggles.
- Underestimating the time needed to complete projects.
- Not asking for help or advice when needed.


)