Best Smart Devices for Beginner DIY Guides Your Neighbors Will Notice (Winter, December, Christmas)
)
Tools Needed
Materials Needed
Safety Tips
- Always turn off power when working with electrical devices to avoid shocks.
- Double-check that power is off at the circuit breaker before removing or installing thermostats.
- If uncomfortable with electrical wiring or outdated systems, call a professional.
Before You Start / What to Know Up Front
Welcome to the exciting world of DIY! If you’re a beginner looking to impress your neighbors with some smart home devices this winter, you’ve come to the right place. I remember the first time I decided to install smart lighting in my home around Christmas. I had visions of my house sparkling and twinkling, but I was nervous. Would I mess it up? Would I electrocute myself? Spoiler alert: I didn’t, and neither will you!
This guide is designed for those who may not have a lot of experience but are eager to learn the ropes of DIY projects. We’ll tackle some beginner-friendly smart devices that can elevate your home this holiday season. Expect to learn step-by-step methods, avoid common pitfalls, and gain confidence as you transform your space.
Method Overview
In this guide, we’ll focus on three main smart devices: smart plugs, smart bulbs, and smart thermostats. These devices are not only user-friendly but also have a significant impact on home efficiency and ambiance. We’ll discuss how to set them up and why they matter.
This approach works because each of these devices is designed for easy installation and use, often requiring no more than a smartphone app and a Wi-Fi connection. However, if you have an older home with outdated electrical systems or if you’re uncomfortable working with electrical components, it might not be the right fit for you. Always prioritize your comfort level and safety, and remember: if in doubt, it’s perfectly fine to call in a pro.
Deep Step Detail
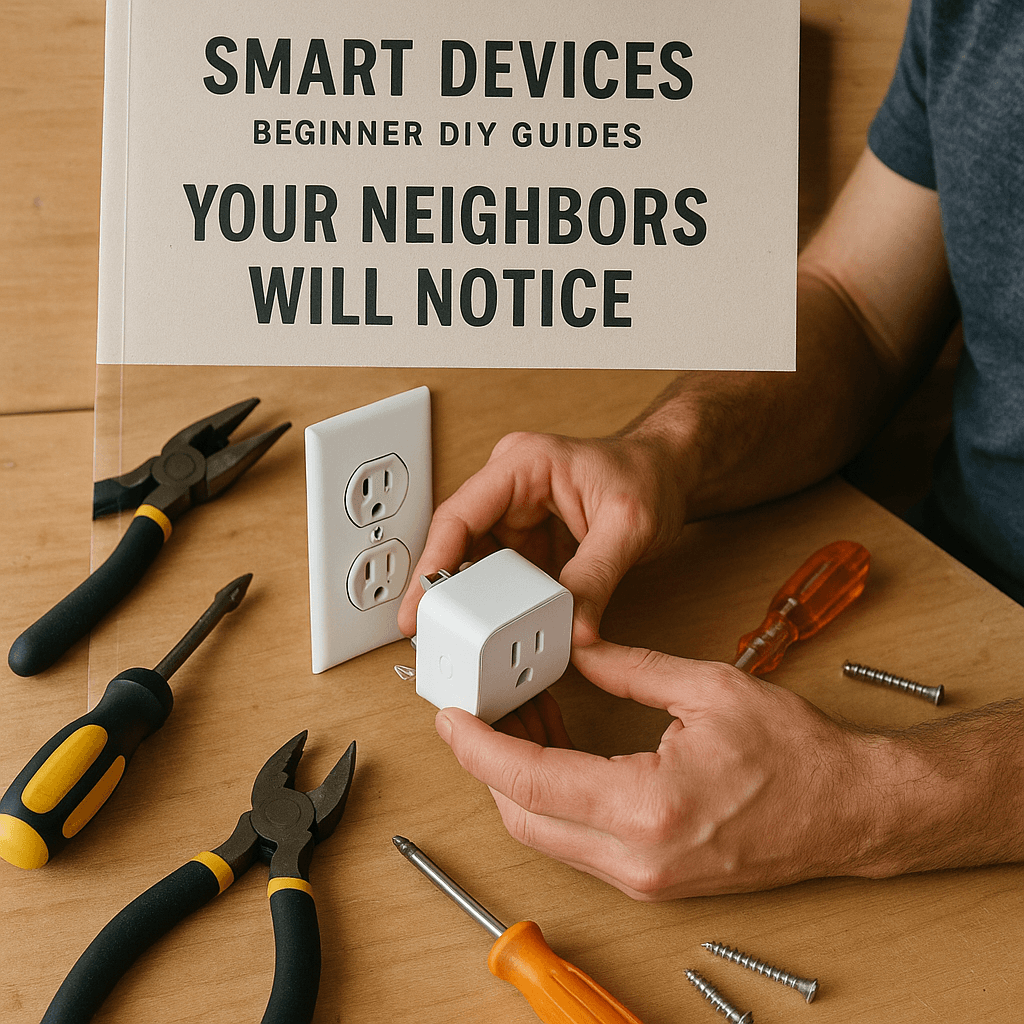
1. Smart Plugs
What You’ll Need:
- Smart plug (like TP-Link Kasa or Amazon Smart Plug)
- Wi-Fi connection
- Smartphone
- App for the smart plug
Steps:
- Choose a Location: Find an outlet near a lamp or appliance you want to control. I like to place mine in the living room to control my holiday lights easily.
- Plug It In: Simply insert the smart plug into the outlet. It’s that easy! Make sure it’s secure.
- Download the App: Find the app associated with the smart plug on your smartphone’s app store. Follow the on-screen instructions to create an account.
- Connect to Wi-Fi: During the app setup, it will prompt you to connect the smart plug to your home Wi-Fi. Make sure you have your Wi-Fi password handy.
- Set Up Your Device: Follow the prompts to name your device (like “Living Room Lamp”). You can even set schedules for when you want it to turn on or off, which is perfect for the holidays!
2. Smart Bulbs
What You’ll Need:
- Smart bulbs (like Philips Hue or Wyze Bulbs)
- Compatible light fixtures
- Smartphone
- App for the smart bulbs
Steps:
- Choose Your Bulbs: Make sure the smart bulbs fit your light fixtures. I love the Philips Hue bulbs for their range of colors.
- Unscrew Old Bulbs: Turn off the light fixture and carefully remove the old bulbs. This is where people can get a little careless, so be sure to turn off the power at the switch to avoid any shocks. I always double-check the switch, just to be safe.
- Screw in the Smart Bulbs: Install the smart bulbs in the same place as the old ones. It’s a straightforward swap!
- Download the App: Once again, find the app specific to your bulbs and create an account.
- Connect the Bulbs: Follow the prompts to connect the smart bulbs to your Wi-Fi network through the app. You’ll be able to control brightness and color from your phone, which is a fun feature during the holidays!
3. Smart Thermostats
What You’ll Need:
- Smart thermostat (like Nest or Ecobee)
- Screwdriver
- Smartphone
Steps:
- Turn Off Power: Before you begin, turn off the power to your current thermostat at the circuit breaker. This step is crucial to avoid any electrical mishaps. I can’t stress this enough—always double-check!
- Remove Old Thermostat: Unscrew your old thermostat from the wall. Make sure to take a picture of the wires and how they connect to the old thermostat for reference. I’ve found this to be a lifesaver during the reinstallation.
- Connect the New Thermostat: Follow the instructions that come with your new thermostat, connecting the wires as shown in your reference photo. If you’re unsure, consult the installation manual.
- Mount the New Thermostat: Secure the new thermostat to the wall using screws. Make sure it’s level; a crooked thermostat looks off!
- Download the App: After mounting, turn the power back on and follow the app instructions to connect to your Wi-Fi. You’ll be able to control the temperature from anywhere, which is fantastic for those cold winter nights!
Troubleshooting & Fix-ups
Even the most seasoned DIYers encounter hiccups along the way, and that’s perfectly normal! Here are some common issues and how to handle them:
- Smart Plug Won’t Connect: If your smart plug isn’t connecting to Wi-Fi, double-check your password. Sometimes, it’s as simple as a typo. Also, ensure the plug is within range of your router. I once had a plug that was just a few feet away but still wouldn’t connect—turns out it was behind some furniture!
- Smart Bulbs Flickering: If your smart bulbs flicker, it could be due to a poor connection in the fixture. Try tightening the bulbs in their sockets, or check the fixture itself for issues. A quick twist can often solve the problem.
- Thermostat Not Responding: If your smart thermostat isn’t turning on, verify the power is actually on at the circuit breaker. If it’s still unresponsive, consult the manufacturer’s troubleshooting guide for further assistance.
Common Mistakes & How to Avoid Them
As someone who has made my fair share of mistakes, here are some common pitfalls to watch out for:
- Skipping Safety Protocols: Always turn off power when working with electrical devices. I’ve learned the hard way that taking shortcuts can lead to shocks or damage.
- Not Reading Instructions: It’s tempting to skip the manual, but each device has unique requirements. Take the time to read through the setup guide to avoid unnecessary frustration. I’ve wasted time figuring things out because I didn’t read the fine print.
- Overloading Circuits: Be cautious not to overload your smart plugs or sockets, especially during the busy holiday season when we’re using more lights and decorations than usual. Always check the wattage ratings.
Pro Tips & Lessons Learned
Here are some small tricks I’ve picked up along the way that can save you time and effort:
- Label Your Wires: When working with thermostats, label the wires as you disconnect them. It will save you a headache when it comes time to reconnect. I use colored tape for easy identification.
- Use a Smartphone for Tutorials: If you’re unsure about a step, pull up a video tutorial on your phone while you work. Visual aids can be incredibly helpful for beginners. I often find solutions on YouTube that make tricky tasks much simpler.
- Test Devices Before Finalizing Installation: Before you screw everything back in place, test your smart devices to ensure they work as expected. It’s much easier to troubleshoot when everything is still accessible, and I’ve saved myself some headaches this way.
Budget & Time Signals
When it comes to budgeting for your smart devices, here’s what to keep in mind:
- Smart Plugs: Typically range from $10 to $30 each, depending on features.
- Smart Bulbs: Expect to pay between $10 to $50 each, based on brand and features like color options.
- Smart Thermostats: These can range from $100 to $250, depending on the brand and features.
The cost can vary based on the brand you choose, extra features you want, and whether you plan to phase out your older devices over time or do everything at once. If you’re on a tight budget, start with one smart plug or a couple of smart bulbs and see how you like them before expanding.
When to Call a Pro
While DIY can be incredibly rewarding, there are times when it’s best to call in a professional:
- If you’re uncomfortable working with electrical wiring or have outdated systems.
- If your smart devices consistently malfunction despite troubleshooting.
- If you’re planning a larger project that involves multiple devices and complex wiring.
Don’t hesitate to reach out for professional help if you feel overwhelmed. It’s always better to be safe than sorry!
Conclusion
Congratulations! You’ve taken the first step into the world of DIY smart devices, and I hope you feel inspired to tackle these projects. Remember, even the most seasoned DIYers started where you are now. The key is to start small, learn as you go, and not be afraid to make mistakes.
Now, why not pick one of the devices we discussed and get started today? Whether it’s a smart plug to control your festive lights or a smart bulb to set the holiday mood, you’ll be amazed at how much of a difference these gadgets can make in your home. Happy DIY-ing!
Smart Lighting Solutions
When it comes to smart lighting, a beginner DIYer might consider Philips Hue or LIFX bulbs due to their ease of installation. Start by ensuring your existing light fixtures are compatible with smart bulbs. Remove the old bulbs and connect your smart bulbs to your Wi-Fi network via their respective apps. A pro tip: If you encounter connectivity issues, try resetting the bulb by turning it off and on six times before reattempting the setup.
Real-Life Scenario
I once installed Philips Hue bulbs in my living room but forgot to connect them to the same Wi-Fi network as my smart hub. The lights wouldn’t respond to voice commands, leading to a frustrating evening. After realizing the oversight, I reconfigured my network settings, and everything worked flawlessly after that.
Smart Thermostat Installation
Installing a smart thermostat can significantly reduce heating costs during winter. When replacing an old thermostat, ensure you turn off power at the circuit breaker. Use a multimeter to confirm that no power is running to the wires. Following the thermostat’s manual, label the wires appropriately—this step can save you from a head-scratching moment later.
Mini Case Study
A friend of mine tried to install a Nest thermostat without labeling the wires, resulting in confusion and a non-functioning unit. I guided him through the reinstallation process, emphasizing the importance of labeling and even using colored tape for clarity—he was grateful for the clarity, and his energy bills have since dropped.
Pro Tips for Smart Device Integration
- Update Firmware Regularly: Just like any tech, smart devices need updates for optimal performance. Schedule updates when you’re away to avoid interruptions.
- Utilize Smart Hubs: If you have multiple devices, consider a smart hub like SmartThings to streamline control and enhance compatibility.
- Label Your Devices: For ease of use, especially during setup, label each device in the app to avoid confusion—this is particularly helpful for new visitors.
Recommended Gear
Disclosure: As an Amazon Associate, we may earn from qualifying purchases at no extra cost to you.
Common Mistakes
- Skipping safety protocols such as turning off power before installation.
- Not reading the device instructions thoroughly before starting.
- Overloading circuits with too many devices, especially during holiday seasons.
More in Beginner Guides