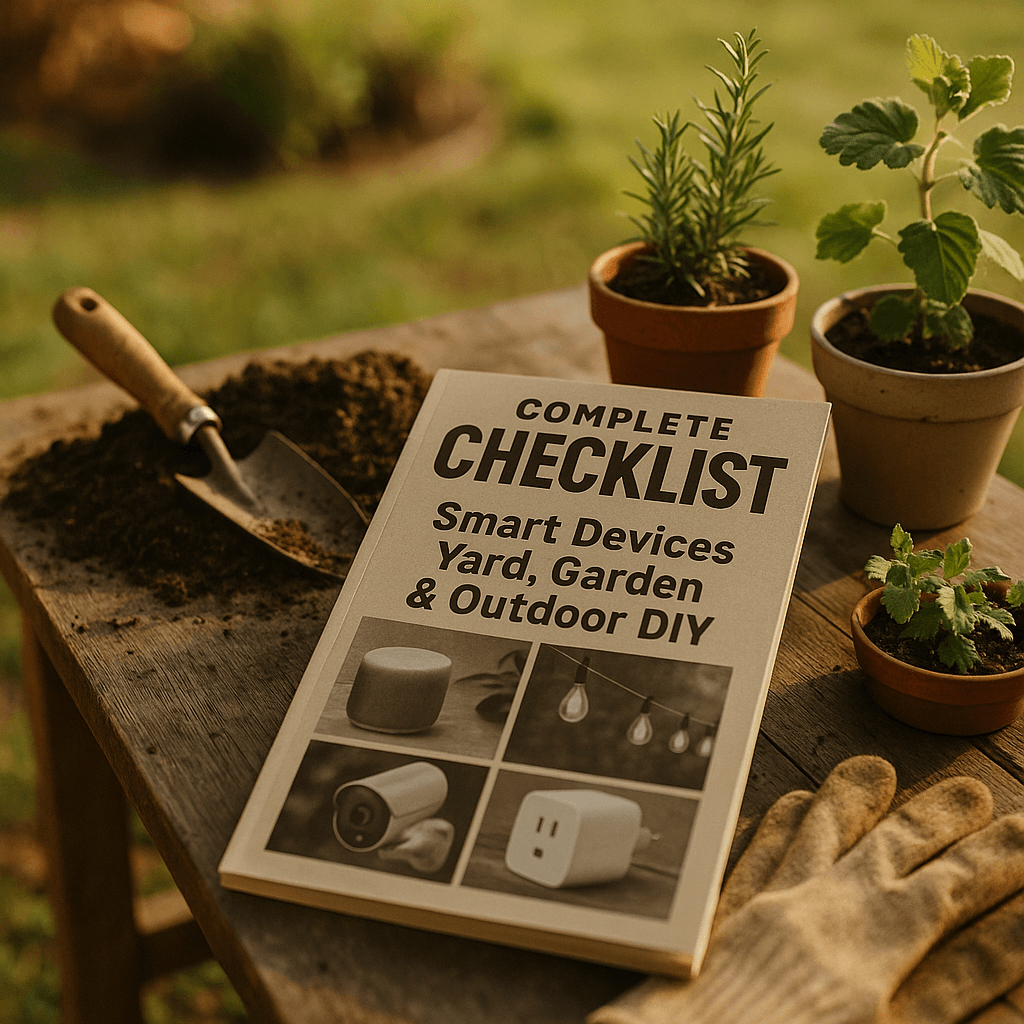
Complete Checklist for Smart Devices for Yard, Garden, & Outdoor DIY with Pro Results (Winter, November)
)
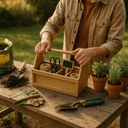
Tools Needed
Materials Needed
Safety Tips
- Wear personal protective equipment such as safety glasses and gloves.
- Be cautious when handling electrical components and wiring.
- Perform installations on days with mild weather to avoid hazards.
- Follow manufacturer safety guidelines for each device.
Complete Checklist for Smart Devices for Yard, Garden, & Outdoor DIY with Pro Results (Winter, November)
As the winter months approach, many DIY enthusiasts start to think about how to maintain and enhance their outdoor spaces, even when the temperatures drop. If you’re like me, you might have a love-hate relationship with winter. The beauty of frost-laden trees and fresh snow is captivating, but it also brings unique challenges to our yards and gardens. Whether you’re looking to install smart devices to manage your landscape or simply want to spruce up your outdoor area, this guide is for you. We’ll walk through everything you need to know, from planning out your project to troubleshooting common hiccups.
Before You Start / What to Know Up Front
Before diving into your smart outdoor project, it’s essential to set realistic expectations. When I first decided to incorporate smart devices into my yard, I thought it would be a simple plug-and-play situation. Spoiler alert: it wasn’t! I had to learn about Wi-Fi connectivity, device compatibility, and, of course, the best placement for each gadget. Most DIYers I see forget to consider their existing network infrastructure, which can lead to frustrating connectivity issues.
This guide is for anyone who wants to enhance their outdoor space with technology, whether you’re a seasoned DIYer or just starting. We’ll cover smart lighting, irrigation systems, and even security cameras. By the end, you’ll feel empowered to tackle these projects and enjoy the convenience they bring.
Method Overview
So, what’s our approach? We’ll break down the steps for selecting, installing, and maintaining smart devices for your yard and garden. The key is to start with a clear plan, ensuring that you choose devices that fit your needs and lifestyle. This method works because it allows you to think through each component of the project, making adjustments as necessary along the way.
However, this approach may not be suitable if you’re working in an area with poor Wi-Fi coverage or if you have limited experience with technology. In those cases, it might be best to consult with a professional or stick to more traditional outdoor solutions.
Deep Step Detail
Here’s a detailed breakdown of the steps to take when incorporating smart devices into your outdoor space.
- Assess Your Needs
Start by evaluating what you want to achieve. Do you want to automate your irrigation? Install security lighting? Each need will guide your device selection. For example, I realized my garden needed more efficient watering and chose a smart irrigation system that could adapt to weather conditions, helping me save water and keep my plants healthy.
- Choose Your Devices Carefully
Research different brands and models. Look for features that match your needs, such as Wi-Fi connectivity, app compatibility, and energy efficiency. I recommend brands like Ring for security cameras and Rachio for irrigation. They offer reliable products that I’ve personally tested and loved. One mistake I often see is purchasing devices without checking their compatibility with existing systems—don’t skip that step!
- Plan Your Layout
Sketch a rough layout of where you want to place each device. Think about factors like sunlight exposure for solar lights or proximity to power outlets for wired devices. The first time I laid out my smart lights, I realized they wouldn’t get enough sunlight, which meant they wouldn’t charge effectively. A good rule of thumb is to test locations during different times of the day to get a sense of how lighting changes.
- Gather Tools and Materials
Most of the time, you’ll need basic tools like a drill, screwdriver, and perhaps a level. For smart irrigation, you might need PVC piping and connectors. I once forgot to buy a hose splitter, and it set me back a day. Don’t forget your personal protective equipment (PPE), especially when dealing with power tools! A pair of safety glasses and gloves can save you from minor injuries that can occur during installation.
- Install Your Devices
Follow the manufacturer’s instructions for each device. Pay close attention to any electrical work if you’re installing wired devices. I recommend doing a dry run first to ensure everything connects properly before securing the devices in place. Also, consider working on a day with mild weather; I once had to deal with freezing temperatures while wiring my outdoor lights, which made the task much more challenging.
- Test the Setup
After installation, test each device to ensure it’s working as expected. This is crucial! I once skipped this step and ended up with a non-functioning security camera that I didn’t discover until weeks later. It’s worth taking the time to troubleshoot right after installation—trust me, you’ll thank yourself later.
Troubleshooting & Fix-ups
Even the best-laid plans can go awry. Here are some common problems and how to address them.
- Device Won’t Connect to Wi-Fi
This is a frequent issue, especially in larger yards. Make sure your router is within range and that you’ve followed the setup instructions exactly. If it still won’t connect, consider using a Wi-Fi extender. I’ve had to install extenders in my garden just to keep everything running smoothly.
- Sensors Not Triggering
If your motion lights aren’t turning on, check the sensor’s placement. It should not be obstructed by trees or other objects. I learned this the hard way when my lights were blocked by a bush! Adjusting the sensor angle usually solves the problem.
- Irrigation System Not Functioning
First, ensure the water supply is on. If it is, check for clogs in the system. I’ve had to clear out debris from my irrigation lines more times than I can count. Regular maintenance can save you a lot of trouble. A simple check of filters and nozzles can prevent major headaches down the line.
Common Mistakes & How to Avoid Them
When it comes to DIY outdoor projects, I’ve seen a few common pitfalls that can easily be avoided. Here are my top tips:
- Ignoring Local Codes
Always check local building codes before starting. I once installed a fence without realizing it had to be a certain height, which led to unnecessary rework. A quick call to your local zoning office can save you a lot of time and effort.
- Overlooking Power Supply Needs
Ensure you have adequate power for your devices. Many DIYers underestimate how much juice smart devices require. Plan your outlets accordingly! I once had to run an extension cord halfway across my yard because I miscalculated my electrical needs.
- Neglecting Weatherproofing
Not all devices are built to withstand harsh winter conditions. Be sure to check the rating and consider bringing devices indoors during extreme weather. I’ve had my share of smart lights fail because I didn’t think about the frost. For anything that stays outside, investing in weatherproof covers can extend their life significantly.
Pro Tips & Lessons Learned
Through trial and error, I’ve gathered a few tricks that can make your project smoother:
- Label Your Wires
When installing multiple devices, label each wire as you go. It saves a ton of time down the road when troubleshooting or replacing devices. I learned this the hard way after spending an hour trying to untangle wires during a minor repair.
- Smart Device Apps
Most smart devices come with companion apps. Spend some time familiarizing yourself with them before installation. I found that some apps have features I wasn’t aware of, which could have simplified my setup. Make sure to explore any automation features they offer; they can be game-changers.
- Regular Updates
Keep your devices updated with the latest firmware. This can improve performance and security. I’ve witnessed devices lagging because I neglected this simple step. Set reminders on your phone to check for updates every few months—it’s a small task that pays off big time.
Budget & Time Signals
The cost of smart devices can vary widely based on what you choose to install. On average, you might spend anywhere from $100 to $1,000 or more, depending on the complexity of your setup.
Here are a few factors that can drive costs up or down:
- Device Quality
Higher-priced devices often come with better warranties and features. I’ve learned that investing upfront can save you money in repairs later.
- Installation Complexity
If you’re comfortable with DIY, you can save on labor costs. However, if you need to hire help, budget for that expense. I’ve seen some folks jump into complex electrical work without the proper skills, leading to costly mistakes.
- Seasonal Sales
Keep an eye on seasonal sales, especially around holidays like Black Friday. I’ve scored great deals on smart devices during these sales, saving me a chunk of change. Planning ahead can make a big difference in your budget.
When to Call a Pro
While many smart device installations can be handled by DIYers, there are times when it’s best to call in a professional. If you encounter any of the following, don’t hesitate to reach out for help:
- Complex Electrical Work
If your project involves extensive wiring, it’s better to hire a licensed electrician. Safety should always come first! I once tried to tackle a complex wiring job and ended up needing to call an electrician to fix my mistakes.
- Building Code Compliance
If you’re unsure about local codes, a pro can help ensure your project meets all regulations. It’s better to be safe than sorry!
- Time Constraints
If you’re short on time or feel overwhelmed, don’t hesitate to seek help. Sometimes it’s worth paying for expertise to get the job done right. I’ve learned that my time is valuable, and sometimes it’s best to delegate.
Conclusion
Incorporating smart devices into your yard and garden can elevate your outdoor experience, making it more convenient and enjoyable. By following this checklist, you can tackle your projects with confidence and achieve professional results. Remember to take your time, plan carefully, and don’t be afraid to ask for help when needed.
To get started today, why not take a stroll around your yard and identify one small project you can tackle? Whether it’s installing a smart light or upgrading your irrigation system, every step counts toward creating a smart, efficient outdoor space that you’ll love for years to come!
Advanced Smart Device Integration
Integrating smart devices into your outdoor spaces can greatly enhance your gardening experience. One example is using smart irrigation systems that can be controlled via your smartphone. I once installed a system that allows me to set watering schedules based on real-time weather data. The key is to choose a model that supports Wi-Fi and has a user-friendly app interface. During setup, ensure your Wi-Fi signal reaches the garden; a Wi-Fi extender can help if you encounter connectivity issues. I can't stress enough how important it is to check the strength of your signal before finalizing your layout.
Surface Preparation for Smart Sensors
When installing soil moisture sensors, the surface prep is crucial. Make sure to clear away debris and loosen the soil at least 6 inches deep for optimal readings. I learned the hard way that compacted soil can lead to inaccurate data; it took a few weeks of troubleshooting before I realized my sensors were not buried deep enough. Set your sensors to calibrate for at least 24 hours before relying on their readings to adjust watering schedules. Taking the time to prep properly can save you a lot of headaches later.
Mini Case Study: The Overwatering Dilemma
A neighbor installed a smart sprinkler system but forgot to adjust the settings for his newly planted flowerbed. After a week, the flowers were wilting instead of thriving. I suggested recalibrating the system using the garden zone feature available in the app. We set up a manual override for the first two weeks until the flowers established themselves, and soon enough, they bounced back. This taught me the importance of monitoring new plantings closely until they’re established.
Pro Tips
- Use Bury Depth Markers: When installing devices underground, mark their positions using small flags. It prevents accidental damage during future gardening. I’ve had to dig up my devices more than once because I didn’t mark them, leading to unnecessary repairs.
- Regular Firmware Updates: Just like any tech, smart devices require updates. Set reminders to check for software updates every few months to ensure optimal performance. I’ve lost functionality on devices before simply because I neglected this.
- Battery Check: For smart devices powered by batteries, do a quarterly check and replace them before peak usage seasons like spring. It’s a small chore that can save you from unexpected downtime.
Recommended Gear
Disclosure: As an Amazon Associate, we may earn from qualifying purchases at no extra cost to you.
Common Mistakes
- Ignoring local building codes and regulations before starting.
- Underestimating power supply needs for smart devices.
- Neglecting weatherproofing and device protection in winter conditions.
- Failing to check device compatibility with existing systems.
More in Yard & Garden