Budget-Friendly Cleaning Essentials for Automotive DIY Without Breaking the Bank (Winter, December, Christmas)
)
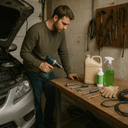
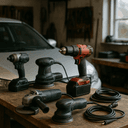
Tools Needed
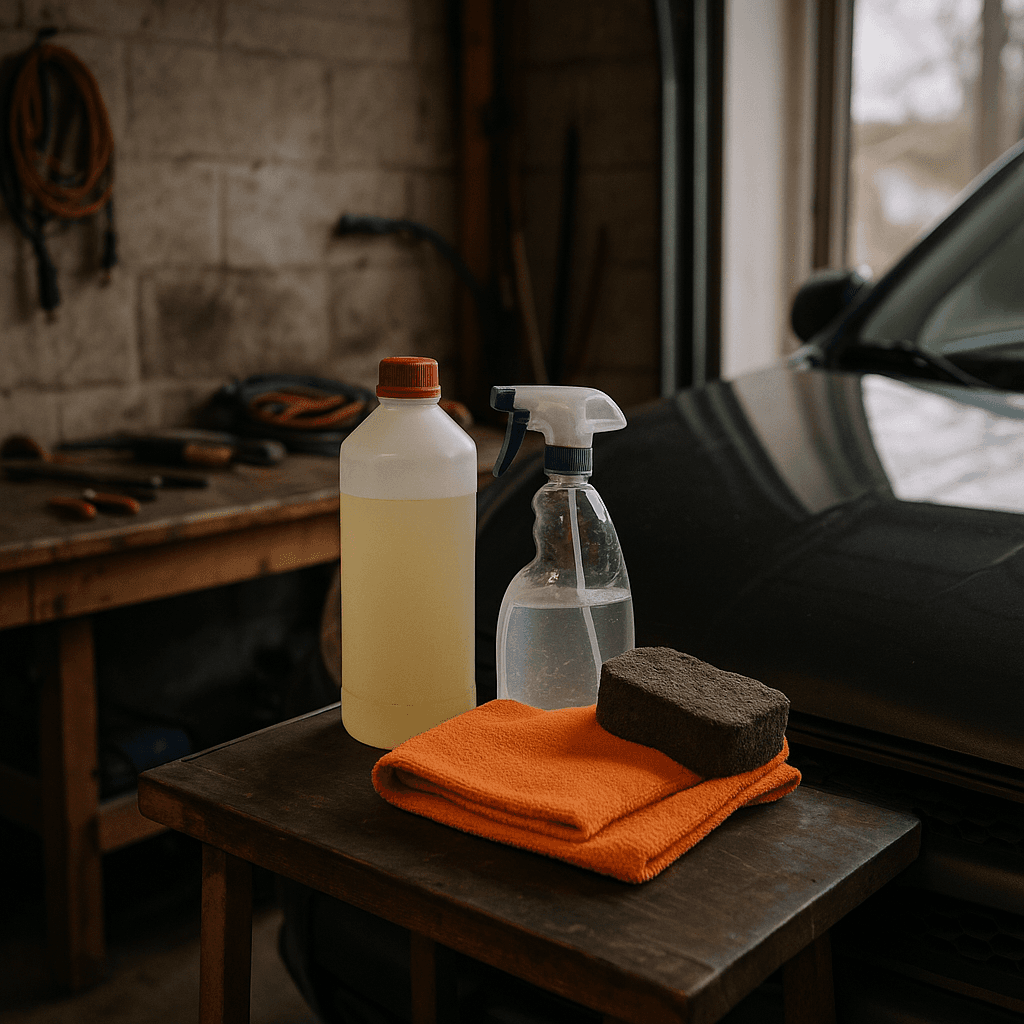
Materials Needed
Safety Tips
- Make sure the engine is cool before cleaning the engine bay.
- Cover sensitive engine components like air filters and electrical connections with plastic bags to prevent water damage.
- Avoid using high-pressure water on the engine bay to prevent forcing water into sensitive areas.
- Do not clean car surfaces in direct sunlight to prevent soap drying too quickly and causing streaks.
- Avoid using household cleaners on automotive surfaces to prevent damage.
Budget-Friendly Cleaning Essentials for Automotive DIY Without Breaking the Bank
As the winter chill sets in and the holidays approach, maintaining your vehicle can feel like a daunting task, especially for those of us who like to roll up our sleeves and do it ourselves. I remember my first winter as a DIYer; I was eager to save money but quickly learned that cleaning and maintaining my car was more than just a quick wash. The grime and salt from the roads can wreak havoc on your vehicle, and if you don’t take care of it, you could end up with expensive repairs down the line. This guide is designed for intermediate automotive DIYers who have the basic tools and a jack stand ready, but want to keep costs low while still getting the job done right. Let’s dive into the essentials you’ll need to keep your car clean and running smoothly this winter.
Before You Start / What to Know Up Front
Before you start cleaning your vehicle, it’s important to set expectations. Winter can be tough on cars, and a good cleaning routine can help prevent rust and corrosion. When I first started, I thought I could just run my car through a car wash a couple of times and call it a day. But I quickly found out that a thorough DIY cleaning is far more effective. You don’t need to break the bank on fancy products; with a little know-how and some elbow grease, you can achieve professional-level results.
This guide is perfect for those who already have a few basic tools and a jack stand. If you’ve done a bit of automotive work before—like changing your oil or rotating tires—you’ll be right at home here. Just be prepared: this project is not for complete beginners, as it involves hands-on work, but I promise that with patience and practice, you’ll get the hang of it.
Method Overview
The approach we’re taking is straightforward and practical. We’ll focus on using budget-friendly cleaning products available at your local store or online. This method works because it emphasizes thorough cleaning without the need for expensive, specialized equipment. However, if your vehicle has serious issues like extensive rust or mechanical problems, this might not be the best fit. In those cases, you might want to consider professional help.
We’ll cover cleaning the exterior, the interior, and the engine bay, giving you a comprehensive routine that you can easily follow. Let’s break it down:
- Pre-wash preparation
- Exterior cleaning
- Interior detailing
- Engine bay cleaning
- Final touches
Deep Step Detail
1. Pre-wash Preparation
Before you get started, gather your supplies. You’ll need:
- A bucket
- Car soap
- Microfiber wash mitts
- A hose or pressure washer
- Wheel cleaner (preferably safe for all wheel types)
- A soft brush
- Glass cleaner
- Rags or microfiber towels
- Optional: wax or sealant
Make sure to park your car in a shaded area to prevent the soap from drying too quickly on the paint. Trust me, I’ve made that mistake, and it leads to unsightly streaks. A little preparation can save a lot of hassle later!
2. Exterior Cleaning
Start with the wheels. Spray the wheel cleaner generously and let it sit for a few minutes. Use the soft brush to agitate any grime. Rinse thoroughly. Next, move to the body of your vehicle. Fill your bucket with warm water and add the car soap according to the instructions on the bottle. Using the microfiber wash mitt, start washing from the top down. This is crucial because dirt and debris from the lower sections can scratch the paint if you start there.
As you wash, be sure to rinse the mitt frequently to avoid rubbing dirt back onto your car. Once you’ve washed the entire vehicle, rinse it off thoroughly. If you’re feeling ambitious, this is a great time to apply wax or sealant to protect the paint from winter elements. Make sure you follow the product instructions carefully.
3. Interior Detailing
Once the outside is clean, it’s time to turn your attention to the interior. Start by removing all trash and any personal items. Vacuum the carpets and seats, paying special attention to the crevices where dirt tends to hide. I found that using a narrow attachment for the vacuum helps get into those hard-to-reach spots. Don’t forget to check under the seats; that’s often where the biggest surprises linger!
For the dashboard and other surfaces, a microfiber cloth lightly dampened with a DIY cleaner (mix equal parts vinegar and water) works wonders. However, avoid using this on screens; instead, use a dedicated screen cleaner. If your seats are leather, a leather conditioner is a must after cleaning to keep them supple and protected.
4. Engine Bay Cleaning
Cleaning your engine bay can seem intimidating, but it’s easier than you think. First, make sure the engine is cool. Cover sensitive components like the air filter and electrical connections with plastic bags to protect them from water. Use a degreaser spray on the dirty areas and let it sit for a few minutes. Then, rinse it off gently with a hose or a pressure washer on a low setting. Avoid high-pressure settings, as they can force water into places it shouldn’t go.
After rinsing, let the engine dry completely before removing any protective bags. If you want to, you can apply a light dressing to plastic and rubber parts to keep them looking fresh. Just be cautious not to overdo it; a little goes a long way!
5. Final Touches
Once everything is clean, take a moment to do a final inspection. Look for any missed spots inside or out. If you applied a wax or sealant, ensure it’s cured as per the product instructions before exposing your car to the elements. Finally, don’t forget to clean your windows with glass cleaner for that crystal-clear finish. A clean set of windows can make your whole vehicle feel brand new!
Troubleshooting & Fix-ups
Even the most seasoned DIYers run into hiccups. Here are some common issues you might face:
- Streaks on Windows: If your glass cleaner leaves streaks, it’s likely due to using too much product or cleaning in direct sunlight. Use a dry microfiber towel and try cleaning in the shade for better results.
- Swirl Marks on Paint: If you notice swirl marks after washing, it could be from using a dirty wash mitt or applying too much pressure. Always rinse your mitt often and let the weight of the mitt do the work.
- Tough Stains on Upholstery: For stubborn stains, a mixture of baking soda and water can help lift them. Apply it directly to the stain and scrub gently with a cloth.
Common Mistakes & How to Avoid Them
From my experience, here are some mistakes to watch out for:
- Skipping the Wheels: Many DIYers forget about the wheels or just give them a quick rinse. This is a mistake! Brake dust and grime can damage wheel finishes over time, so give them the same care as the rest of the car. A little extra attention here can go a long way.
- Using Household Cleaners: Avoid using household cleaners on your car’s surfaces, as they can be too harsh and damage finishes. Stick to automotive-specific products for the best results.
- Not Drying Properly: Leaving water spots on your car’s surface can lead to mineral deposits. Always dry your car with a microfiber towel after washing, and consider using a drying aid to help eliminate streaks.
Pro Tips & Lessons Learned
Here are some of my go-to tips that have saved me time and money:
- Use a Clay Bar: If your paint feels rough after washing, consider using a clay bar to remove embedded contaminants. It’s an extra step, but it makes a world of difference in the finish. Trust me; your paint will thank you!
- Invest in Quality Microfiber Towels: Cheap towels can scratch your surfaces. Invest in good-quality microfiber towels for both washing and drying. They’re worth the upfront cost in the long run.
- Take Your Time: Rushing through the cleaning process usually leads to missed spots and mistakes. Set aside a few hours and enjoy the process! You’ll be surprised at how therapeutic it can be.
Budget & Time Signals
Cleaning your vehicle can be budget-friendly if you plan accordingly. Expect to spend around $50 to $100 for all the supplies if you don’t already have them. You can phase your cleaning over a couple of weekends if needed, focusing on the exterior one weekend and the interior the next.
If you’re buying products in bulk or on sale, that can drive costs down significantly. Also, don’t forget to consider your time. It might take a few hours to get everything done, but the satisfaction of a clean car is well worth it. Plus, you’ll gain valuable experience along the way!
When to Call a Pro
There are times when it’s best to leave things to the professionals. If your car has extensive rust, mechanical issues, or if you’re just not comfortable with certain cleaning tasks, it’s wise to call in an expert. Also, if you notice any smells or signs of mold in the interior, that can indicate a bigger problem that might need professional help. It’s better to be safe than sorry.
Conclusion
Cleaning your vehicle during the winter is not just about appearance; it’s about protecting your investment. By following this guide, you’ll have the tools and knowledge to keep your car looking great and running smoothly without breaking the bank. Remember to take your time, enjoy the process, and don’t hesitate to reach out for help if you encounter something beyond your comfort level.
Now that you have the know-how, pick a weekend, gather your supplies, and give your car the care it deserves. You’ll be amazed at how good it feels to see your hard work pay off!
Recommended Gear
Disclosure: As an Amazon Associate, we may earn from qualifying purchases at no extra cost to you.
Common Mistakes
- Skipping cleaning the wheels or giving them only a quick rinse.
- Using household cleaners instead of automotive-specific products.
- Not drying the car properly after washing, leading to water spots and mineral deposits.
- Cleaning in direct sunlight causing streaks on windows.
- Using a dirty wash mitt or applying too much pressure causing swirl marks on paint.
More in Automotive