Amazon Picks for Automotive Gear for Home Repair & Maintenance that Actually Work (Winter, December)
)
Tools Needed
- wrench set
- bolt extractor set
- ratchet wrench
- hammer
- drain pan
- funnel
- safety gloves
- rags
Materials Needed
- fresh oil
- new oil filter
- replacement bolt
Safety Tips
- Wear safety gloves to protect your hands during the repair.
- Ensure the workspace is well-lit and clean to avoid accidents.
- Handle tools carefully to prevent stripping bolts or causing damage.
- Dispose of used oil and materials according to local regulations.
A Snowy Saturday Oil Change
Last Saturday, as the snow began to fall outside, I decided to change my car's oil in the garage. I thought it would be a straightforward task, but I ended up in a frustrating situation. The first time I tried this, I made the rookie mistake of using the wrong size wrench on the oil pan bolt. As I applied torque, I felt a sudden give and realized I had stripped the bolt.
What caught me off guard was how quickly doubt crept in. I stood there, staring at the mess I’d made, wondering if I should just call a mechanic. The thought of spending money and waiting for a professional to do what I believed I could handle was disheartening. But I remembered my goal of saving money and learning something new, so I decided to take a chance and fix it myself.
I jumped on Amazon and decided to buy a bolt extractor set. It cost me $20 and an extra hour of my time, but I figured it was worth it to learn how to tackle this problem. Once the package arrived, I carefully followed the instructions for the extractor. I didn’t realize until halfway through that the right tools could make a world of difference. The extractor worked like a charm, allowing me to remove the stripped bolt without damaging the oil pan further.
With the stripped bolt out of the way, I replaced it with a new one and tightened it down with my torque wrench. I took a moment to appreciate how far I had come since that initial panic. I added the new oil and replaced the oil filter, making sure everything was snug and secure. Finally, I was able to finish the job just as the snow started piling up outside.
Decision Points and Lessons Learned
Throughout this process, I faced several decision points. Should I call a mechanic or try to fix it myself? I opted for the latter because I wanted to save money and learn from the experience. Reflecting on this choice now, I realize that having the right tools made all the difference. If I had the bolt extractor set on hand from the beginning, I could have avoided the whole hassle of stripping the bolt.
There were also a few failure modes that could have derailed my efforts. Stripping the oil pan bolt was the most significant issue, but using the bolt extractor effectively saved me. Another common mistake is not having the right tools ready, which can lead to unnecessary delays. I highly recommend laying everything out before you start to avoid this pitfall.
When to Call a Pro
There are moments when DIY just isn’t worth it, especially with something as critical as your car’s oil system. If you find yourself in a situation where oil is leaking from the pan or you can’t turn the bolt at all, it’s time to call in a professional. Additionally, if you exceed two hours of trying to fix the problem, don’t hesitate to reach out for help.
What I'd Do Differently
Looking back on this experience, here’s what I'd do differently:
- Invest in a high-quality wrench setto avoid future mistakes.
- Keep a bolt extractor set in my toolboxfor emergencies like this.
- Double-check the torque specson the new bolt to ensure it's secure.
- Schedule regular maintenanceto prevent issues from arising in the first place.
In the end, what started as a frustrating problem turned into a rewarding experience. I learned the value of patience and the importance of having the right tools. So, the next time you’re faced with a DIY car repair, remember that a little preparation can save you a lot of headaches.
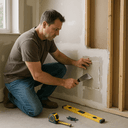
The Setup
It was a typical winter morning, the kind where the snowflakes danced down from the sky, blanketing everything in a serene white layer. I had planned to spend the day working on my car, which had been long overdue for an oil change. With the temperature hovering around freezing, I dressed warmly and headed to the garage, armed with my tools and a sense of determination. I had read countless DIY articles online and watched several videos, but I knew that hands-on experience would be the best teacher.
I had gathered all the necessary supplies: fresh oil, an oil filter, a drain pan, and a few wrenches. I felt confident as I laid everything out in front of me. The beauty of home repair is the satisfaction that comes from solving a problem with your own hands. I started by loosening the oil pan bolt. However, in my eagerness, I grabbed the wrong size wrench, not paying close attention to the specifications. As I applied pressure to the bolt, I heard a disheartening sound—a snap.
The Mistake
It took me a moment to process what had just happened. I had stripped the bolt, and oil was now leaking from the pan. Panic washed over me as I realized the potential consequences of my mistake. Would I need to call a mechanic? What if I made things worse?
I stood there, staring at the mess I had created, the dark oil pooling beneath the car, and my heart sank. The idea of paying for a tow truck and a mechanic’s fee filled my mind with dread. However, I quickly reminded myself that I had tackled tougher projects before. I had to think logically and act strategically.
Initial Reactions
I took a deep breath and assessed the situation. I had a couple of options:
- Attempt to fix it myself:This would involve removing the damaged bolt, a task that seemed daunting at the moment but could save me money.
- Call a mechanic:This would be the easy way out, but it would also cost me significantly more than I had planned.
As I weighed my options, my thoughts drifted to the various tools I had seen on Amazon during my late-night browsing sessions. I recalled a bolt extractor set that I had added to my cart but hadn’t purchased yet. It was only $20 and had great reviews.
The Decision
After a few moments of contemplation, I decided to take the plunge and purchase the bolt extractor set. It was a small price to pay for a second chance to fix my own mistake. I quickly placed the order, opting for same-day delivery, which was a lifesaver given the urgency of my situation.
While I waited for the package to arrive, I cleaned up the oil spill as best as I could. I used rags and a small container to catch the excess oil, trying not to make the situation worse. Each moment felt like an eternity, but I kept reminding myself that I was taking control of the situation.
The Arrival
When the doorbell rang, I rushed to greet the delivery person, practically snatching the package from their hands. I tore it open and pulled out the bolt extractor set, feeling a surge of hope. The set included various sizes of extractors, each designed to grip and remove stripped bolts. I immediately got to work.
The Process
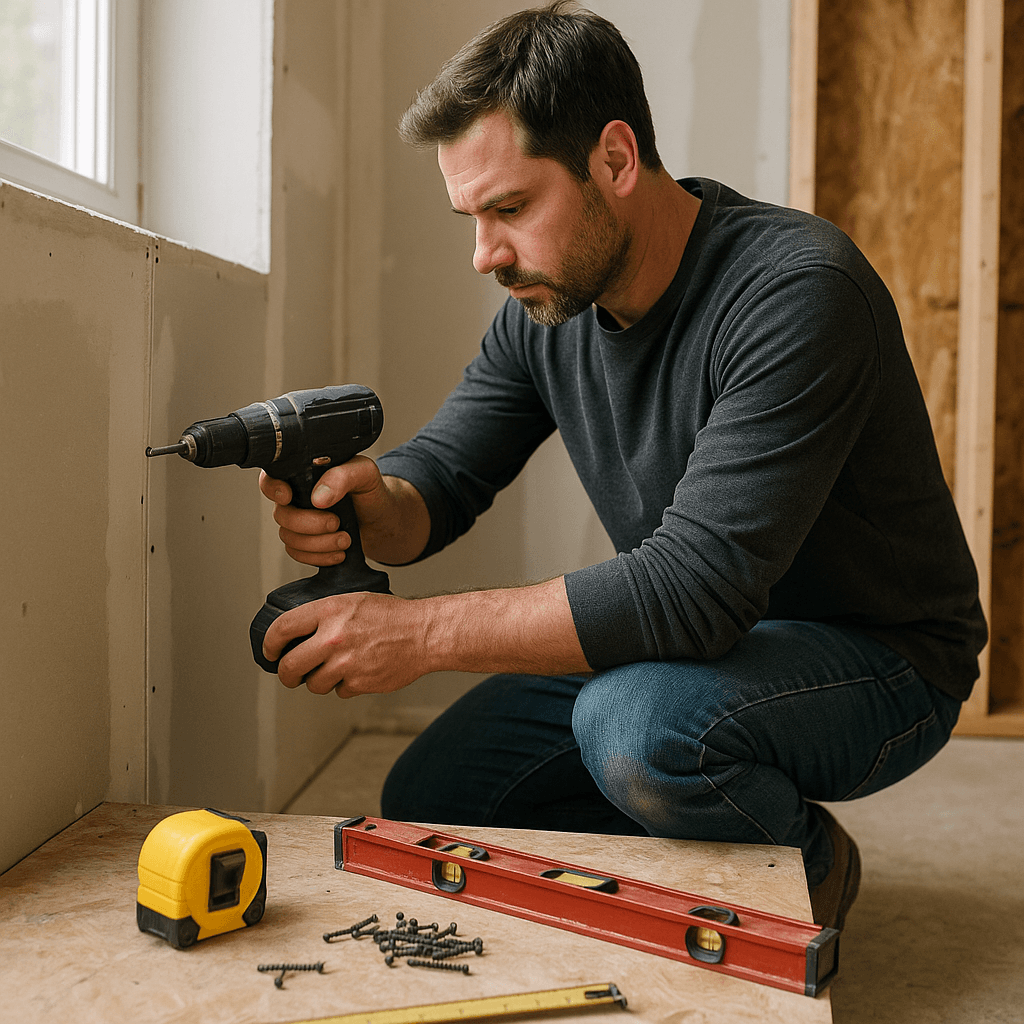
Step 1: Prepare the Area
I ensured that the area was well-lit and that I had all my tools within reach. I laid out the extractor set and chose the appropriate size for the stripped bolt. I also made sure to wear safety gloves to protect my hands from any sharp edges or oil residue.
Step 2: Assess the Stripped Bolt
I examined the stripped bolt closely. It was still somewhat accessible, which was a relief. I knew that the success of the extraction would depend on how well I could grip it. I selected the extractor that fit snugly into the bolt’s remaining grooves.
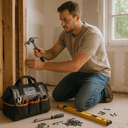
Step 3: Insert the Extractor
With the extractor in hand, I carefully tapped it into the stripped bolt using a hammer. This was a critical moment; if I misjudged the angle or applied too much force, I could end up damaging the surrounding area. I took my time, ensuring that it was aligned properly.
Step 4: Turn the Extractor
Once the extractor was firmly in place, I grabbed a ratchet wrench and began turning it counterclockwise. As I applied pressure, I felt resistance at first, but then, to my relief, the bolt began to budge. I continued to turn slowly, making sure not to rush the process.
Step 5: Remove the Bolt
With a few more turns, the bolt finally came free! I pulled it out, feeling a wave of triumph wash over me. It was a small victory, but in that moment, it felt monumental. I quickly cleaned the area where the bolt had been and prepared to install the new one.
Installation of the New Bolt
I grabbed the replacement bolt and ensured it was the correct size. I carefully threaded it into the oil pan, making sure it was tight but not overly so. I remembered the lesson I had learned about not over-tightening bolts, as this could lead to future issues.
Filling with Oil
With the new bolt securely in place, I turned my attention to the oil. I poured the new oil into the engine, watching as it flowed smoothly through the funnel. It was satisfying to see the process come full circle after my earlier mishap. I closed the hood, feeling accomplished.
Final Steps
Clean Up
I took a moment to clean up my workspace, disposing of any used materials and ensuring that the garage was tidy. It felt good to see everything in its place, a stark contrast to the chaos from earlier.
Test Drive
With everything completed, I hopped into the car and started the engine. It roared to life without any issues. I took it for a short drive around the block, listening for any unusual sounds and checking for leaks. Everything felt perfect! The sense of accomplishment was overwhelming.
Reflections
As I parked the car back in the garage, I reflected on the day’s events. The initial panic had turned into a valuable lesson about preparation and the importance of having the right tools. I felt empowered knowing that I had tackled a challenging task and succeeded. I couldn’t help but smile as I thought about how I had turned a frustrating situation into a rewarding experience.
Future Preparations
Looking forward, I knew I wanted to be better prepared for future projects. I made a list of additional tools that could come in handy, such as a torque wrench for precision tightening and a set of various socket sizes. I also added a detailed checklist for future oil changes to ensure that I wouldn’t overlook anything again.
Closing Thoughts
In the end, my decision to invest in the bolt extractor set was a game-changer. It not only saved me from a costly trip to the mechanic but also gave me the confidence to tackle more complex repairs in the future. The experience taught me that mistakes happen, but with the right tools and mindset, they can be resolved.
Summary of Lessons Learned
- Always double-check tool sizes before attempting repairs.
- Don’t hesitate to invest in quality tools that can save time and money.
- Keep a clean and organized workspace to facilitate easier repairs.
- Document lessons learned to improve future DIY projects.
Common Mistakes
- Using the wrong size wrench leading to stripped bolts.
- Over-tightening bolts which can cause damage.
- Not having the right tools on hand before starting the repair.
- Ignoring safety precautions such as wearing gloves.
More in Home Repair