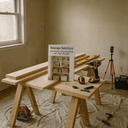
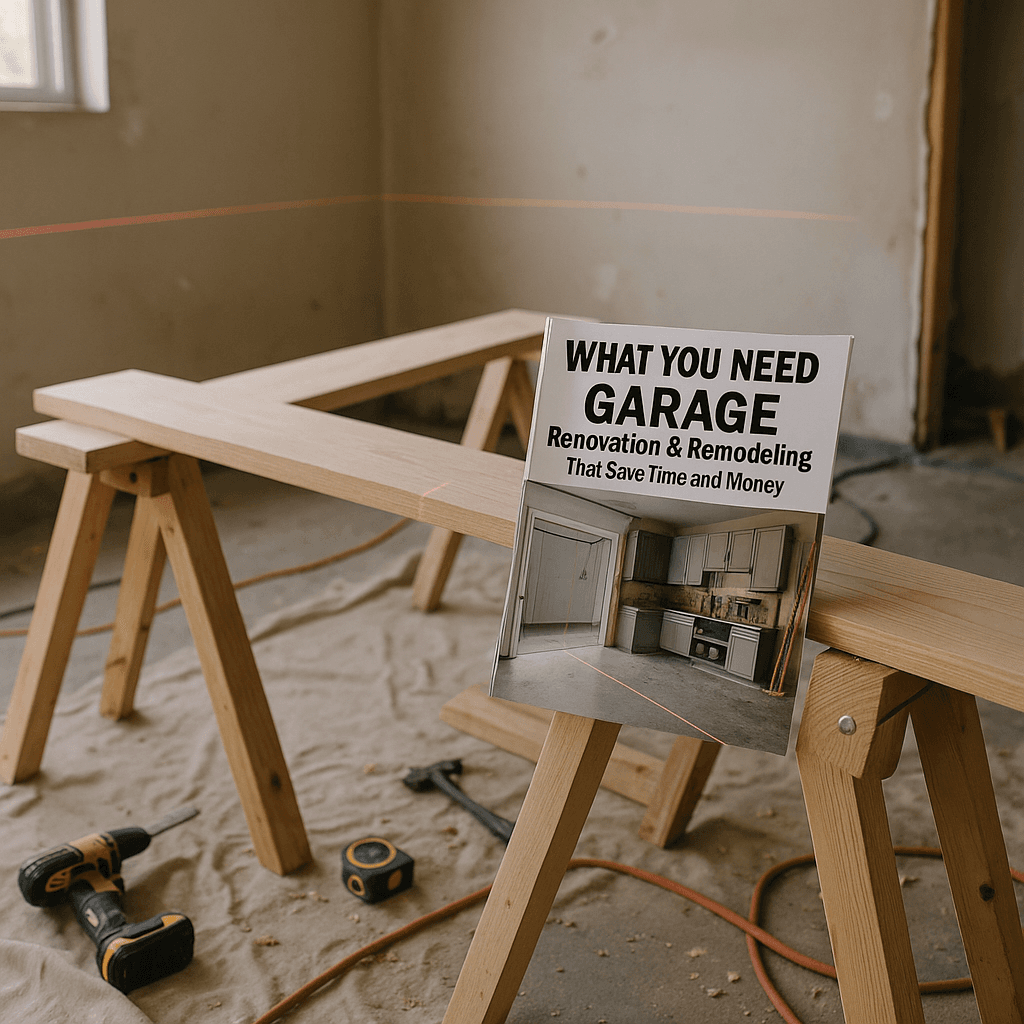
What You Need for Garage Upgrades for Renovation & Remodeling that Save Time and Money (Winter, December)
)
Materials Needed
Safety Tips
- Wear safety goggles when cutting wood or handling power tools.
- Keep the workspace tidy to avoid trips and falls.
- Ensure proper ventilation when painting or using adhesives.
- Follow local electrical codes and consult a professional for complex wiring.
- Anchor workbenches and heavy storage securely to prevent tipping.
Before You Start / What to Know Up Front
If you’re diving into a garage renovation or remodel this winter, you’re in for a rewarding journey. I remember the first time I transformed my garage; it felt less like a cluttered storage unit and more like a functional space I could actually use. This project isn’t just about aesthetics; it’s about making your life easier and your home more organized. This guide is crafted for DIY enthusiasts who want to upgrade their garages without breaking the bank or spending an eternity on the project. Expect to learn the ins and outs of planning, executing, and troubleshooting your garage upgrades, all while keeping safety and building codes in mind.
Method Overview
We’ll approach this remodel in phases: planning, execution, and finishing touches. This method works well because it keeps the project organized and manageable, especially during the colder months when you may have less daylight. It's important to note that while this approach is great for most DIYers, if your garage has serious structural issues or you’re considering significant electrical work, it’s best to consult a licensed professional. I’ve seen firsthand how a small oversight can spiral into a bigger problem, and it’s just not worth the risk.
Deep Step Detail
Step 1: Planning Your Garage Layout
Before you grab your tools, take a moment to sketch out your ideal layout. Measure your garage space and consider what you need versus what you want. Think about storage, workspace, and how you might want to use the space down the line. I’ve seen too many DIYers jump into construction without a solid plan, only to realize halfway through that they don’t have enough room for their tools or they’ve placed shelves in awkward spots.
- Start with a rough sketch of your garage dimensions. Use graph paper if it helps you visualize better.
- Mark where your car, tools, and any large items will go. This helps in avoiding cramped spaces.
- Consider adding a workbench or pegboard for tools. I swear by pegboards for keeping everything visible and accessible.
- Think about lighting needs; a bright workspace can make a huge difference. A well-lit area can improve both safety and efficiency.
- Don’t forget about ventilation if you’re planning on doing any painting or staining. Fresh air is crucial to avoid headaches and respiratory issues.
Step 2: Clearing Out the Space
Once you have a plan, it’s time to clear out the garage. This step is crucial because it gives you a fresh canvas to work with. I can’t tell you how many times I’ve seen someone start a project with clutter still in the way. Not only is it hazardous, but it can also lead to costly mistakes.
- Remove everything from the garage, including large items like lawnmowers or bicycles. If it’s been sitting there unused for a year, it’s a good candidate for donation or disposal.
- Sort items into keep, donate, and trash piles. Decluttering can feel liberating, trust me—your future self will thank you.
- Clean the floor and walls. A clean space helps you spot any potential issues, like cracks or water damage. Plus, it’s much easier to work in a tidy environment.
Step 3: Addressing Structural Issues
Before you start building shelves or adding storage, check for any structural issues. Look for cracks in the walls or floor, signs of water damage, or pests. If you find anything concerning, it might be time to call in a pro. I once ignored a small crack that turned into a bigger problem when water seeped in during heavy rains. A little inspection can save you a lot of heartache down the line. Always keep an eye out for mold or mildew, especially in damp climates.
Step 4: Installing Storage Solutions
Now comes the fun part: installing your storage solutions! Depending on your needs, this could involve building shelves, cabinets, or even a workbench. I’ve built simple shelving units using 2x4s and plywood, which are sturdy and customizable.
- For shelving, start by marking where the shelves will go on the wall. Use a level to ensure they’re straight—nothing is worse than a crooked shelf.
- If you’re using brackets, make sure they’re rated for the weight you plan to store. I’ve seen too many shelves buckle under the weight of tools because of inadequate support.
- For cabinets, pre-assemble them on a flat surface before mounting them to the wall. This makes installation much easier.
Step 5: Adding Workspaces
If you’re planning to use your garage for projects, a workbench is essential. You can buy a pre-made one or build your own. I prefer building my workbench because I can customize the height and size to fit my projects. Plus, there’s a sense of satisfaction in saying, “I made that.”
- If building your own, use 2x4s for the frame and a thick plywood top for durability. Make sure it can withstand the wear and tear of your projects.
- Ensure it’s anchored to the wall for stability, especially if you’re working with heavy tools. I’ve seen workbenches topple because they weren’t secured properly, which can lead to injuries.
Step 6: Wiring and Lighting
Good lighting can make or break your workspace. If your garage lacks natural light, consider installing LED lights. They’re energy-efficient and provide excellent visibility. I’ve also added task lighting above my workbench, which helps with detailed work. If you’re adding electrical outlets or wiring, make sure to follow local codes, and don’t hesitate to call a pro if you’re unsure. Safety first!
- Install LED lights in the ceiling and task lights over work areas. This is crucial for late-night projects.
- Ensure outlets are grounded and spaced adequately for your tools. I once made the mistake of not spacing outlets correctly and ended up using extension cords everywhere, which is not ideal.
Step 7: Finishing Touches
Once everything is installed, take a step back and admire your work. You might want to paint the walls or add some decorative touches. I’ve found that a fresh coat of paint can make the space feel brand new. Don’t forget to label bins and boxes for easy organization! It’s those little touches that make it feel like home.
Troubleshooting & Fix-ups
Even with the best planning, things can go awry. One common issue is measuring incorrectly, which can lead to shelves that don’t fit or cabinets that are too large. If you find yourself in this situation, don’t panic. It’s usually fixable.
- For shelves, you can always add a spacer or trim to fill gaps, which can blend in nicely if done right.
- If cabinets are too large, consider trimming them down. Just remember to sand the edges to avoid splinters, and ensure they fit snugly in the space.
Another issue could be inadequate lighting. If your lights aren’t bright enough, you might need to add more fixtures or switch to higher wattage bulbs. When I first upgraded my garage, I underestimated the number of lights I would need, and it made working at night a challenge. I recommend starting with a few fixtures and then seeing if you need more.
Common Mistakes & How to Avoid Them
One of the biggest mistakes I see DIYers make is underestimating the importance of good planning. Many rush into the project without a clear layout, leading to cramped spaces or wasted materials. Always take the time to sketch out your design first; it pays off in the long run.
Another common pitfall is ignoring safety measures. Always wear safety goggles when cutting wood or handling power tools, and remember to keep your workspace tidy to avoid trips and falls. I learned this the hard way when I tripped over a tool and ended up with a nasty bruise.
Lastly, don’t forget about ventilation, especially if you’re painting or using strong adhesives. Proper airflow can prevent headaches and other health issues. I’ve found that opening a window or using a fan can make a world of difference.
Pro Tips & Lessons Learned
Here are a few tips I’ve learned from my own garage projects that can save you time and money:
- Invest in quality tools. While it’s tempting to go for the cheapest option, quality tools last longer and perform better. A good drill, for instance, can make all the difference.
- Use pegboards for tools. They keep everything visible and easily accessible, which is a huge time-saver. I can’t stress this enough; it’s a game changer.
- Consider modular storage. It’s flexible and can adapt as your storage needs change, which is great if you like to switch things up.
- Always have a first aid kit handy. Accidents happen, and being prepared can make a huge difference. I’ve had my share of minor cuts that could’ve been avoided with a simple band-aid.
- Keep a notebook of your projects. Jotting down what worked well and what didn’t can be invaluable for future projects. I often refer back to mine for tips and reminders.
Budget & Time Signals
When it comes to budgeting for your garage remodel, costs can vary widely depending on what you plan to do. A simple storage upgrade might run you a few hundred dollars, while a complete overhaul could reach into the thousands. Here’s a rough breakdown:
- Basic shelving and storage: $200 - $500
- Workbench construction: $100 - $300
- Electrical upgrades: $300 - $800
- Lighting installation: $150 - $400
- Painting and finishing touches: $100 - $300
To keep costs down, consider phasing your project. Start with the essentials, like storage, and then move on to lighting or a workbench as your budget allows. It’s a good way to manage expenses without feeling overwhelmed.
When to Call a Pro
There are certain situations where it’s best to leave it to the experts. If you find significant structural damage, like large cracks in the foundation or walls, it’s essential to consult a licensed contractor. Additionally, if you’re working with electrical systems or plumbing, don’t hesitate to call a pro. It’s not worth the risk of making a mistake that could lead to further issues down the line. I’ve learned that sometimes it’s just better to leave complex issues to those who know best.
Conclusion
Upgrading your garage can be a fulfilling project that improves your home’s functionality and organization. Remember to take your time, plan carefully, and don’t shy away from asking for help when needed. The key wins here are not just the physical improvements but also the skills and confidence you’ll gain along the way. So, grab that sketchpad and start planning your dream garage today! You won’t regret it!
Choosing the Right Paint for Garage Surfaces
When selecting paint for your garage, consider the material of the walls. For concrete surfaces, an epoxy paint not only adheres well but also stands up to chemicals and abrasions. I once used a low-grade latex paint, and it peeled within weeks due to the humidity. Always prep the surface by cleaning with a degreaser and allowing it to dry thoroughly for at least 24 hours before painting. If you're painting metal surfaces, a rust-inhibiting primer is essential; apply two coats and let them cure for 48 hours.
Case Study: Dealing with Poor Lighting
A friend of mine decided to install LED fixtures but neglected to check the wattage compatibility, leading to flickering lights. To fix this, I had him replace the fixtures with dimmable LEDs and ensured they matched the existing wattage of his circuit. This not only solved the flickering but also provided adjustable lighting for different tasks, allowing him to work comfortably at any hour.
Pro Tip: Optimize Storage Space
For maximizing vertical storage, consider using pegboards or adjustable shelving. When installing pegboards, ensure you use wall anchors that can support the weight of tools. I faced a situation where my pegboard pulled away from the wall due to heavy hammers. Reinforcing it with additional anchors resolved the issue, and now it holds everything securely.
Recommended Gear
Disclosure: As an Amazon Associate, we may earn from qualifying purchases at no extra cost to you.
Common Mistakes
- Underestimating the importance of detailed planning leading to cramped or inefficient spaces.
- Ignoring safety precautions such as protective gear and workspace cleanliness.
- Inadequate lighting causing poor visibility during projects.
- Improperly supported shelves that buckle under weight.
- Neglecting ventilation when using paints or adhesives.
More in Renovation