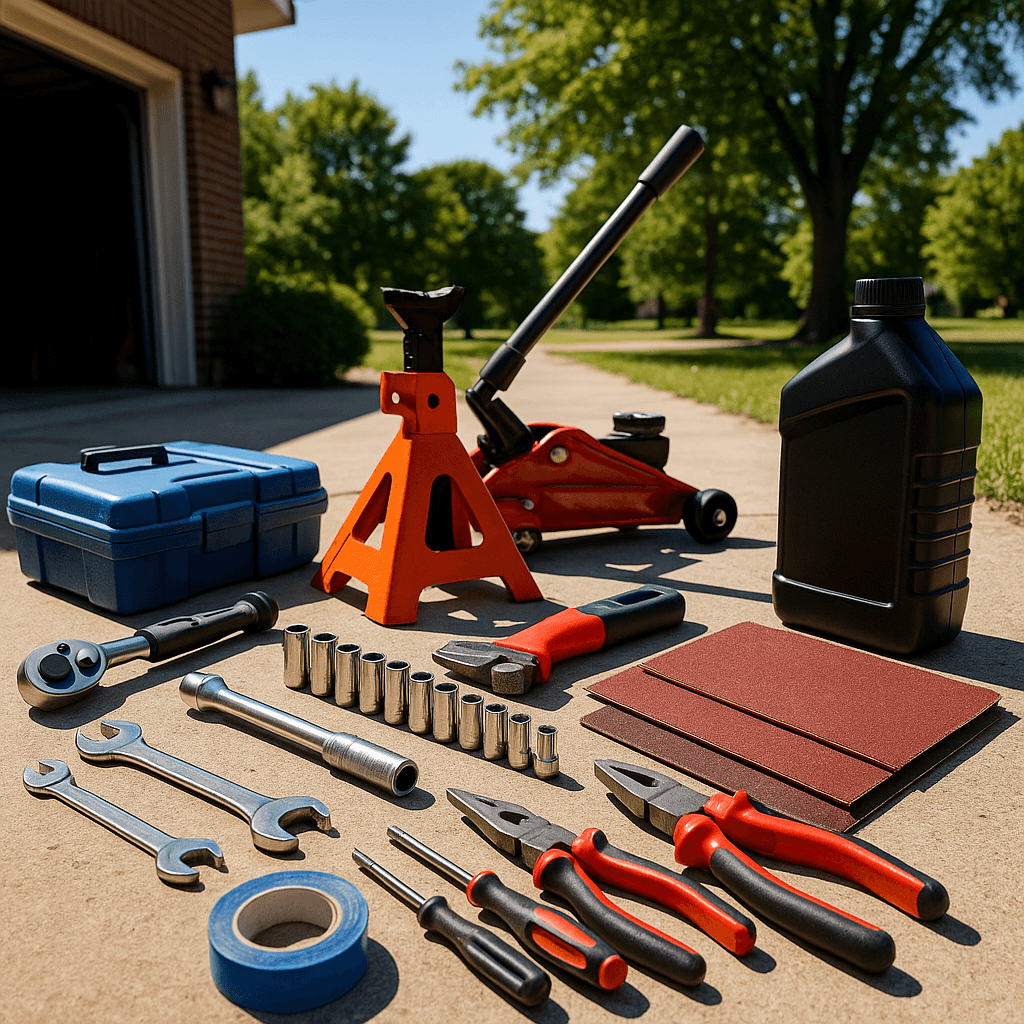
What You Need for Garage Upgrades for Automotive DIY Without Breaking the Bank (Summer, July)

What You Need for Garage Upgrades for Automotive DIY Without Breaking the Bank (Summer, July)
Upgrading your garage for automotive DIY projects doesn't have to drain your wallet. Whether you're a hobbyist or a homeowner looking to improve your workspace, simple, budget-friendly enhancements can make a big difference in efficiency, safety, and organization. This guide walks you through practical upgrades you can make this summer to optimize your garage without overspending.
---
Materials List
- Heavy-duty pegboards - Wall-mounted hooks and brackets - Clear storage bins with labels - Anti-fatigue floor mats - LED shop lights - Magnetic tool holders - Shelving units (metal or wood) - Cable organizers and zip ties - Workbench surface material (e.g., plywood or laminate) - Ventilation fan or window exhaust fan - Fire extinguisher (rated for flammable liquids) - First aid kit
---
Tools List
- Cordless drill with screwdriver bits - Stud finder - Measuring tape - Level - Hammer - Utility knife - Adjustable wrench - Safety glasses - Work gloves - Ladder or step stool - Wire cutters
---
Step-by-Step Garage Upgrade Process
1. **Plan Your Layout**: Measure your garage and sketch a layout focusing on frequently used tools and workspace. Prioritize wall space for vertical storage.
2. **Install Pegboards**: Use a stud finder to locate studs, then mount heavy-duty pegboards securely. This provides versatile storage for hand tools.
3. **Add Wall Hooks and Brackets**: Hang larger tools and equipment on hooks and brackets to keep the floor clear.
4. **Set Up Shelving Units**: Assemble and position shelving to store bins and bulkier items. Use labeled clear bins for easy identification.
5. **Improve Lighting**: Replace old bulbs with bright LED shop lights to reduce eye strain and improve visibility.
6. **Lay Anti-Fatigue Mats**: Place mats in front of your workbench and main standing areas to reduce fatigue during long projects.
7. **Organize Cables and Small Items**: Use cable organizers and zip ties to tidy up cords and small parts.
8. **Enhance Ventilation**: Install a ventilation fan or use a window exhaust fan to improve air circulation, especially when working with paints or chemicals.
9. **Set Up Safety Station**: Mount a fire extinguisher and keep a first aid kit within easy reach.
10. **Create a Workbench Surface**: If needed, refurbish your workbench with plywood or laminate for a durable, clean working area.
---
Safety Tips
- Always wear safety glasses and gloves when handling tools or chemicals. - Ensure electrical outlets and lighting are properly installed and grounded. - Keep your workspace clean and free of clutter to prevent tripping hazards. - Store flammable materials away from heat sources. - Regularly check and maintain your fire extinguisher.
---
Common Mistakes and How to Avoid Them
- **Ignoring Wall Studs**: Mounting pegboards or shelves without anchoring to studs can cause them to fall. Use a stud finder and appropriate screws.
- **Overcrowding Work Areas**: Avoid cramming too many tools or storage units into small spaces. Keep your layout functional.
- **Poor Lighting**: Insufficient lighting leads to mistakes and accidents. Upgrade to bright, energy-efficient LEDs.
- **Neglecting Ventilation**: Working with chemicals in a closed garage is hazardous. Ensure good airflow.
- **Forgetting Safety Gear**: Skipping gloves or eye protection increases injury risk. Make safety non-negotiable.
---
FAQ
**Q1: How can I improve garage lighting on a budget?** A1: Replace existing bulbs with LED shop lights or install affordable clamp lights. Position lights to minimize shadows.
**Q2: What’s the best way to organize small automotive parts?** A2: Use clear, labeled storage bins or small drawer organizers to keep parts sorted and accessible.
**Q3: How often should I check my fire extinguisher?** A3: Inspect monthly for pressure gauge status and physical condition; replace or service annually.
**Q4: Can I install shelving myself?** A4: Yes, with basic tools and a stud finder, you can safely install shelving units by following manufacturer instructions.
**Q5: What’s a quick fix for a cluttered workbench?** A5: Use magnetic tool holders or pegboards above the bench to clear the surface.
---
Conclusion
Upgrading your garage for automotive DIY projects is achievable without a big budget. By focusing on smart storage, lighting, safety, and comfort, you can create a functional workspace that supports your projects all year round. Start with a plan, gather your materials and tools, and take it step-by-step. Your future self will thank you for a safer, more organized garage.
Get started this summer and enjoy your DIY projects with confidence and ease!


