Top Garage Upgrades for Home Organization to Prep for Spring (Winter, December, Year-End)
Materials Needed
Safety Tips
- Wear gloves and safety glasses when handling tools or heavy items.
- Check for electrical hazards like exposed wires before starting work.
- Use proper lifting techniques: bend knees and keep back straight.
- Ensure proper ventilation when using chemical cleaners or paints.
- Call a professional for significant electrical or structural issues.
Top Garage Upgrades for Home Organization to Prep for Spring
Organizing your garage can feel overwhelming, especially as winter drags on and spring cleaning approaches. With the right upgrades and a solid plan, you can transform that cluttered space into a functional area. Here’s how to tackle your garage organization project effectively.
Quick Answer
To enhance your garage organization, start by decluttering, investing in wall-mounted shelves, using clear storage bins, and designating zones for different items. This will maximize your space and keep everything accessible.
Experience Context
The first time I tackled my garage, I was excited but a bit naive. I thought I could just throw everything into bins and call it a day. Halfway through, I realized I had mixed seasonal items with tools and sports gear, making it impossible to find anything. After a moment of hesitation, I faced a decision: buy more storage solutions or spend hours sorting through boxes. I opted to invest in sturdy shelving and clear bins, which made a world of difference.
Before You Start
Underestimating how much you can fit into your garage is a common mistake. Most people think they can just shove everything into a corner. Instead, take measurements of your garage and envision the layout. Also, consider the climate; if you’re in a humid area, proper ventilation and moisture control are crucial to protect your items.
Method Overview
I recommend a zone-based organization approach. This means creating specific areas for different categories of items—like tools, sports equipment, and holiday decorations. If your garage is already well-organized or you only need to store a few items, extensive upgrades might not be necessary.
Deep Steps
- Clear Everything Out: Start by removing everything from your garage. This gives you a clean slate and allows you to see the space you have.
- Tip: Use a tarp or a large plastic sheet to keep items off the ground while sorting.
- Sort Items: As you remove items, categorize them into piles: keep, donate, recycle, and trash. Be ruthless! If you haven’t used it in a year, consider letting it go.
- Measure Your Space: Before purchasing any storage solutions, take measurements of your garage’s walls, corners, and available vertical space.
- Choose Storage Solutions: Depending on your needs, consider:
- Wall-mounted shelves: Great for tools and bins.
- Pegboards: Excellent for hanging tools and small items.
- Clear bins: Help you see contents easily.
- Create Zones: Designate areas for different categories:
- Tools: Near the workbench.
- Outdoor gear: Close to the garage door.
- Seasonal decorations: Up high or in a corner.
- Label Everything: Use a label maker or tape and a marker to label bins and shelves. This helps maintain organization over time.
- Regular Maintenance: Set a reminder every few months to reassess and reorganize as necessary.
Decision Points
- Shelving vs. Cabinets: I opted for wall-mounted shelves over cabinets due to cost and ease of installation. Shelves are cheaper and allow for more flexibility in arranging items.
- Plastic vs. Metal Bins: I chose plastic bins for their lighter weight and moisture resistance, which is crucial in my humid climate. Metal bins might offer durability but come at a higher cost and weight.
- DIY vs. Pre-made Solutions: I decided to buy pre-made shelving units instead of building my own. While DIY can save money, I didn’t have the time or tools for a high-quality finish, and pre-made options allowed for immediate use.
Troubleshooting & Fix-ups
- Bins Not Fitting on Shelves: If your bins are too tall for the shelves, either buy shorter bins or adjust the shelving height. I had to reconfigure my shelves after realizing I couldn't fit my taller bins.
- Fix: Double-check measurements before purchasing.
- Pegboards Pulling Away from the Wall: Sometimes pegboards can sag or warp. Ensure you use the correct mounting hardware and consider adding support brackets.
- Fix: Reinforce with additional screws and brackets for stability.
- Moisture Buildup in Bins: If you notice condensation inside bins, add silica gel packets or desiccants to absorb moisture.
- Fix: Regularly check and replace desiccants as needed.
- Labels Falling Off: If labels peel or fall off, switch to vinyl labels or use clear packing tape over paper labels for protection.
- Fix: Reapply with stronger adhesive solutions or use a label maker for durability.
Common Mistakes & How to Avoid Them
- Not Measuring Before Buying: Measure your space and the items you plan to store first to prevent buying incorrect storage solutions.
- Overloading Shelves: Be mindful of weight limits. I learned this the hard way when a shelf collapsed under the weight of too many heavy tools. Use brackets to support heavier items.
- Ignoring Ventilation: If your garage is prone to humidity, investing in a dehumidifier or ensuring proper airflow is essential. Failing to do so can damage items and create a musty smell.
- Not Labeling: It’s easy to forget what’s in each bin. Label everything clearly to avoid future headaches.
Safety Tips
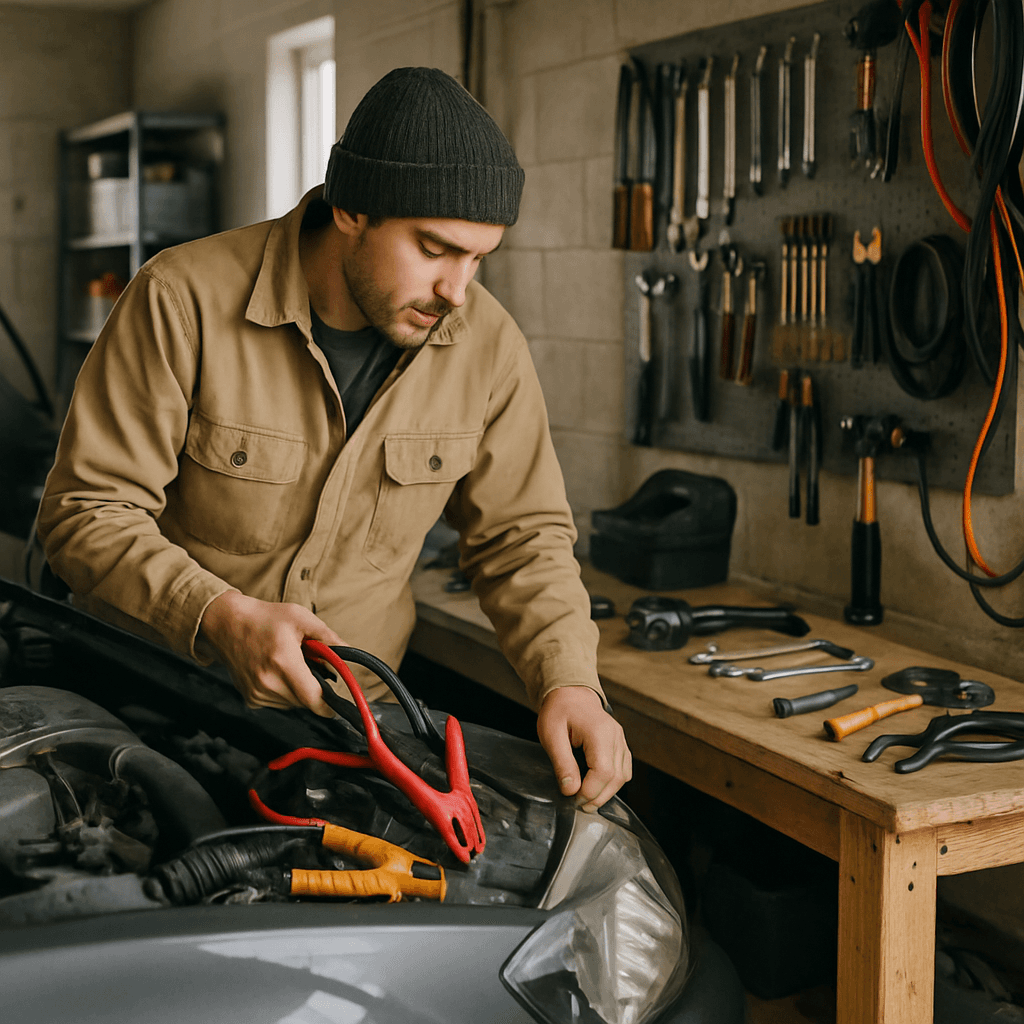
- Wear Safety Gear: When working in the garage, always wear gloves and safety glasses, especially when handling tools or heavy items.
- Check for Hazards: Look for electrical hazards, like exposed wires, and ensure that your garage is well-lit to avoid accidents.
- Lifting Properly: Use proper lifting techniques to prevent injury. Bend your knees and keep your back straight when lifting heavy items.
- Ventilation While Working: If you’re using chemical cleaners or paints, ensure the garage is well-ventilated to avoid inhaling fumes.
- Disclaimers: If you’re dealing with significant electrical or structural issues, stop and call a pro. These situations can be dangerous if not handled correctly.
Budget & Time Ranges
Your budget can vary widely based on the size of your garage and the solutions you choose. Here’s what drives costs up or down:
- Cost Factors:
- Materials: Quality of shelves, bins, and pegboards.
- Tools: If you need to buy or rent tools, that adds to the cost.
- Labor: DIY can save money, but hiring help will increase your budget.
- Time Investment: Expect to spend a weekend for a full garage overhaul. If you're just sorting and organizing, you might finish in a few hours.
Stop & Call a Pro
Consider professional help in these situations:
- Electrical Issues: If you notice flickering lights or exposed wires, call an electrician.
- Structural Concerns: If your garage has significant water damage or signs of mold, consult a contractor.
- Heavy Lifting: If you’re unsure about lifting heavy items or dealing with large furniture, hire movers or a handyman.
- Complex Installations: For installing heavy shelving or cabinets, if you’re not comfortable with tools, call a pro to avoid injury.
What I’d Do Differently If I Did This Again
- Skip the Initial Sorting Step: I’d combine sorting with categorizing to save time.
- Start with a Clean Slate Earlier: I’d clear out the garage completely before making storage decisions.
- Upgrade my Tools: Invest in a quality drill and level beforehand to make installation easier.
- Expect Surprises: Be ready for unexpected challenges, like discovering pests or moisture issues that need immediate attention.
By following these steps and tips, you can turn your garage into an organized haven for all your storage needs. It may feel overwhelming at first, but with a structured approach, you’ll find it’s a rewarding project that pays off in convenience and efficiency.
Micro-Stories
Consider the story of Jane, who transformed her cluttered garage into a functional space. She initially struggled with a jumble of bikes, gardening tools, and seasonal decorations. After assessing her needs, Jane chose adjustable shelving that would grow with her as she acquired more tools. At the hardware store, she faced a tough decision between pre-fabricated shelving and custom builds. Ultimately, she selected modular units, allowing her to customize her setup as her needs changed.
Another story involves Tom, who faced the consequences of underestimating his shelving's weight capacity. After installing cheap shelves, Tom found his tools had fallen and damaged his car’s interior. This experience prompted him to reassess his approach, leading him to heavy-duty shelving that not only supported all his tools but included labeled bins for easy access.
Additional Tips
To optimize garage organization, incorporate clear labeling systems for bins and boxes. This small addition can drastically reduce search time and keep the garage tidy. Utilizing labeled bins prevents the failure mode of forgetting where items are stored, further enhancing efficiency in the space.
Recommended Gear
Disclosure: As an Amazon Associate, we may earn from qualifying purchases at no extra cost to you.
Common Mistakes
- Not measuring the space before buying storage solutions.
- Overloading shelves beyond their weight limits.
- Ignoring ventilation needs leading to moisture damage.
- Failing to label bins and shelves clearly.

)