Time-Saving Garage Upgrades for Home Repair & Maintenance for Long-Term Value (Winter, December, Year-End)
Materials Needed
Safety Tips
- Wear protective gloves and goggles when handling tools and chemicals.
- Ensure proper ventilation when working with paints or solvents.
- Keep the garage well-lit to avoid accidents.
- Avoid overloading electrical outlets and consult a professional for electrical issues.
- Check and comply with local building codes and permit requirements.
Time-Saving Garage Upgrades for Home Repair & Maintenance for Long-Term Value
A well-organized garage can save you both time and headaches when tackling home repairs. After years of trial and error, I’ve learned a few tricks to transform my garage into a functional workspace. Here’s how to enhance your garage's efficiency, especially as winter approaches and home maintenance tasks pile up.
Quick Answer
To upgrade your garage effectively, start by decluttering and organizing your tools. Invest in wall-mounted storage systems, labeled bins, and a functional workbench. Tailor the layout to suit your workflow, particularly for winter projects.
Experience Context
I remember my first winter in my new house, eager to tackle some garage projects. However, I quickly hit a wall—I had no organized system for my tools. I thought I could just shove everything in a corner, but after hours of searching for a simple screwdriver, I was left feeling frustrated. I learned the hard way when I didn’t measure the space for shelves, resulting in some being too low to store anything substantial. The surprise? A well-organized workspace cut my project time in half! I faced a tradeoff: invest in quality storage solutions or waste time rummaging through boxes. I chose wisely, and it paid off.
Before You Start
Take a moment to consider the following:
- Space Utilization: Many underestimate how much usable space they have. Measure your garage dimensions to maximize vertical space.
- Climate Control: Cold winter months can affect tools and materials. Insulate your garage if you plan to work there during winter.
- Safety: A well-lit garage is essential. Working in a cluttered or dark space can lead to accidents.
Method Overview
My approach involved decluttering, organizing, and optimizing the garage layout. This method works well for most, but if your garage has serious issues like water leaks or electrical problems, address those first.
Deep Steps
Here’s how I transformed my garage:
- Declutter: Start by emptying your garage. Sort items into keep, donate, and toss piles. I discovered about 30% of what I had was no longer useful.
- Tip: Use large trash bags for easy junk disposal.
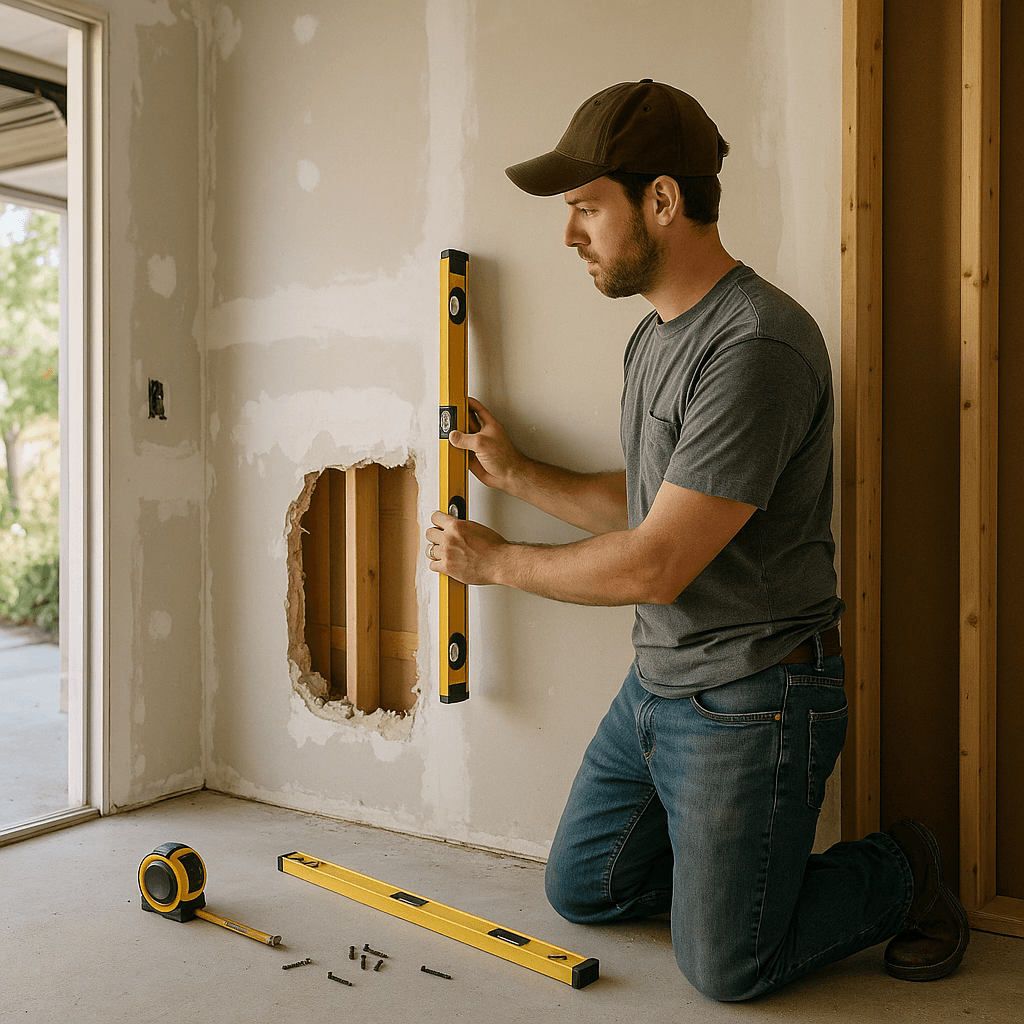
- Measure and Plan: Measure your garage space and sketch a layout. I measured my 20x10 feet garage, helping me visualize how to use wall space effectively.
- Tip: Use graph paper to create a scale model of your garage.
- Install Shelving Units: Invest in sturdy, adjustable shelving. I opted for heavy-duty metal shelves that hold up to 600 pounds each. This was a cost-effective choice that maximized my vertical space.
- Example: I bought two 6-foot tall shelving units for around $150 each.
- Wall-Mounted Storage: Add pegboards or wall-mounted bins for smaller tools. This keeps items visible and accessible. I installed a pegboard for my hand tools and labeled each section.
- Tip: Use hooks of varying sizes to accommodate different tools.
- Create a Workbench: Build or buy a workbench that fits your needs. I built a sturdy one using plywood and 2x4s for about $100, which has been a game-changer for my projects.
- Example: My workbench is 4x2 feet, perfect for small to medium projects.
- Lighting: Ensure adequate lighting. I added LED strip lights under shelves, significantly brightening up the workspace. This upgrade cost me about $50 but was worth it for safety.
- Tip: Look for energy-efficient lights to save on electricity.
Decision Points
As you upgrade, you’ll hit several decision points:
- Option A: Metal Shelves vs. Wooden Shelves: I chose metal for durability and weight capacity. Wooden shelves are cheaper but may not hold as much weight over time.
- Option B: Wall-Mounted vs. Free-Standing Units: Wall-mounted storage saves floor space, crucial in a smaller garage. Free-standing units can be easier to rearrange but take up valuable space.
- Option C: DIY Workbench vs. Pre-made: Building my workbench allowed for customization and saved money. Pre-made benches are convenient but often pricier.
- Option D: LED Lighting vs. Fluorescent: I went with LED for efficiency and brightness. Fluorescent lights are cheaper upfront but consume more energy and need replacing sooner.
Troubleshooting & Fix-ups
Even with planning, things can go awry. Here are common issues I encountered and how I fixed them:
- Failure Mode 1: Shelves are too low: If your shelves are too low, you may not fit larger items. I re-mounted the shelves higher up the wall to allow for taller items below.
- Failure Mode 2: Pegboard Hooks Won’t Hold: If hooks keep falling out, consider using heavier-duty hooks or adding a backer board for extra support.
- Failure Mode 3: Workbench Wobbles: A wobbly workbench can be annoying. I added extra support brackets underneath to stabilize it.
- Failure Mode 4: Poor Lighting: If your lighting is insufficient, try adding more fixtures or switching bulb wattage. I switched to brighter LED bulbs for better illumination.
Common Mistakes & How to Avoid Them
Mistakes can be frustrating, but they’re also learning opportunities. Here’s how to avoid pitfalls:
- Skipping Decluttering: Don’t skip this step. Set aside a full day to focus solely on this.
- Not Measuring: Always measure before buying shelves or storage units. I learned this the hard way when I bought a shelf that was too tall.
- Ignoring Safety: Ensure your garage is free of hazards. I once tripped over a loose cord, which could have been avoided with better organization.
- Underestimating Time: Give yourself ample time for each step. I thought I could finish in a weekend, but it took almost two.
Safety Tips
Safety is paramount when working in your garage. Here are essential tips:
- Wear Protective Gear: Use gloves and goggles when handling tools and chemicals.
- Proper Ventilation: Make sure your garage is well-ventilated, especially when working with paints or solvents.
- Electrical Safety: Ensure your outlets aren’t overloaded. Flickering lights or tripped breakers indicate serious issues; consult a pro.
- Comply with Local Codes: Always check local building codes and permit requirements before significant changes.
Budget & Time Ranges
Costs for upgrading your garage can vary:
- Materials: Quality materials drive up costs. Heavy-duty shelving will cost more than basic wooden shelves.
- Tools: If you need to purchase tools, this adds to your budget. Assess what you already have.
- DIY vs. Hiring Help: Doing it yourself saves money, but hiring a pro ensures quality if you’re unsure.
- Time: Plan for at least a weekend for a full upgrade. If doing it piece by piece, it could span several weeks.
Stop & Call a Pro
Certain thresholds warrant calling a professional:
- Structural Issues: Cracks in walls or ceilings need expert assessment.
- Electrical Problems: Flickering lights, blown fuses, or non-functional outlets can indicate serious electrical issues.
- Water Leaks: Water damage or mold requires professional investigation and remediation.
- Pest Infestations: Discovering pests or rodents is best handled by pest control experts.
What I’d Do Differently If I Did This Again
Looking back, I’d change a few things:
- Skip the Unnecessary Step: I spent too much time trying to paint the walls. Next time, I’d skip that.
- Earlier Step: I’d declutter before planning my layout, saving time measuring for shelves that didn’t fit.
- Tool Upgrade: I wish I had invested in a better drill earlier; it would have made installing shelves easier.
- Surprise: I didn’t expect to enjoy organizing! I’d set aside more time to make it fun, perhaps with music or a friend.
Upgrading your garage can be a rewarding project that enhances both your home and your DIY experience. With the right planning and tools, you’ll create a space that truly works for you. Happy organizing!
Recommended Gear
Disclosure: As an Amazon Associate, we may earn from qualifying purchases at no extra cost to you.
Common Mistakes
- Skipping the decluttering step, leading to disorganized space.
- Not measuring the garage before purchasing storage units or shelves.
- Ignoring safety hazards such as loose cords or poor lighting.
- Underestimating the time required to complete the upgrade.
- Installing shelves too low to accommodate larger items.
)