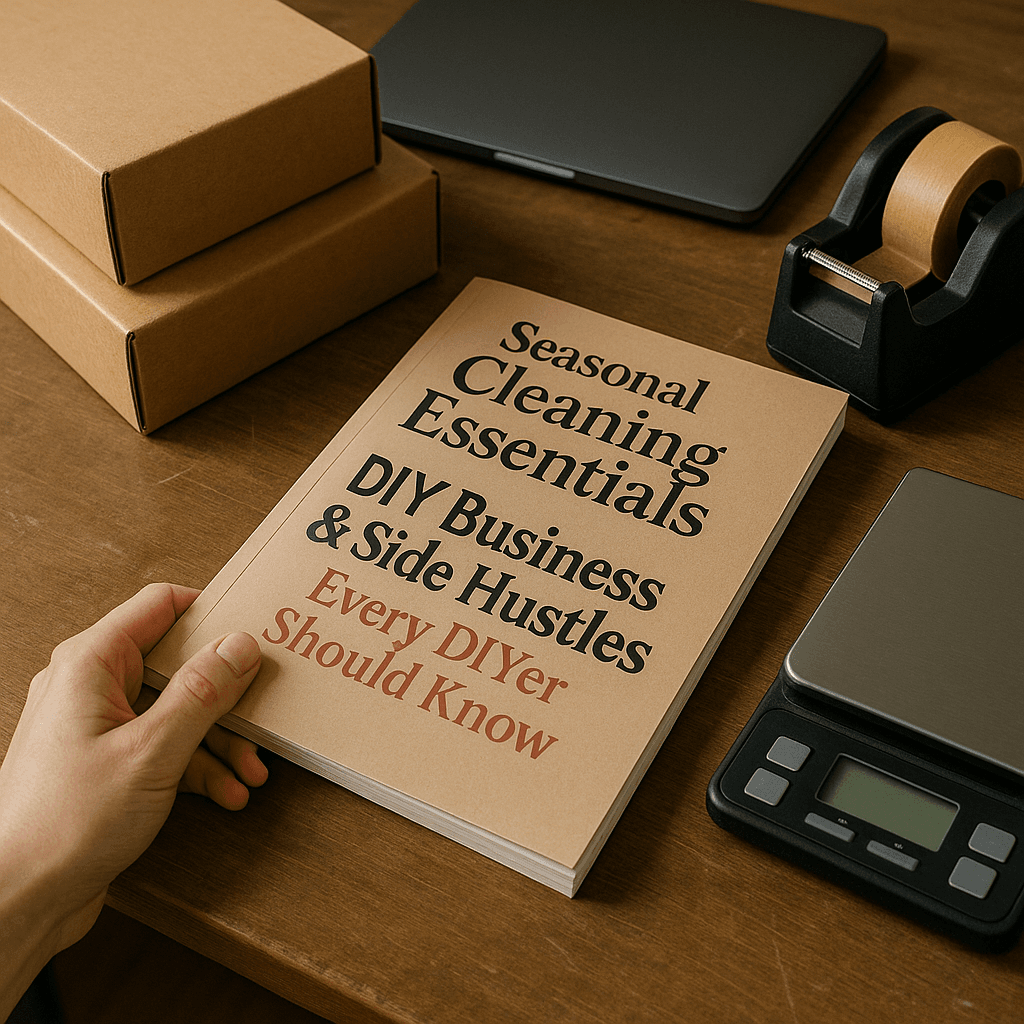
Seasonal Guide to Cleaning Essentials for DIY Business & Side Hustles Every DIYer Should Know (Winter, December, Christmas)
)
Tools Needed
Materials Needed
Safety Tips
- Avoid spraying cleaner directly on surfaces to prevent overspray; spray on cloth instead.
- Test vinegar-based DIY cleaners on a small area first to avoid damaging wood finishes.
- Use steel wool gently when removing rust to avoid damaging tools.
- Keep cleaning products out of reach of children and pets.
Before You Start / What to Know Up Front
Hey there, fellow DIYer! If you’re reading this, you’re probably looking to get your cleaning essentials in order for the winter season, especially around December and Christmas. I remember when I first pivoted my DIY skills into a side hustle; it was a whirlwind trying to discern which tools and products were genuinely essential versus those that just cluttered my workshop. This guide is designed to help you streamline your cleaning essentials so you can maximize your time and minimize stress.
This guide is perfect for anyone looking to clean up their workspace or preparing a gift for someone diving into DIY for the first time. You’ll learn how to approach cleaning your tools and workspace efficiently, ensuring you’re ready to tackle those winter projects. Expect to gain insights that will not only help you clean but also build a solid foundation for your DIY business.
Method Overview
Our approach here is all about efficiency and effectiveness. We’ll focus on organizing your cleaning essentials, using multi-purpose products, and relying on straightforward methods that yield great results without the fuss. This method works well because it keeps your tools in top condition and your workspace tidy, which can significantly boost your productivity. Plus, a clean workspace can inspire creativity!
However, if you’re dealing with heavy-duty cleaning or restoration work, such as removing mold or deep stains from upholstery, this guide might not cover everything you need. For those situations, you may need specialized products or even professional help.
Deep Step Detail
Let’s get into the nitty-gritty of cleaning essentials for your DIY projects this winter. Here’s a step-by-step breakdown of how to get your cleaning game on point:
1. Gather Your Supplies
Start by collecting all the cleaning supplies you’ll need. Here’s a list of essentials:
- Multi-surface cleaner
- Microfiber cloths
- Scrub brushes (soft and hard bristle)
- A vacuum with HEPA filter and attachments
- Broom and dustpan
- Trash bags
Having everything in one place saves you time and energy. It’s like having a toolbox for cleaning! I always keep my cleaning supplies in a dedicated caddy, which makes it easy to grab and go when I need to spruce up my space.
2. Clear the Workspace
Before you start cleaning, clear everything off your work surfaces. This includes tools, materials, and any clutter. I can’t tell you how many times I’ve tried to clean around stuff, only to realize it took longer than just moving it out of the way. Plus, you’ll be surprised at how much dust and debris hides under tools—trust me, I once found an entire missing paintbrush under my saw!
3. Dust and Wipe Down
Once your space is clear, use a microfiber cloth with your multi-surface cleaner to wipe down all surfaces. Start from the highest points (like shelves) and work your way down to avoid cleaning the same spots twice. This is a pro tip I learned the hard way! I usually spray a bit of cleaner on the cloth instead of directly on the surfaces to avoid overspray.
4. Floor Cleaning
Now that the surfaces are clean, shift your focus to the floor. Use a broom to gather any debris, then use a vacuum to pick up the finer dust particles. If you have a hard floor, consider mopping afterward with a suitable cleaner. For carpets, a good deep clean every few months keeps them fresh. Trust me, a clean floor makes all the difference, especially when you’re working with paint or other materials that can get messy. I once had to scrub paint stains off a carpet after a particularly chaotic project; now I’m vigilant about keeping the floor clean!
5. Organize Your Tools
Now that everything is clean, it’s time to organize your tools. Use bins or pegboards to keep your tools accessible and visible. This not only saves you time when working on projects but also helps you see what you have and what you might need to restock. I love using labeled bins for different types of tools—it keeps everything in its place and makes finding what I need a breeze.
6. Seasonal Maintenance
Finally, take a moment to do seasonal maintenance on your tools. This includes checking for rust, cleaning out sawdust from power tools, and ensuring everything is in good working order. A little maintenance goes a long way in prolonging the life of your tools. I’ve learned the hard way that neglecting this step can lead to costly replacements down the road.
Troubleshooting & Fix-ups
Even the best DIYers run into hiccups now and then. Here are some common problems you might encounter and how to tackle them:
- Sticky residue on surfaces: If your multi-surface cleaner isn’t cutting it, mix equal parts vinegar and water for a DIY cleaner that works wonders. Just be cautious with wood surfaces, as vinegar can damage the finish. I usually test on a small area first.
- Dust that just won’t budge: Sometimes, dust clings on like it’s got a job to do. Try using a damp cloth instead of a dry one; it traps the dust rather than just moving it around. I often use a spray bottle to lightly mist my cloth for better results.
- Tool rust: If you find rust on your tools, don’t panic! Use some steel wool to scrub it off gently, then apply a light coat of oil to protect the surface. I keep a rust-removal tool kit handy for just such occasions.
Common Mistakes & How to Avoid Them
From my years of experience, I’ve seen plenty of DIYers make the same mistakes over and over again. Here are a few to watch out for:
- Skipping the prep: Many people jump straight into cleaning without clearing their workspace first. This can lead to missed spots and a longer cleaning time. Always prep your area! I’ve learned that taking 10 minutes to clear the space can save me hours later.
- Overusing cleaning products: More isn’t always better. Using too much cleaner can leave a residue that attracts more dirt. A little goes a long way! I’ve seen friends soak their rags in cleaner, only to end up with streaky surfaces.
- Neglecting tool storage: Not organizing your tools can lead to damage or misplacing them, which means you’ll be spending more money to replace items. Take the time to put everything in its place. I usually spend a few minutes at the end of each project ensuring everything is back where it belongs.
Pro Tips & Lessons Learned
Here are some extra tips that I’ve picked up along the way that can save you time and frustration:
- Label your bins: When organizing, label your bins so you can find what you need at a glance. It may seem simple, but it saves a lot of time! I use a label maker for a professional touch.
- Use old t-shirts for cleaning rags: Instead of buying new cleaning cloths, repurpose old t-shirts. They work just as well and save you money. I’ve turned countless worn-out shirts into rags—just cut them up and toss them in a bin!
- Schedule seasonal cleanings: Make it a habit to do a deep clean at the start of each season. This keeps everything in check and can help prevent larger messes down the road. I set reminders on my calendar to stay on track.
Budget & Time Signals
Cleaning doesn’t have to break the bank. Here’s a realistic breakdown of what you might expect to spend:
- Basic cleaning supplies: $20-$50, depending on the brands you choose.
- Organizational bins or pegboards: $15-$100, depending on size and material.
- Tool maintenance products (oil, rust remover): $10-$30.
The time investment for this cleaning session can range from 2 to 4 hours, depending on the size of your workspace. If you have a lot of tools, it might take a bit longer to organize everything. Remember, you can always phase this work out over a few days if you’re short on time! I often break my tasks into manageable chunks to avoid burnout.
When to Call a Pro
While most cleaning can be tackled with DIY efforts, there are times when it’s best to call in a professional. Here are some thresholds to consider:
- Heavy mold or mildew: If you’re dealing with mold in a significant area, it’s best to let a pro handle it due to health risks.
- Extensive damage: If your workspace has suffered extensive damage from water or fire, calling a pro is essential.
- Complex equipment: If you have specialized tools or machinery that require professional maintenance, don’t hesitate to seek help. I once tried to fix a complex tool myself and ended up making it worse—never again!
Conclusion
Cleaning your workspace and tools might not be the most glamorous part of the DIY world, but it’s essential for keeping your projects running smoothly. With the right approach, you can tackle this task efficiently and set yourself up for a productive winter season. Remember to keep your tools organized, maintain them regularly, and don’t hesitate to reach out for help when needed.
So, what’s your next step? Grab your cleaning supplies and start making your workspace shine! You’ll be amazed at how much more motivated you feel to dive into your next project once everything is in order. Happy cleaning!
Essential Winter Cleaning Tools and Techniques
With the colder months upon us, it’s crucial to have the right tools for indoor projects. A high-quality, HEPA filter vacuum is essential for capturing fine dust and allergens stirred up during winter cleaning. I learned this the hard way when I used a standard vacuum after sanding furniture; the dust settled everywhere and took hours to clean up. Investing in a HEPA vacuum saved me time and frustration on future projects.
Surface Preparation for Winter Projects
Before tackling any cleaning project, surface prep is key. Ensure that surfaces are free from moisture, as winter humidity can affect the adhesion of paints and adhesives. I often use a dehumidifier in my workshop during this season to maintain a consistent environment. When painting, allow surfaces to cure for at least 24 hours before applying a second coat to avoid issues with peeling and bubbling.
Case Study: The Misstep of Overzealous Cleaning
Last winter, a friend attempted to clean her wooden cabinets using a vinegar solution, thinking it would give them a nice shine. Instead, she ended up with a dull finish. I suggested a gentle soap solution and a microfiber cloth instead. After cleaning, we reapplied a wood conditioner, which restored the richness of the wood and protected it for the season.
Pro Tip: The Importance of Temperature Control
Keep in mind that paint and adhesive products often have ideal application temperatures. Aim for between 50°F and 85°F for the best results. I once started a project in too-cold a garage, leading to paint that wouldn't cure properly, resulting in a mess. Use a space heater to warm your workspace, or test products indoors where it’s climate-controlled.
Real-Life Anecdote: The Importance of Timing
When prepping for holiday decorating, I once rushed through cleaning and missed a corner of our living room. This oversight became painfully obvious when I set up the Christmas tree. Now, I always make a checklist and give myself ample time to ensure every inch sparkles before the decorations go up.
Recommended Gear
Disclosure: As an Amazon Associate, we may earn from qualifying purchases at no extra cost to you.
Common Mistakes
- Skipping workspace prep before cleaning, leading to missed spots and longer cleaning time.
- Overusing cleaning products which can leave residue attracting more dirt.
- Neglecting tool storage causing damage or misplacement of tools.
More in Side Hustles