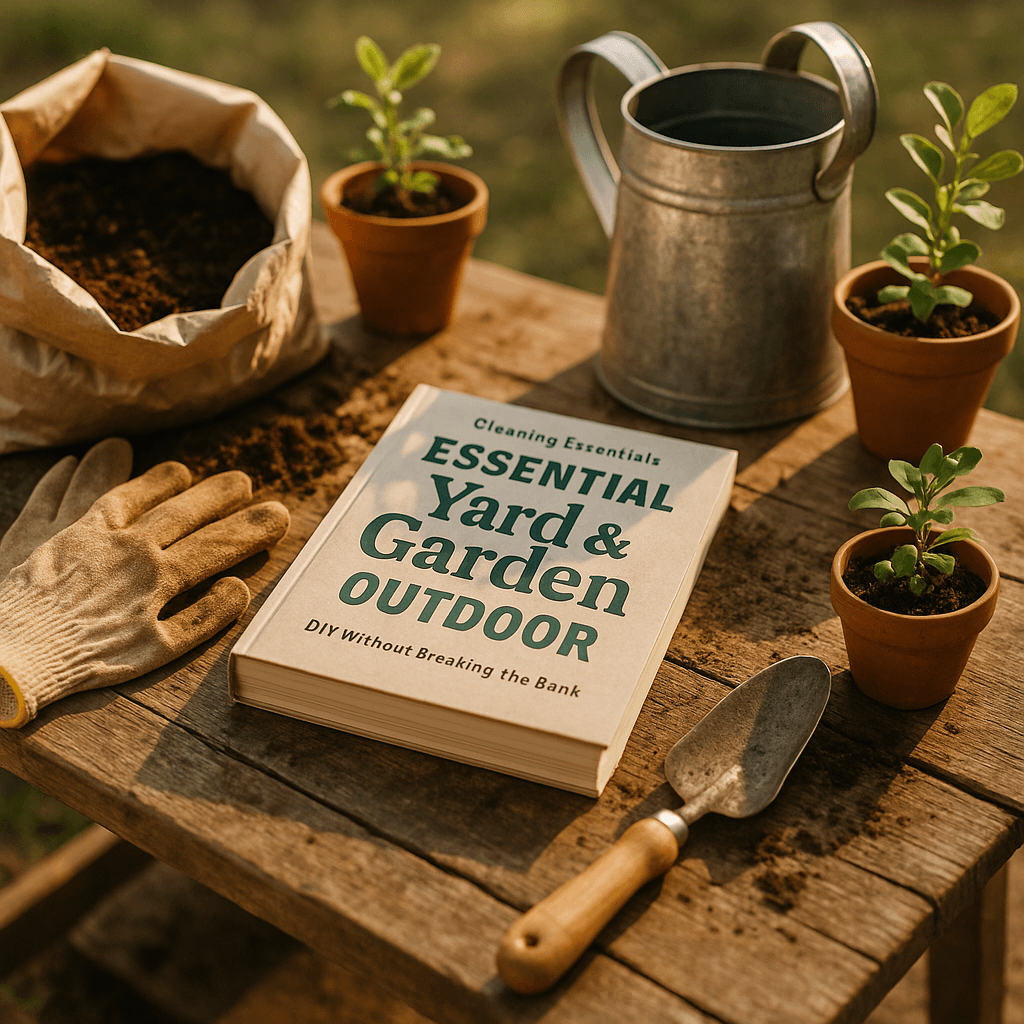
Essential Cleaning Essentials for Yard, Garden, & Outdoor DIY Without Breaking the Bank (Winter, December)
)
Tools Needed
Materials Needed
Safety Tips
- Wear garden gloves to protect hands from chemicals and sharp objects.
- Use cleaning chemicals according to label instructions to avoid surface damage.
- Set pressure washer to low pressure to prevent damage to wooden surfaces.
Essential Cleaning Essentials for Yard, Garden, & Outdoor DIY Without Breaking the Bank (Winter, December)
As the year winds down and winter approaches, our yards and gardens often take a backseat in our minds. But let me tell you—this is the perfect time to tackle those outdoor cleaning projects without breaking the bank. I remember the first winter I faced the untamed wilderness that was my backyard after months of neglect. I thought, "How hard could it be?" Spoiler alert: it was harder than I expected. But with a little planning and the right tools, I transformed my outdoor space and saved money in the process.
This guide is for DIYers like you who want to manage landscape and exterior projects efficiently. Whether you're sprucing up your porch, tidying up the garden, or simply giving your outdoor space a little love before the snow hits, I’ve got you covered. Let’s dive into the essential cleaning essentials and get that yard looking great for the winter months.
Before You Start / What to Know Up Front
Before embarking on any cleaning project, it's crucial to set realistic expectations. The first step is understanding what you’re dealing with in your yard or garden. Is it a simple leaf cleanup, or do you have overgrown bushes and grime on your patio? Knowing what you're up against will help you plan your approach.
I found that the best way to start is by taking a little walk around your yard with a notepad. Jot down any areas that need attention. This will not only help you stay organized but also give you a sense of accomplishment as you check tasks off your list.
Remember, winter cleaning is not just about aesthetics; it's also about preparing your outdoor space for the harsher weather. This helps prevent long-term damage and makes spring clean-up a breeze.
Method Overview
For this project, we’ll focus on a few key methods that have worked wonders for me over the years. We’ll look at cleaning surfaces like patios and decks, managing fallen leaves, and prepping your garden beds for winter.
The approach is straightforward: we’ll gather our tools, tackle each area systematically, and ensure we're maintaining the integrity of our plants and surfaces. This method works well because it breaks the project into manageable tasks, reducing overwhelm. However, if you’re in a hurry or have physical limitations, this approach might not be the best fit.
Here’s what we’ll cover:
- Surface cleaning (patios, decks, furniture)
- Leaf and debris management
- Garden bed prep
- Equipment and chemical choices
Deep Step Detail
Now that we’ve set the stage, let’s break down the steps to get your outdoor space winter-ready.
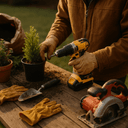
Step 1: Gather Your Tools
Before you dive in, gather the following tools:
- A leaf blower or rake (I prefer a leaf blower for quick jobs)
- A pressure washer or hose with a nozzle
- A stiff broom (make sure to choose one with durable bristles)
- Garden gloves (don’t skip this—trust me)
- A shovel or spade
- Outdoor cleaning chemicals (check labels for safety)
I remember the first time I didn’t have all my tools ready. I spent more time running back and forth than actually cleaning. So, take a moment to collect everything you’ll need before you dive into the work.
Step 2: Clear the Area
Start by removing any large debris from your yard. Use the leaf blower for a quick clean-up or grab your trusty rake if you prefer a more traditional method. Focus on areas like:
- Lawns
- Patios
- Garden beds
- Around trees and flower beds
This step matters because leaving debris can lead to mold growth and damage to your grass or plants under the snow. I once left a pile of leaves too long, and it resulted in some nasty mold spots come spring. Avoid this by tackling leaf management regularly.
Step 3: Clean Hard Surfaces
Next, it’s time to tackle your patios and decks. If you’re using a pressure washer, set it to a low pressure to avoid damaging the surface. I learned this the hard way when I blasted my wooden deck and left it with splinters.
If you don’t have a pressure washer, a hose with a nozzle works well too. Use a stiff broom to scrub away dirt and grime. For stubborn stains, use an outdoor cleaning solution that’s safe for your surface type. Always follow the label instructions for safety and effectiveness.
Step 4: Manage Your Garden Beds
Now that your hard surfaces are clean, let’s focus on your garden beds. Remove any dead plants and weeds. If you have perennials, trim them back to encourage healthy growth next spring. Use your shovel or spade to turn the soil lightly. This helps aerate it, making it easier for nutrients to reach the roots when spring arrives.
Don’t forget to add a layer of mulch to protect the soil from freezing temperatures, which also helps retain moisture. I remember one winter when I didn’t mulch and ended up with frozen soil that was hard to work with in early spring. Avoid this by mulching as an essential step in your winter prep.
Step 5: Final Touches
Finish up by giving your outdoor furniture a good wipe-down. Use a mild soap solution and a sponge or cloth. If you have any cushions, bring them inside or cover them with waterproof covers to protect them from the elements.
This is also a great time to check your outdoor lighting and fixtures. Replace any burnt-out bulbs and clean away dirt. You want your yard to look inviting even on the coldest winter nights.
Troubleshooting & Fix-ups
Even the best-laid plans can go awry. Here are some realistic problems you might encounter and how to handle them:
- Stubborn stains on patios or decks: If a pressure washer doesn’t remove stains, try a mixture of vinegar and baking soda. Let it sit for a few minutes before scrubbing with a stiff brush. I once had great success with this on a stubborn oil stain.
- Leaves stuck in nooks and crannies: Use a small broom or an old paintbrush to sweep them out. This can save you from a clogged drain later.
- Frozen soil: If you find yourself facing frozen ground that’s too hard to work with, wait for a warmer day or try using a garden fork to break it up gently. This can help you avoid straining yourself.
Common Mistakes & How to Avoid Them
In my years of DIYing, I’ve seen a few common mistakes that can turn a straightforward cleaning project into a headache:
- Skipping the prep: Not assessing what needs to be cleaned can lead to missed spots and wasted time. Do a thorough walk-through first. A checklist can be a game-changer.
- Using the wrong cleaning products: Always check that your chemicals are safe for the surfaces you’re cleaning. I once ruined a lovely patio because I used a cleaner meant for wood on stone. Double-check those labels!
- Not wearing gloves: This might seem minor, but I can’t stress enough how important it is to protect your hands from harsh chemicals and sharp objects. A small cut can turn into a big deal if you’re not careful.
Pro Tips & Lessons Learned
Here are some smaller tricks I’ve picked up along the way that can save you time, money, or frustration:
- Use vinegar for cleaning: It’s a natural cleaner and great for removing stains or mold. Just mix equal parts vinegar and water. I often keep a spray bottle of this solution handy.
- Invest in a good rake: A quality rake will make leaf management much easier. I learned this after struggling with a flimsy one that bent after one use. A sturdy rake is worth the investment.
- Try homemade cleaning solutions: Not only are they cheaper, but they often work just as well as store-bought ones. For example, mix baking soda with dish soap for a powerful surface cleaner.
Budget & Time Signals
Realistically, cleaning your yard and garden can range from $50 to $200 depending on what tools and materials you already have. If you need to purchase items like a pressure washer or outdoor cleaning chemicals, costs can go up. However, many of these tools can be rented or borrowed, which can save you money.
Expect to spend about a weekend on this project, but you can break it up into smaller tasks if you need to. The key is to keep it manageable so you don’t feel overwhelmed.
When to Call a Pro
There are moments when it’s best to know your limits. If you encounter:
- Extensive mold or algae growth that’s hard to remove
- Damage to hardscapes that needs professional repair
- Any electrical issues with outdoor lighting that you’re unsure about
In these cases, it’s wise to call a professional. It can save you from further complications and expenses down the road.
Conclusion
As we wrap up this guide, I hope you feel equipped to tackle your yard and garden cleaning projects this winter. Remember, the work you do now will pay off in the spring, saving you time and hassle when the weather warms up. With a little preparation and the right tools, you can transform your outdoor space without breaking the bank.
So, take a moment today to jot down your cleaning plan and gather your tools. You’ll be amazed at how satisfying it feels to check those tasks off your list!
Happy cleaning!
Recommended Gear
Disclosure: As an Amazon Associate, we may earn from qualifying purchases at no extra cost to you.
Common Mistakes
- Skipping the initial assessment and prep of the yard leading to missed areas.
- Using wrong cleaning products that can damage surfaces.
- Not wearing gloves, risking cuts or chemical exposure.
More in Yard & Garden