Essential Cleaning Essentials for Tools & Gear for First-Time DIYers (Winter, December)
)
Materials Needed
Safety Tips
- Wear gloves and goggles when using cleaning products to protect your skin and eyes.
- Ensure adequate ventilation when using cleaners with strong odors or chemicals.
- Always read and follow manufacturer instructions on cleaning products before use.
Experience Context
When I first tackled cleaning my tools after a long winter, I made a rookie mistake by using a heavy-duty solvent on my wooden-handled chisels. I hesitated when I saw the finish start to fade, but I thought, "It’s just a little cleaner!" That faded finish was a surprise; I didn't expect my beloved tools to lose their luster so quickly. I ended up spending extra time refinishing them, which was a tradeoff I hadn’t planned for. Lesson learned: read the instructions and choose the right cleaner for the job.
Quick Answer
For cleaning your tools and gear, use a gentle soap solution for metals and a wood-safe cleaner for wooden handles. Rinse thoroughly and dry immediately to prevent rust. Wear gloves and follow the manufacturer's instructions for any products you use.
Before You Start
Cleaning tools isn’t a quick task. The time and effort can vary based on how dirty your tools are and what materials they’re made of. People often underestimate the importance of regular maintenance; a little cleaning now can save you from bigger problems down the road. Gather your supplies ahead of time to avoid getting stuck mid-clean!
Method Overview
The method I recommend involves a few simple steps: gather your supplies, choose the right cleaner, scrub your tools, rinse, and dry them. This approach works well for most tools but may not be ideal for heavily rusted or damaged tools, which may require professional attention or specialized rust removers.
When It’s NOT a Fit
If your tools are severely corroded or have significant damage, skip this cleaning method for now. Assess whether to clean or replace them, as aggressive cleaning could worsen the damage.
Deep Steps
- Gather Your Supplies
- Soft-bristle brush or old toothbrush
- Mild dish soap
- Wood-safe cleaner (for wooden handles)
- Clean cloths or rags
- Bucket of warm water
- Rust remover (if needed)
- Gloves (to protect your hands)
- Choose Your Cleaner
- For metal tools, mix a few drops of mild dish soap in warm water.
- For wooden tools, use a wood-safe cleaner as per the manufacturer’s instructions.
- Scrub the Tools
- Dip your brush in the soapy water and scrub the metal parts, focusing on crevices and joints.
- For wooden handles, apply the wood-safe cleaner and gently scrub to avoid damaging the finish.
- Rinse Thoroughly
- Rinse each tool under running water, ensuring all soap and cleaner residues are removed.
- For wooden handles, use a damp cloth instead of running water to prevent soaking.
- Dry Immediately
- Use clean, dry cloths to wipe down each tool right after rinsing.
- This step is crucial to prevent rust from forming on metal tools.
- Apply Protectant
- For metal tools, consider applying a thin layer of oil (like mineral oil or tool oil) to protect against moisture.
- Avoid applying oil on wooden handles, as it can make them slippery.
Decision Points
Choosing Between Cleaners
- Mild Dish Soap vs. Heavy-Duty Solvent
I opted for mild dish soap because it’s safe for most tools and effective at removing grime without damaging surfaces. Heavy-duty solvents can strip finishes or coatings, leading to more repairs down the line.
Scrubbing Tools
- Soft-Bristle Brush vs. Steel Wool
I chose a soft-bristle brush over steel wool to avoid scratching my tools. Steel wool can remove rust but often damages finishes, especially on wooden handles.
Rinsing Method
- Running Water vs. Damp Cloth
For metal tools, running water is efficient. For wooden handles, I always go for a damp cloth because soaking them can cause warping and damage.
Protectant Choices
- Mineral Oil vs. Wax
I prefer mineral oil because it creates a protective barrier against moisture without leaving a sticky residue. Wax is great too but can be cumbersome to apply and may require frequent reapplication.
Troubleshooting & Fix-ups
- Rust Spots Appearing After Cleaning
- Fix: Use a rust remover specifically designed for tools. Apply it according to the instructions and scrub gently, then rinse and dry thoroughly.
- Wooden Handles Losing Finish
- Fix: If the finish fades after cleaning, apply a wood conditioner to restore its sheen. Test it on a small area first to ensure compatibility.
- Residual Soap Scum on Tools
- Fix: If you see soap scum after rinsing, re-rinse with a little vinegar mixed with water to neutralize the residue, then dry immediately.
- Residual Odor from Cleaners
- Fix: If your tools smell like cleaning products, wipe them down with a cloth soaked in vinegar or lemon juice, then rinse and dry.
Common Mistakes & How to Avoid Them
- Using the Wrong Cleaner
Always check the label to ensure the cleaner is suitable for your tools.
- Neglecting Drying
Failing to dry tools immediately can lead to rust. Set a timer if you have to!
- Not Wearing Gloves
Protect your skin from chemicals, especially with heavy-duty cleaners.
- Ignoring Safety Precautions
Follow manufacturer instructions and safety guidelines for any products you use.
Safety Tips
- Wear PPE: Always wear gloves and goggles when using cleaners, especially if they contain chemicals.
- Ventilation: Ensure adequate ventilation when using cleaning agents, especially those with strong odors.
- Follow Instructions: Read all manufacturer instructions carefully; misuse can lead to injury or damage.
Budget & Time Ranges
- Cost Variability: Cleaning supplies can range from $10 to $50 depending on what you already have at home and the quality of the cleaners you choose.
- Time Investment: Expect to spend about 1-2 hours for a thorough cleaning session, but this can vary depending on how many tools you have and their condition.
- Factors Driving Cost Up/Down:
- Quality of cleaning products
- Type and number of tools
- Need for additional repairs or maintenance
Stop & Call a Pro
- Symptoms: If your tools have extensive rust or damage, or if you’re unsure about their condition after cleaning.
- Measurements: If you notice significant pitting or if tools no longer function as intended after cleaning, it’s time to consult a professional.
- Conditions: If you have inherited old tools that may have historical value or are unsure about their material, don’t risk damage—get expert help.
What I’d Do Differently If I Did This Again
- Skip Unnecessary Step: I wouldn’t bother rinsing wooden handles under running water; using a damp cloth is sufficient.
- Earlier Step: I’d inspect my tools for rust before cleaning to determine if I needed more aggressive treatment first.
- Tool Upgrade: I’d invest in a better soft-bristle brush specifically designed for tool cleaning to save time and effort.
- Surprise: I’d be more prepared for how long it might take to dry everything thoroughly, especially in winter when humidity is high.
Cleaning your tools doesn’t have to be a chore; with the right approach and supplies, you can keep them in great shape for all your future DIY projects. Just take your time, follow safety precautions, and enjoy the process!
Understanding the Importance of Cleaning Tools
Cleaning tools and gear is not just about aesthetics; it directly impacts their performance and longevity. For first-time DIYers, understanding the need for cleaning can prevent future mishaps and ensure projects run smoothly.
Decision Points for First-Time DIYers
- What Cleaning Supplies to Use: Choosing the right cleaning supplies is crucial. For instance, using a mild detergent versus a harsh chemical affects both the tool's longevity and your health.
- Failure Mode: Using abrasive cleaners can scratch surfaces of tools or degrade plastic parts.
- Exact Fix: Always opt for non-abrasive, natural cleaners, especially for delicate surfaces.
- Frequency of Cleaning: How often should you clean your tools? This depends on the type of work you do. For example, a woodworker may need to clean saw blades more frequently than a general DIYer.
- Failure Mode: Neglecting regular cleaning can lead to rust formation on metal tools and hinder performance.
- Exact Fix: Create a cleaning schedule that aligns with your usage frequency; after every major project is a good benchmark.
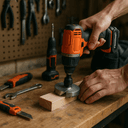
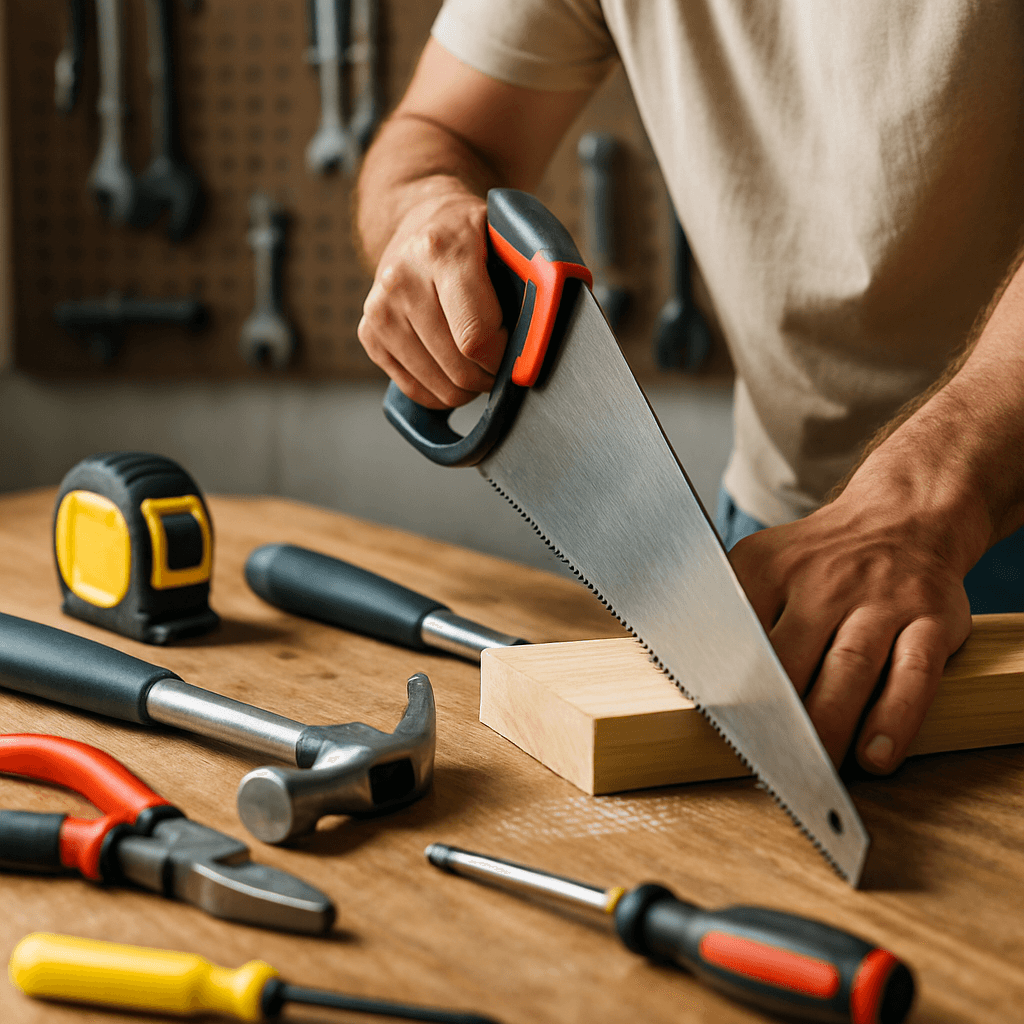
Essential Cleaning Supplies
- Brushes: A set of brushes, including wire and soft-bristle brushes, helps you remove debris from crevices.
- Micro-Story: One DIYer faced the frustration of a clogged drill bit. After struggling, they realized a simple soft-bristle brush could have saved them hours of effort.
- Rags and Cloths: Microfiber cloths are essential for wiping down surfaces without scratching them.
- Decision Point: Consider disposable versus washable cloths. While disposable can be convenient, washable is more eco-friendly and cost-effective in the long run.
- Failure Mode: Using dirty rags can transfer grime back onto cleaned surfaces.
- Exact Fix: Maintain a designated bin for dirty rags to ensure they are washed regularly.
- Lubricants: Oil for tools like saw blades and scissors can prevent rust and keep parts moving smoothly.
- Micro-Story: A novice DIYer neglected to lubricate their hedge trimmer, resulting in it jamming mid-project. A simple application of oil restored functionality and saved the day.
Tools Specific Cleaning Tips
- Paintbrushes: Clean them immediately after use; otherwise, paint hardens and becomes nearly impossible to remove.
- Failure Mode: Leaving paint on brushes overnight can ruin them.
- Exact Fix: Keep a jar of solvent nearby to dip brushes into for easy cleanup while working.
- Power Tools: Always disconnect before cleaning. Use compressed air to blow out dust from vents and mechanisms.
- Decision Point: Determine if a tool requires disassembly for thorough cleaning.
- Failure Mode: Forcing dirt out without disassembly can cause internal damage.
- Exact Fix: Refer to the manufacturer's guidance for cleaning procedures before taking action.
- Hand Tools: After cleaning, dry immediately and apply a light coat of oil to prevent rust.
- Micro-Story: A first-time DIYer noticed their newly gifted hand tools were rusting within a week. A quick online search revealed the importance of oiling them after cleaning, which turned out to be a valuable learning experience.
Recommended Gear
Disclosure: As an Amazon Associate, we may earn from qualifying purchases at no extra cost to you.
Common Mistakes
- Using heavy-duty solvents on wooden handles which can fade or damage the finish.
- Neglecting to dry tools immediately after rinsing, leading to rust formation.
- Not wearing gloves and exposing skin to harsh chemicals.
- Ignoring safety guidelines and product instructions.
More in Tools & Gear