Creative Ways to Tackle Garage Upgrades for Home Repair & Maintenance You Can Start This Weekend (Fall, August)

Tools Needed
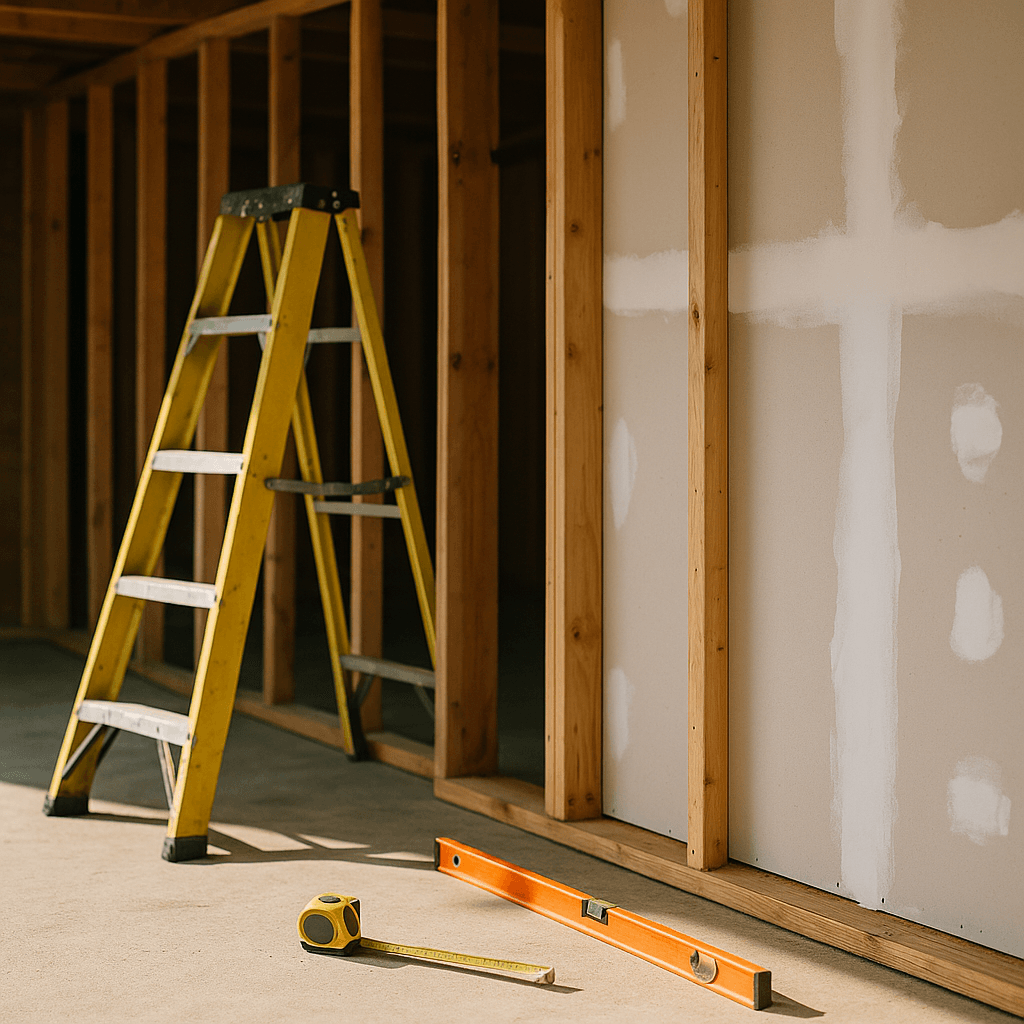
- Basic hand tools
- Paintbrushes
- Screwdriver
- Drill
- Measuring tape
- Ladder
- Cleaning supplies
Materials Needed
- Paint
- Shelving units
- Pegboards
- Cabinets
- LED light fixtures
- Insulation materials
- Weather stripping
- Epoxy floor paint
Safety Tips
- Wear appropriate safety gear such as gloves and eye protection.
- Follow local building codes and obtain necessary permits before starting.
- Use ladders safely and ensure they are stable before climbing.
- Consult a licensed electrician for any electrical upgrades.
- Ensure insulation materials are installed properly to avoid gaps.
Before You Start / Overview of Prerequisites
Upgrading your garage can be an exciting project that not only enhances your home's functionality but also adds value to your property. Before diving into the upgrades, take a moment to consider your garage's current state and determine what needs improvement. Start by clearing out the clutter; this will help you visualize the potential of your space. You'll also want to gather the right tools and materials based on the upgrades you plan to make. A checklist might include basic tools, paint, storage solutions, and any safety gear you may need.
Along with tools, ensure you have a clear plan. Think about your goals: do you want to create a workshop, a tool storage area, or perhaps a multifunctional space? Sketching out your ideas can help you stay organized. Remember, it’s essential to comply with local building codes and permit requirements to avoid any legal issues down the line.
Method Overview
When tackling garage upgrades, it’s helpful to approach the project systematically. Start by assessing your needs and how you plan to use the garage. This step is crucial because it will dictate the type of upgrades that will benefit you the most. For instance, if you plan to use the garage for more than just vehicle storage, consider investing in better lighting or insulation.
Next, focus on organization and storage solutions. A clutter-free garage can transform the space, making it more functional and visually appealing. You might choose to install shelving, pegboards, or cabinets. Each of these options has unique benefits, allowing you to customize the space according to your specific needs. Finally, don’t forget about aesthetic upgrades like painting the walls or floors, which can rejuvenate the overall look of your garage and make it more inviting.
Deep Step Detail
Step 1: Declutter and Clean
The first step in any garage upgrade is to declutter. Go through everything in your garage and decide what to keep, donate, or throw away. This process can be liberating and will create a blank slate for your upgrades. After decluttering, give your garage a thorough cleaning. Sweep out dust, cobwebs, and dirt. You may even want to scrub the floors to remove stubborn stains; a clean environment makes it easier to visualize your upgrades.
Step 2: Organize Storage Solutions
Once your garage is clean, it's time to think about organization. Storage solutions are vital for maximizing your space. Here are a few options you might consider:
- Shelving Units: These can be wall-mounted or freestanding. They are perfect for storing tools, bins, and other items.
- Pegboards: A pegboard can help keep tools visible and easily accessible. You can customize the layout as per your needs.
- Cabinets: If you prefer a cleaner look, cabinets can hide clutter and keep items safe from dust.
- Overhead Storage: Utilizing the ceiling space for storage can be a game-changer in smaller garages.
- Hooks and Racks: These are great for hanging bikes, ladders, or gardening tools.
Step 3: Improve Lighting
Garages often lack sufficient lighting, making them less usable. To improve visibility, consider adding brighter light fixtures. LED lights are an excellent option because they consume less energy and have a longer lifespan. You can install overhead lights or even task lighting for specific work areas like a workbench. After installing new lights, don’t forget to test them to ensure they provide adequate illumination.
Step 4: Insulate and Weatherproof
If you plan to use your garage for more than just parking your car, consider adding insulation. This will make your garage more comfortable during extreme weather conditions. Insulating the walls and ceiling will help regulate the temperature, making it easier to work on projects. Additionally, check for any gaps or cracks in windows and doors. Weatherproofing these areas will prevent drafts and protect your items from moisture. You might want to invest in weather stripping or door sweeps to enhance insulation.
Step 5: Aesthetic Upgrades
Once your garage is functional, it’s time for the fun part! A fresh coat of paint can work wonders for your garage walls and floor. Choose colors that are bright and inviting, making the space feel larger and more welcoming. Consider using epoxy paint for the floor, which is durable and easy to clean. Adding decorative touches like wall art or organizational labels can also enhance the overall look and feel of your garage.
Troubleshooting & Fix-Ups
Even with the best plans, sometimes things don’t go as expected. It’s helpful to have a few troubleshooting strategies in mind. If you find that your shelves are sagging, it could mean you need to reinforce them. You can do this by adding braces or choosing heavier-duty brackets designed to hold more weight. If your garage lighting isn’t bright enough, consider adding more fixtures or repositioning them for better coverage.
Another common issue is clutter creeping back into the space. To combat this, establish a regular cleaning schedule and revisit your organization system regularly. It’s essential to create a habit of putting things back in their designated spots. If you’re struggling with insulation, you may need to re-evaluate your installation technique. Check for gaps and ensure that the insulation fits snugly against the walls.
Pro Tips
Here are some small wins that can significantly improve your garage upgrade outcomes:
- Use Clear Storage Bins: This will help you easily see what you have without opening every box.
- Label Everything: Take a few moments to label your bins and shelves to make finding items a breeze.
- Vertical Storage: Make use of the vertical space by installing shelves and hooks high up.
- Create a Work Zone: If you're going to work in your garage, designate a specific area for tools and projects to keep everything organized.
- Add a Fan or Heater: Depending on your climate, a fan or heater can make the garage more comfortable throughout the year.
When to Call a Pro
While many garage upgrades can be completed by an enthusiastic DIYer, there are certain situations where it’s best to call a professional. If you’re considering electrical upgrades, such as installing new lighting or outlets, it's wise to consult with a licensed electrician. They can ensure everything is installed correctly and safely. Similarly, if you're unsure about insulating your garage properly or if it involves major structural changes, an expert can provide insight and assistance.
Also, if you're dealing with plumbing or significant renovations, hiring a pro will save you time and headaches. Be sure to assess your skills and comfort levels before proceeding with any project.
Budget & Time Signals
Creating a budget for your garage upgrades is essential to avoid overspending. The cost will vary greatly depending on what upgrades you choose to implement. For example, installing shelving might cost around $100-$300, whereas a more extensive insulation project could run anywhere from $400 to $1,000 or more. Painting the walls and floors usually falls between $200 and $500, depending on the size of your garage and the materials used.
Time-wise, most weekend projects can be completed within 1-2 days, especially if you're just focusing on organization and painting. However, more extensive upgrades like electrical work or insulation could take a few weekends, depending on your availability and skill level. Always be prepared for possible delays and plan accordingly.
Conclusion
Upgrading your garage is a rewarding project that can significantly enhance your home’s functionality and appearance. Remember, the key is to start with a clear plan that focuses on your needs. Take your time decluttering, organizing, and beautifying the space to ensure you achieve the desired results. Don’t hesitate to call in professionals for tasks beyond your comfort level. With some planning and effort, you’ll have a garage that not only looks great but serves you well for years to come. So, gather your tools, make your list, and get started this weekend!
Common Mistakes
- Not decluttering before starting upgrades leading to disorganized space.
- Overloading shelves without proper reinforcement causing sagging.
- Insufficient lighting due to poor fixture placement or inadequate wattage.
- Ignoring local codes or permits which can cause legal issues.
- Skipping weatherproofing resulting in drafts and moisture damage.
More in Home Repair


