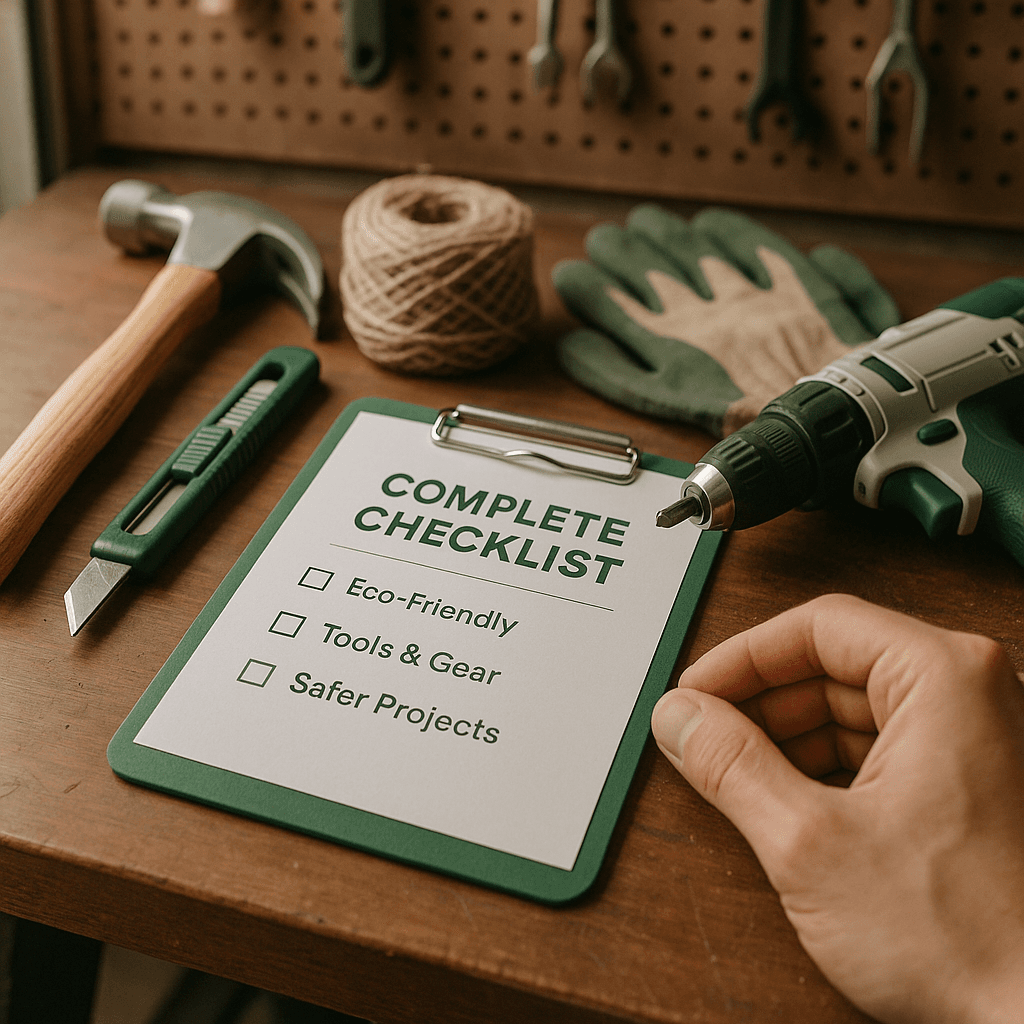
Complete Checklist for Eco-Friendly Products for Tools & Gear for Safer Projects (Winter, December, Christmas)
)
Materials Needed
Safety Tips
- Always wear gloves, goggles, and a mask when sanding or painting to protect from dust and fumes.
- Read product labels and safety warnings before use to ensure proper handling.
- Prioritize safety and functionality over eco-friendliness for heavy-duty projects.
- Keep your workspace clean and organized to prevent accidents.
- Test paint colors on a small area before full application.
Complete Checklist for Eco-Friendly Products for Tools & Gear for Safer Projects (Winter, December, Christmas)
As the winter months roll in and the holiday season approaches, many of us find ourselves brainstorming new DIY projects. Whether it’s building a cozy shelf for your holiday decorations or crafting handmade gifts, there’s no shortage of creative outlets. However, as you gear up for these projects, it’s crucial to think about the tools and materials you're using. With increasing awareness of environmental issues, more DIYers are looking for eco-friendly options that minimize their impact on the planet while ensuring safety and quality. This checklist will walk you through everything you need to know about selecting and using eco-friendly tools and gear for your winter projects.
Before You Start / What to Know Up Front
When I first started my DIY journey, I was eager to dive into projects without considering my environmental footprint. It wasn’t until I stumbled upon a few articles about sustainable practices that I realized I could create beautiful projects while also being kind to the earth. This checklist is designed for DIYers who want to make informed choices about their tools and materials, especially during the busy holiday season. Expect to learn about eco-friendly product options, safety tips, and practical insights that can enhance your DIY experience. Remember, a little planning ahead can go a long way in making your projects not only successful but also sustainable.
Method Overview
The approach we’ll take is straightforward: we’ll cover the eco-friendly tools and materials available, explain why they matter, and provide guidance on when they might not be the best fit for your projects. This method works because it combines both practical knowledge with a commitment to sustainability. However, if you’re working on a large-scale project requiring heavy-duty equipment, some eco-friendly options might not hold up to the demands as effectively as traditional tools. In those cases, it may be better to prioritize safety and functionality over eco-friendliness. I’ve learned that balancing these factors is key to a successful DIY experience.
Deep Step Detail
- Assess Your Project Needs
Before purchasing any tools or materials, clarify what you need for your project. Are you working with wood, fabric, or metal? Each material has its eco-friendly options. For instance, if you’re working with wood, consider reclaimed wood or FSC-certified lumber, which ensures sustainable forest management. I once built a rustic coffee table using reclaimed barn wood, and it not only looked great but also felt good knowing I was helping the environment.
- Choose Eco-Friendly Tools
Look for tools made from sustainable materials, like bamboo or recycled metals. Brands like Greenworks offer a range of eco-friendly power tools that are battery-operated, reducing reliance on fossil fuels. I remember my first time using a battery-powered drill; it was quieter and lighter than my old corded one, making my project much more enjoyable. Just make sure to check battery life and compatibility, as not all batteries are created equal.
- Evaluate Your Paint and Finish Options
If your project involves painting or finishing, opt for low-VOC (volatile organic compounds) paints. These paints reduce harmful emissions and are safer for indoor air quality. Brands like Benjamin Moore and Behr have excellent selections of low-VOC paints that come in a variety of colors. The first time I used low-VOC paint, I was amazed at how fresh my workspace felt compared to when I used traditional paint. A tip: always test a small area first to make sure the color is just right.
- Look for Non-Toxic Adhesives and Sealants
Many adhesives and sealants contain harsh chemicals that can be harmful to your health and the environment. Instead, choose water-based or plant-based adhesives when possible. For example, Titebond III is a popular choice among woodworkers for its strong bond and eco-friendliness. I once made the mistake of using a super glue that had a strong odor and caused headaches; since switching to Titebond, I've had a much better experience. Always check the labels to ensure they meet your eco-friendly standards.
- Plan for Waste Management
Consider how you will dispose of or recycle materials after your project. Many local recycling centers accept wood scraps, old paint cans, and used batteries. By planning ahead, you can minimize waste and ensure your project aligns with eco-friendly practices. I often set aside a bin for scrap materials, and it feels great knowing that I’m doing my part to reduce waste. Plus, you’d be surprised at how much you can repurpose!
Troubleshooting & Fix-ups
Even the most seasoned DIYers run into hiccups now and then. Here are some common issues and how to handle them:
- Paint Drips or Runs: If you find your low-VOC paint is dripping, it could be due to applying too thick a layer. Use a smaller brush and apply multiple thin coats instead. This also leads to a smoother finish. I learned this the hard way on a recent project and had to sand and repaint to fix it.
- Wood Splitting: When working with reclaimed wood, it can sometimes split. To fix this, use wood glue to reattach the split and clamp it until it dries. Just be sure to use a non-toxic glue to keep it eco-friendly. I always keep a few clamps on hand for emergencies like this!
- Battery Issues with Power Tools: If your battery-operated tools are running out of juice too quickly, check if they’re properly charged. Some batteries need a full charge before their first use. If the problem persists, consider upgrading to a newer battery model that holds a longer charge. I once invested in a high-performance battery, and it made all the difference.
- Adhesives Not Bonding: If your adhesive isn’t holding, ensure the surfaces are clean and dry before applying. Sometimes, a quick sand of the surface can help improve adhesion. I’ve had projects go sideways because I skipped this step!
- Tough Clean-Up: If you have paint or adhesive residue that’s hard to clean up, try using a mixture of vinegar and water. It’s a safe and effective way to remove stubborn spots without harming the environment. I keep a spray bottle of this solution handy.
Common Mistakes & How to Avoid Them
Over the years, I’ve seen many DIYers make the same mistakes, often leading to frustration or wasted materials. Here are a few pitfalls to look out for:
- Ignoring Safety Gear: Even when using eco-friendly products, it’s easy to forget about personal protective equipment (PPE). Always wear gloves, goggles, and a mask when sanding or painting. This protects you from dust and fumes. I’ve learned this lesson the hard way too many times.
- Not Reading Labels: Many DIYers overlook the importance of checking product labels. Always read the instructions and safety warnings before using any tool or material. This ensures you’re using them correctly and safely. It’s a simple step that can save you a lot of headaches.
- Choosing the Wrong Tools: Some DIYers think they can make do with the wrong tools. Investing in the right eco-friendly tools will save you time and effort in the long run. If a tool feels uncomfortable or doesn’t fit your project, don’t hesitate to switch. I once stubbornly tried to use a tool that wasn’t right for the job, and it just made everything harder.
- Rushing the Process: It’s tempting to speed through projects, especially during the holiday rush, but taking your time will yield better results. I learned this the hard way when I rushed to finish a gift and ended up with a crooked shelf. Slow and steady wins the race, especially in DIY!
- Neglecting Cleanup: After a project, it’s easy to just leave the mess behind. However, cleaning up right away allows you to recycle and dispose of materials properly, keeping your workspace safe and organized. I often reward myself with a cup of tea after a clean-up session—it makes it feel less like a chore.
Pro Tips & Lessons Learned
Here are some smaller tricks I’ve picked up along the way that can save you time and frustration:
- Use Natural Brushes: For painting, opt for natural bristle brushes. They deliver a smoother finish with less effort and are generally more eco-friendly than synthetic options. I’ve noticed a significant difference in the quality of my finishes since switching.
- Test Paint Colors on Scrap: Before committing to a paint color, test it on a piece of scrap wood. This way, you can see how it looks in different lighting. I once picked a color that looked perfect in the store but didn’t match my decor at home. Don't skip this step!
- Keep Tools in Good Shape: Regular maintenance of your tools can prolong their life. Clean them after each use and store them properly to prevent rust or damage. I make it a habit to sharpen my chisels and clean my saws after big projects.
- Plan Projects for the Off-Season: Winter is a great time to tackle indoor projects. By planning ahead, you can use the slower months to get creative without the pressure of holiday deadlines. I find that winter projects are often the most rewarding.
- Connect with Local DIY Communities: Join local DIY groups or online communities. They often share tips on eco-friendly practices and can offer support when you run into challenges. I’ve learned tons from fellow DIY enthusiasts.
Budget & Time Signals
When planning your eco-friendly projects, budget and time considerations are crucial. Here’s what to keep in mind:
- Material Costs: Eco-friendly materials might be more expensive upfront, but they can save you money in the long run due to their durability. Expect to pay around 10-20% more for sustainable options. It's an investment that pays off over time.
- Tool Investment: Quality eco-friendly tools may come with a higher price tag, but they often last longer and perform better. Budgeting $100-$300 for a good set of eco-friendly tools is reasonable. I always prioritize my tool purchases based on what I know I’ll use most.
- Time Commitment: Depending on the complexity of your project, allow extra time for research and preparation. A simple project might take a weekend, while larger builds could span weeks. I’ve learned to block out time in my calendar specifically for these tasks.
- Phasing Projects: If you’re on a budget, consider phasing your projects. Start with essential items and gradually add more features as time and funds allow. It helps to keep the momentum going without overwhelming yourself.
- Hidden Costs: Don’t forget to factor in the cost of cleanup supplies and any additional materials you might need for repairs or adjustments. It’s easy to underestimate these costs, so plan accordingly.
When to Call a Pro
While many DIY projects can be tackled independently, there are times when it’s best to call a professional:
- Structural Changes: If your project involves moving walls or altering the structure of your home, it’s best to consult a contractor. They can ensure everything meets safety codes and regulations. I’ve seen too many DIYers make costly mistakes when they try to do it all themselves.
- Electrical Work: If your project requires electrical modifications, hire a licensed electrician. This is crucial for safety and compliance with building codes. I learned this lesson well after getting a bit too ambitious with my own lighting.
- Complex Plumbing: Similarly, if you’re dealing with plumbing issues that go beyond simple repairs, it’s wise to call a plumber. It can save you from larger problems down the road.
- Heavy Lifting: If your project involves heavy lifting or large materials that exceed your physical capabilities, don’t hesitate to enlist help. It’s safer for you and your materials. I always ask a friend to lend a hand when I’m moving large furniture.
- Permits: If your project needs permits, a pro can help guide you through the process, ensuring everything is up to code. It’s better to be safe than sorry when it comes to compliance.
Conclusion
As you gear up for your winter DIY projects, remember that choosing eco-friendly tools and materials can make a significant difference. Not only do they benefit the environment, but they also enhance your overall DIY experience. By following this checklist, you’ll be equipped to tackle your projects safely and sustainably. So, gather your tools, put on your PPE, and embark on your next creative adventure. Today, why not start by making a list of projects you want to tackle, and research the eco-friendly materials you’ll need? Happy crafting!
Recommended Gear
Disclosure: As an Amazon Associate, we may earn from qualifying purchases at no extra cost to you.
Common Mistakes
- Ignoring personal protective equipment (PPE) when working with tools and materials.
- Not reading labels or instructions leading to improper use of products.
- Using the wrong tools for the project causing inefficiency or damage.
- Rushing through projects resulting in poor quality and mistakes.
- Neglecting cleanup which prevents proper recycling and safe workspace maintenance.
More in Tools & Gear