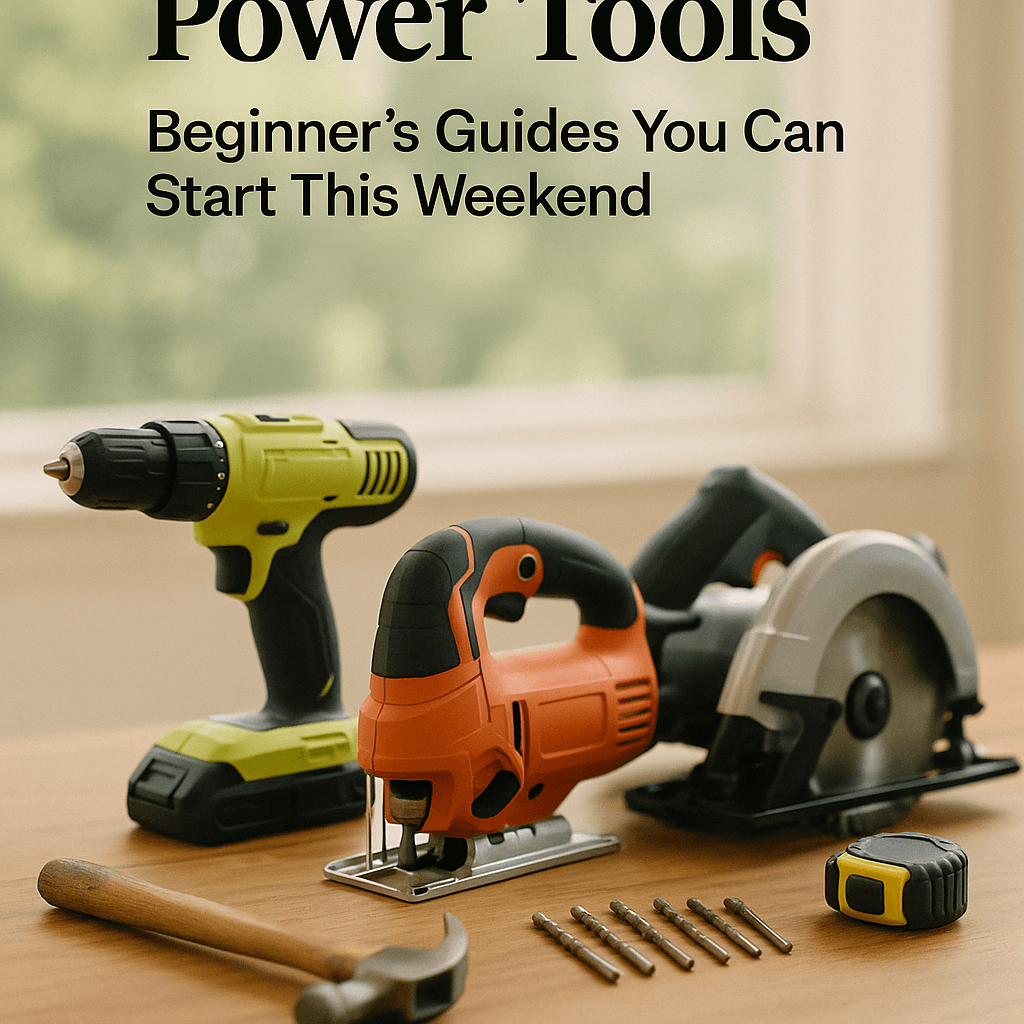
Best Power Tools for Beginner DIY Guides You Can Start This Weekend (Fall, August)

Tools Needed
- Cordless Drill/Driver
- Circular Saw
- Jigsaw
- Sander
- Oscillating Tool
- Clamps
- Safety Glasses
- Gloves
Materials Needed
- Wood
- Screws
- Sandpaper
- Paint or Finish
Safety Tips
- Always wear personal protective equipment such as safety glasses, gloves, and a dust mask when necessary.
- Read the manuals for each tool to understand safe operation.
- Secure workpieces with clamps to prevent movement while cutting.
- Keep fingers clear of blades and moving parts.
- Allow tools to cool down periodically to prevent overheating.
Before You Start / Overview of Prerequisites
Starting a DIY project can be both exciting and intimidating, especially for beginners. Before you dive into your first project, it’s essential to gather the right tools and understand some basic principles. Take time to read the manuals that come with each tool; they provide valuable insights on operating them safely and effectively. Also, familiarize yourself with some basic safety practices, like wearing personal protective equipment (PPE) such as safety glasses, gloves, and a dust mask when necessary. Remember, starting small is key. Choose a simple project that you can complete in a weekend, which will help build your confidence.
Method Overview
The method we will follow for our DIY projects is straightforward and beginner-friendly. We will focus on using a few essential power tools that can handle various tasks, such as cutting, drilling, and assembling. Each tool serves a specific purpose, and understanding how to use them correctly will significantly enhance your DIY experience. This approach works because it allows you to master fundamental skills while gradually expanding your toolkit and project scope.
Key Power Tools for Beginners
- Cordless Drill/Driver: Great for drilling holes and driving screws.
- Circular Saw: Useful for cutting wood and other materials quickly and accurately.
- Jigsaw: Perfect for making curved cuts or intricate designs.
- Sander: Essential for smoothing surfaces and preparing for painting or finishing.
- Oscillating Tool: Versatile for cutting, sanding, and scraping in tight spaces.
By focusing on these tools, you set a solid foundation for more advanced DIY projects in the future. Each tool can be used for a range of tasks, allowing you to develop a comprehensive skill set.
Deep Step Detail
To help you get started, let’s take a closer look at how to use each of these essential tools effectively. Understanding the techniques and choices for each tool will prepare you for a variety of projects.
Cordless Drill/Driver
The cordless drill/driver is perhaps the most important tool in your DIY arsenal. It can be used for drilling holes into wood, metal, and plastic, as well as for driving screws into various materials. Start by selecting the right drill bit for your project. For wood, use a wood bit; for metal, choose a metal bit. When drilling, keep the drill stable and apply consistent pressure. To drive screws, select the appropriate screwdriver bit, align it with the screw, and apply pressure while the drill is running.
Circular Saw
The circular saw is a powerful tool that can make quick, straight cuts in wood and other materials. Before cutting, always ensure your workpiece is secured. Use clamps to hold the material in place and measure twice to ensure accuracy. When cutting, guide the saw along the marked line and let the tool do the work—avoid forcing it. Always wear safety glasses to protect your eyes from flying debris.
Jigsaw
The jigsaw excels at making curved and intricate cuts. It is perfect for projects requiring more detail. To use a jigsaw, start by securing your workpiece and drawing the desired cut line. Choose the right blade for the material you’re cutting, and set the jigsaw to the appropriate speed. As you cut, guide the jigsaw along the line slowly and steadily. Remember to keep your fingers clear of the blade and always wear PPE.
Sander
A sander helps to smooth surfaces, making it crucial for preparing wood for painting or finishing. Choose a sanding pad appropriate for the task—coarser pads for rough surfaces and finer pads for finishing. When sanding, keep the sander moving to avoid creating uneven spots. Clean the surface after sanding to remove dust, which ensures a better finish.
Oscillating Tool
The oscillating tool is versatile and can handle a range of tasks. It can cut, sand, scrape, and more. Choose the right attachment for the job at hand. For example, use a scraping blade for removing old paint or a sanding pad for smoothing surfaces. Always maintain a steady hand and avoid applying too much pressure, as this can damage the tool or the material.
Troubleshooting & Fix-Ups
Mistakes can happen, especially for those new to DIY projects. It’s essential to recognize common issues and learn how to fix them.
Common Issues
- Drill Bit Breakage: This often occurs from using the wrong bit for the material or applying too much pressure. Always match the bit to the material and let the tool work at its own pace.
- Crooked Cuts: If your cuts are not straight, check your measurements and ensure the saw is aligned with your cut line. Using clamps to secure your material can also prevent movement.
- Rough Edges: After cutting, you might find rough edges. Use sandpaper or a sander to smooth these out before finishing.
- Screws Stripping: If your screws won't drive in or seem loose, check the size of your screws and the bits you're using. Ensure you’re using the correct size and type.
- Overheating Tools: Tools may overheat if used for too long. Allow them to cool down periodically to avoid damage.
Pro Tips
As you become more comfortable with your tools, there are small wins you can achieve that will improve your outcomes.
Helpful Tips
- Practice First: Before starting on your main project, practice using your tools on scrap pieces of material. This will familiarize you with the equipment and techniques without the pressure of ruining your project.
- Keep Everything Clean: A tidy workspace leads to better results. Clean up your area as you work to minimize distractions and hazards.
- Measure Twice, Cut Once: This age-old adage remains true. Taking the time to double-check your measurements can save you from costly mistakes.
- Watch Online Tutorials: When in doubt, look for beginner-friendly videos demonstrating specific techniques. Visual aids can help clarify complex tasks.
- Ask for Help: If you’re unsure about a technique or a tool, don’t hesitate to ask someone more experienced. Most DIY enthusiasts love to share their knowledge.
When to Call a Pro
While many projects can be tackled by beginners, some situations clearly call for professional help. Recognizing when to step back is an important skill in DIY.
When to Seek Professional Help
- Electrical Work: If your project involves electrical wiring or installations, it's best to hire a licensed electrician. Safety is paramount when dealing with electricity.
- Structural Changes: If you’re planning to alter walls or make significant changes to your home’s structure, consult a professional. This can affect the integrity of your home.
- Complex Plumbing: For plumbing issues, especially those involving hidden pipes or extensive repairs, it’s advisable to seek a plumber’s expertise.
- Large Projects: If a project feels overwhelming or requires heavy machinery, it may be wise to call in the pros to avoid potential injury or damage.
- Time Constraints: If you’re short on time, consider hiring a professional to ensure the work is done correctly and swiftly.
Budget & Time Signals
Understanding the financial and time commitments of your projects is essential. Be realistic about both aspects to ensure a successful DIY experience.
Budget Considerations
- Tools: Start with a few essential tools that can be used across multiple projects. Investing in good-quality tools can save you money in the long run.
- Materials: Always account for the cost of materials before starting a project. Research prices and compare different suppliers to get the best deals.
- Unexpected Costs: Be prepared for unforeseen expenses. It's a good idea to budget an additional 10-15% for surprises.
- Time Commitment: Estimate how long your project will take, and remember to account for learning curves. It’s better to give yourself extra time than to rush and make mistakes.
- Cost of Hiring Help: If you consider hiring professionals, get quotes in advance. Knowing the costs upfront can help you decide whether to tackle the project or hire someone.
Conclusion
Embarking on DIY projects can be a rewarding experience, especially for beginners. By starting with essential tools, understanding basic techniques, and being mindful of safety, you can build the confidence to tackle various projects. Remember that making mistakes is part of the learning process, and each project will improve your skills further. As you gain more experience, you can gradually take on more complex tasks.
Take the first step this weekend by choosing a simple project, gathering your tools, and preparing your workspace. With patience and practice, you will become a skilled DIYer in no time!
Common Mistakes
- Using the wrong drill bit for the material causing bit breakage.
- Making crooked cuts due to inaccurate measurements or unsecured material.
- Leaving rough edges after cutting without sanding.
- Stripping screws by using incorrect screw or bit sizes.
- Overheating tools by continuous use without breaks.


