Avoid These Mistakes in Power Tools for Home Repair & Maintenance This Year (Winter, December)
)
Tools Needed
Materials Needed
Safety Tips
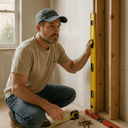
- Always wear safety goggles and gloves when using power tools.
- Use a voltage tester to ensure power is off before electrical work.
- Use a stud finder to avoid drilling into pipes or wires.
- Take your time and avoid rushing to prevent mistakes and injuries.
Before You Start / What to Know Up Front
So, you’ve decided to tackle some home repair and maintenance projects this winter. That’s fantastic! I remember the first time I pulled out my power tools for a DIY project - I was excited but a bit overwhelmed. I had no idea how many mistakes I could make in just a few hours. This guide is meant to help you avoid those pitfalls and achieve professional-like results. We’ll cover everything from setting up your tools to troubleshooting common issues, all while keeping safety and efficiency in mind.
Whether you’re a seasoned DIYer or just getting started, this article is here for you. You’ll learn about the most common mistakes people make when using power tools, how to avoid them, and the right approach to take when working on home repairs. Remember, DIY doesn’t mean you have to do it all perfectly; it’s about learning and improving along the way.
Method Overview
The approach we’ll take is straightforward and practical. We’ll break down the process of using power tools for various home repairs into clear, manageable steps. This method works because it’s structured; it guides you through each phase, ensuring you understand what tools to use and why they matter. However, if you’re working on complex electrical or plumbing issues, it might be best to call in a pro. Some tasks require specialized knowledge that goes beyond basic repairs. I’ve learned that the hard way more than once!
When This Method Might Not Be a Good Fit
If you’re dealing with structural changes to your home, like removing load-bearing walls, or if you're unsure about the electrical systems, it’s wise to consult a professional. Power tools can be dangerous if used improperly, and the last thing you want is to cause more damage or injure yourself. Always assess the scope of your project thoroughly and don’t hesitate to ask for help if you feel out of your depth.
Deep Step Detail
Let’s dive into the nitty-gritty of using power tools for your home repair projects. I’ll outline specific steps you can follow, including examples of tools and settings that work well. Here’s a step-by-step guide, focusing on a few common repairs: fixing drywall, installing shelves, and basic electrical work.
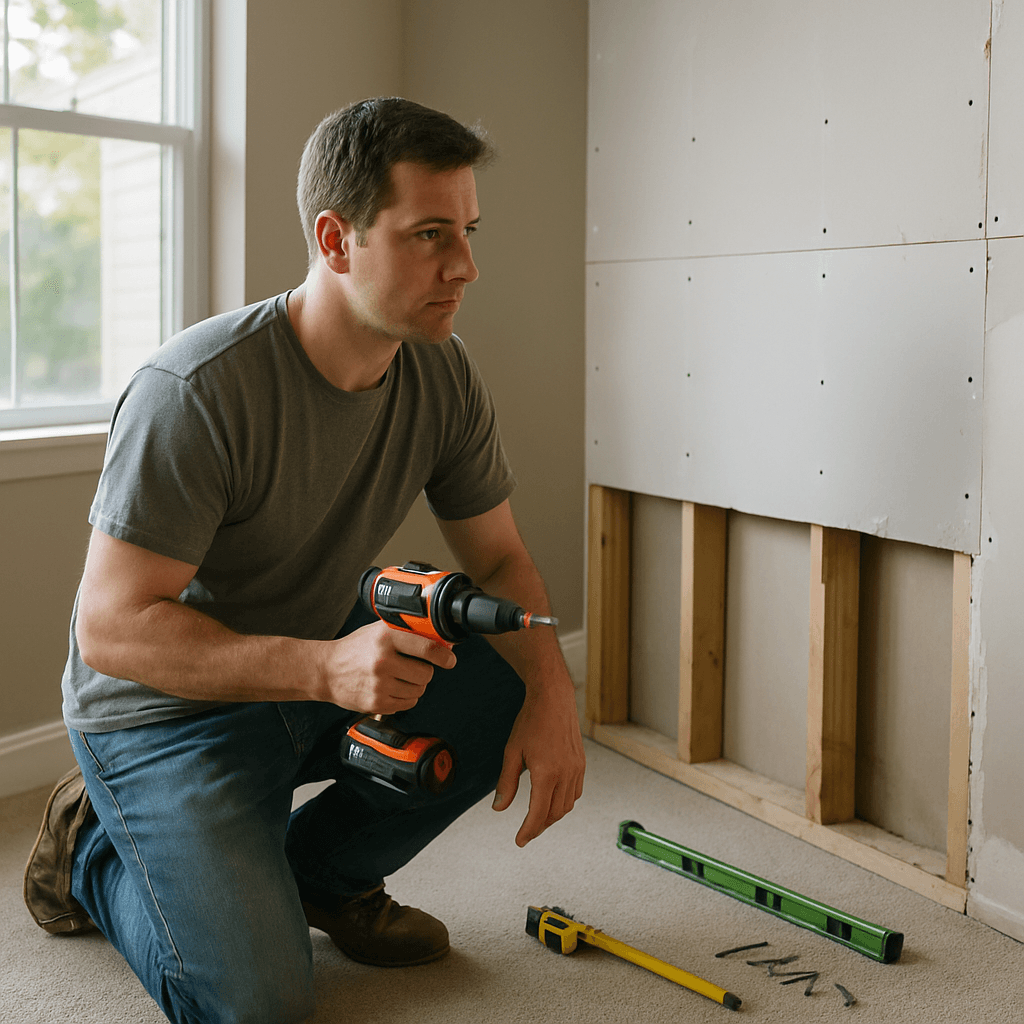
1. Fixing Drywall
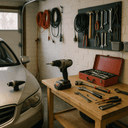
- Gather Your Tools: You’ll need a power drill (a cordless model is great for maneuverability), drywall screws, a utility knife, and a drywall saw. Make sure your drill is set to the right torque setting to avoid stripping screws.
- Measure and Cut: Measure the damaged area and cut a piece of drywall to fit. A utility knife is great for scoring, and a drywall saw can help with more intricate cuts. And remember, safety goggles are a must—dust can get everywhere, and you want to protect your eyes.
- Attach the Drywall: Use the power drill to insert drywall screws into the studs around the new piece. This is where people often rush—take your time to ensure the screws are flush with the drywall. If they're not, you’ll end up with a bumpy surface when you go to mud it.
- Tape and Mud: Apply drywall tape over the seams, then spread joint compound over the tape and screws. A power sander can smooth it out, but be careful not to gouge the surface. I learned the hard way that too much pressure can lead to more repairs. Instead, use a light touch and multiple thin coats.
- Finish: Once it’s dry, sand it down and paint it to match the rest of your wall. If you notice imperfections after painting, don’t panic—just sand and touch up as needed.
2. Installing Shelves
- Choose Your Location: Decide where you want to install your shelves. Use a level to mark your lines so they’re straight. Many people skip this step, but trust me, it makes a huge difference in how professional your shelves look.
- Select the Right Hardware: Depending on the weight of the items you’ll place on the shelves, choose brackets that can support the load. Heavy-duty brackets are essential for larger items, and I’ve learned that it’s better to overestimate the weight capacity.
- Drill Holes for Anchors: Use a power drill to create holes for wall anchors. Always drill into a stud if possible. Use a stud finder to avoid hitting electrical wires or plumbing. I once drilled into a pipe because I skipped this step—learn from my mistake!
- Attach the Brackets: Secure the brackets with screws using your drill. Make sure they’re level and sturdy before placing your shelves. If they wobble, they won’t be safe for use.
- Place Shelves: Finally, place your shelves on the brackets and load them up! Step back to admire your work.
3. Basic Electrical Work (e.g., changing a light fixture)
- Turn Off the Power: Before doing any electrical work, switch off the circuit breaker. This is crucial for your safety. I always double-check with a voltage tester to ensure the lines are dead.
- Remove the Old Fixture: Use a screwdriver to remove the old fixture. Keep track of the screws and parts, so you don’t lose anything. A magnetic tray can be a lifesaver here.
- Wiring: Carefully disconnect the wires, making note of where they connect. You can take a picture for reference. When connecting the new fixture, match the wires: black to black, white to white, and ground to ground. If you’re unsure, consult the fixture’s instructions.
- Secure the New Fixture: Attach the new fixture and screw it in place. Make sure it’s secure before turning the power back on. A loose fixture can cause all sorts of problems down the line.
- Testing: Once everything’s connected, turn the power back on and test your new light. If it doesn’t work, double-check your connections and ensure the circuit breaker is indeed on.
Troubleshooting & Fix-ups
Even with the best plans, things can go sideways. Here are some typical problems you might encounter and how to handle them.
Common Issues with Drywall
- Cracks in Compound: If your joint compound cracks during drying, it’s often due to applying it too thickly. To fix this, sand it down and apply a thinner layer. Patience here will save you a lot of time.
- Screws Not Secure: If screws are popping out, it could be that they weren’t driven deep enough. Use a power drill to reinsert them, ensuring they’re flush with the surface. If you find yourself having to do this often, consider checking your drill settings.
Common Issues with Shelves
- Shelves Not Level: If your shelves are sloping, double-check that your brackets are level. You might need to adjust the screws or reposition the brackets. A small level tool can help troubleshoot this quickly.
- Weak Brackets: If your brackets bend or flex under weight, consider upgrading to more robust ones that can handle the load. I’ve learned that it’s better to invest upfront than deal with broken shelves later.
Common Issues with Electrical Work
- Fixture Won’t Turn On: If your new light doesn’t work, double-check the connections and make sure the circuit breaker is on. Sometimes, a loose wire can be the culprit. It can be frustrating, but check your work systematically.
- Flickering Lights: Flickering can indicate a loose connection or a problem with the circuit. If you notice this, it may be time to consult an electrician. Don’t ignore it; it could mean something more serious.
Common Mistakes & How to Avoid Them
Over the years, I’ve seen a lot of DIYers make the same mistakes, and I’ve made them myself. Here’s a list of common pitfalls and how you can steer clear of them.
- Rushing the Job: It’s tempting to hurry through a project, especially when you’re excited. Take your time to ensure everything is done right. I’ve learned that a little patience saves a lot of headaches later.
- Neglecting Safety Gear: Always wear safety goggles and gloves when using power tools. You don’t want to end up with splinters or worse, eye injuries. I’ve had my fair share of close calls, and it’s not worth the risk. Always prioritize your safety.
- Forgetting to Measure: Measure twice, cut once! This old saying holds true. I’ve wasted materials by not measuring accurately. Always double-check your measurements before making any cuts.
- Ignoring Instructions: Tools and materials come with instructions for a reason. Many DIYers skip reading these, thinking they know better. Trust me, following the guidelines can save you a lot of frustration and time.
- Using the Wrong Tools: Using a tool that isn’t suited for the job can lead to damage and accidents. Always use the right tool for the task at hand, even if it means making an extra trip to the store. It’s worth it in the long run.
Pro Tips & Lessons Learned
Here are some smaller tricks that have saved me time, money, and frustration over the years. These tips might feel like common sense, but they can make a world of difference.
- Keep a Clean Workspace: A cluttered workspace can lead to accidents and mistakes. Take a few minutes to tidy up as you go. It helps you focus and can prevent injuries.
- Invest in Quality Tools: While it’s tempting to go for budget options, quality tools last longer and perform better. I’ve had cheap drills break on me mid-project, and it’s frustrating to say the least.
- Practice with Tools: If you’re unfamiliar with a tool, practice on scrap materials before starting your project. It helps you get the hang of it and reduces the risk of mistakes.
- Take Breaks: It’s easy to get caught up and lose track of time. Take breaks to avoid fatigue, which can lead to accidents. A few minutes away can help clear your mind.
- Ask for Help: Don’t hesitate to reach out to friends or family who have DIY experience. They can offer tips and support that might save you time and effort.
Budget & Time Signals
When it comes to budgeting and timing your projects, it’s essential to have realistic expectations. Here’s a breakdown of what you might expect in terms of costs and time.
Cost Ranges
- Drywall Repairs: Depending on the size of the area, you might spend between $50 to $200, including materials and tools.
- Shelf Installation: This can range from $30 to $150, depending on the quality of the brackets and shelves you choose.
- Basic Electrical Work: For changing fixtures, budget around $30 to $100, which includes the fixture and wiring materials.
Time Estimates
- Drywall: Expect to spend a day on a small repair, factoring in drying time for joint compound.
- Shelves: Installing shelves can take about 1-2 hours.
- Electrical Work: Swapping out a light fixture usually takes about an hour, but be prepared for troubleshooting.
Costs can vary based on your location, the quality of materials, and whether you already own the necessary tools. If you’re looking to phase your project, focus on one task at a time to spread out the expenses.
When to Call a Pro
There are times when it’s best to step back and call a professional. Here are clear thresholds to help you decide:
- Complex Electrical Work: If you’re unsure about wiring or if your project involves significant changes to your electrical system, it’s safer to hire an electrician.
- Plumbing Issues: Plumbing can quickly become complicated. If you’re facing leaks or pipe replacements, consider calling a plumber.
- Structural Changes: Any work that affects the structure of your home, such as load-bearing walls, should be handled by a professional.
- Permits and Codes: If your project requires permits or needs to comply with building codes, it’s wise to consult a pro to ensure everything is up to standard.
Conclusion
As you gear up to tackle your home repair projects this winter, remember that preparation and knowledge are your best allies. By following the steps outlined in this guide and avoiding common mistakes, you can achieve impressive results without the stress. Take it one step at a time, and don’t hesitate to ask for help if you need it.
The next step? Grab your tools and start with a small project. Whether it’s fixing drywall or installing shelves, you’ll gain confidence with each task you complete. Happy DIYing!
Recommended Gear
Disclosure: As an Amazon Associate, we may earn from qualifying purchases at no extra cost to you.
Common Mistakes
- Rushing the job leading to poor results.
- Neglecting safety gear causing injuries.
- Not drilling into studs when installing shelves.
- Applying joint compound too thick causing cracks.
- Loose wiring or connections in electrical work.
More in Home Repair