Amazon Picks for Cleaning Essentials for DIY Cleaning & Maintenance that Save Time and Money (Winter, December, Year-End)
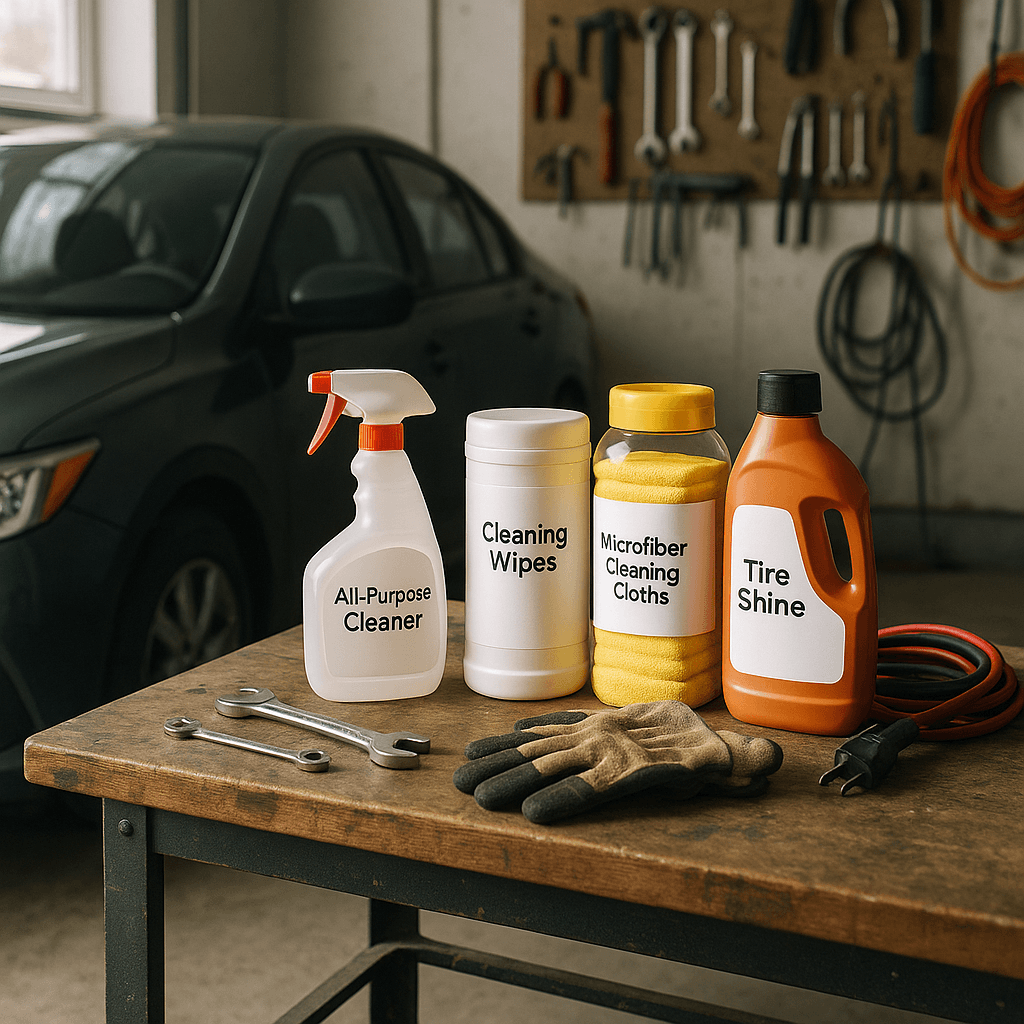
Tools Needed
Materials Needed
Safety Tips
- Ventilate well by opening windows and doors when using cleaning chemicals.
- Wear gloves and respirators to protect skin and lungs, especially with strong cleaners.
- Always follow product labels and instructions to avoid accidents.
Amazon Picks for Cleaning Essentials for DIY Cleaning & Maintenance that Save Time and Money (Winter, December, Year-End)
If you’re like me, winter brings the need for a good cleaning spree. Whether it’s dust from summer or grime from heating systems, it’s time to tackle those tasks efficiently. Here’s how I choose the right cleaning essentials to make DIY cleaning and maintenance easier and more effective.
Quick Answer
To clean effectively this winter, gather your supplies, prioritize ventilation, and follow a systematic approach. Focus on multi-purpose cleaners that save time and money, and ensure you have the right tools for each task.
Experience Context
I remember my first winter cleaning session in my new home. Excited but unsure, I opted for a popular all-purpose cleaner, thinking it would handle everything. Instead, it left streaks on my windows and barely cut through kitchen grease. Faced with a choice between scrubbing harder or buying separate products, I went with a dedicated kitchen cleaner, which took longer but resulted in a far cleaner space. The lesson? Sometimes, investing a bit more in the right product pays off.
Before You Start
Don’t underestimate ventilation. Many cleaning products release fumes that can be harmful if inhaled in a poorly ventilated space. Open windows or use fans, and consider wearing gloves or a respirator, especially with stronger chemicals. Gather all necessary supplies before starting—this saves time and keeps you focused without unnecessary interruptions.
Method Overview
My winter cleaning approach involves a systematic method, tackling each room individually. Start from the top (ceiling fans, light fixtures) and work your way down to the floors. This ensures dust and debris aren’t re-deposited on already cleaned surfaces. However, if you have extensive mold issues or severe pest infestations, specialized treatments are necessary.
Deep Steps
- Gather Your Supplies:
- Multi-purpose cleaner for surfaces
- Glass cleaner for windows
- Microfiber cloths and scrub brushes
- Vacuum cleaner with attachments
- Mop and bucket for hard floors
- Dust High to Low:
- Start with ceiling fans and light fixtures. Use a microfiber cloth or duster to capture dust without spreading it.
- Move to shelves and picture frames, wiping them down with a multi-purpose cleaner.
- Clean Windows and Mirrors:
- Apply glass cleaner to windows and use a squeegee for a streak-free finish.
- Don’t forget to wipe down window sills and frames.
- Tackle Surfaces:
- In the kitchen, use a degreaser on stovetops and counters.
- In the bathroom, a disinfectant cleaner can help eliminate germs in sinks, toilets, and tubs.
- Vacuum and Mop Floors:
- Vacuum carpets and rugs thoroughly, using attachments for corners and edges.
- Mop hard floors with a suitable cleaner that matches your floor type (check labels for compatibility).
- Final Touches:
- Replace items you’ve moved, ensuring everything is back in its proper place.
- Take a moment to enjoy your clean space!
Decision Points
- Multi-Purpose Cleaner vs. Specialty Cleaners:
I started with a multi-purpose cleaner, thinking it would save time. But when it didn’t cut through kitchen grease, I bought a specialty degreaser. That decision saved me from scrubbing harder and made a noticeable difference.
- Chemical Cleaners vs. Eco-Friendly Options:
Initially, I hesitated between conventional cleaners and eco-friendly products. I chose eco-friendly options for most tasks to minimize health risks and environmental impact, even though they sometimes cost a bit more. The peace of mind was worth it.
- Traditional Mop vs. Steam Mop:
I opted for a traditional mop that I already had, but a steam mop would have provided a deeper clean. Next time, I might invest in one for its speed and sanitizing power.
Troubleshooting & Fix-ups
- Streaky Windows:
If your windows end up streaky, you probably used too much product. Wipe them down with a clean, dry cloth to absorb excess cleaner. A vinegar-water solution can also help achieve a natural shine.
- Greasy Kitchen Surfaces:
If your multi-purpose cleaner isn’t cutting through grease, switch to a stronger degreaser. Apply it directly, let it sit for a few minutes, then wipe it off.
- Dust Bunnies Still Present:
If dust remains visible after cleaning, you might be using a dry cloth. Try a damp microfiber cloth instead; it traps dust more effectively.
- Floor Residue:
If your floors feel sticky after mopping, you likely used too much cleaner or didn’t rinse properly. Go over the area with a clean mop and plain water to remove residue.
Common Mistakes & How to Avoid Them
- Not Ventilating: Open windows or use fans while cleaning to prevent inhaling fumes.
- Using Too Much Product: Follow label instructions for the right amount; more isn’t always better.
- Neglecting Tools: Invest in quality tools; cheap brushes and cloths can lead to poor results.
- Skipping Surfaces: Don’t forget areas like behind appliances or under furniture; these spots can harbor dust and allergens.
Safety Tips
- Ventilate Well: Open windows and doors when using cleaning chemicals.
- Wear Gloves and Respirators: Protect your skin and lungs, especially with stronger cleaners.
- Follow Product Labels: Always read instructions and warnings on cleaning products to avoid accidents.
Budget & Time Ranges
The cost of cleaning supplies varies based on brand, type, and quantity. Expect to spend between $30 to $100 for basic cleaning supplies for your home. A thorough cleaning session can take 2 to 6 hours, depending on the size of your space and how much needs cleaning. Costs can increase if you opt for specialty products or tools, while time may increase if you encounter stubborn stains.
Stop & Call a Pro
If you notice persistent odors, extensive mold growth, or severe pest infestations, it’s time to call a pro. Other signs include:
- Visible Mold: If mold covers more than a square foot, professional help is needed.
- Structural Damage: If cleaning reveals damage to walls or ceilings, consult a professional.
- Health Symptoms: If you or family members experience respiratory symptoms during cleaning, reconsider your approach and seek professional help.
What I’d Do Differently If I Did This Again
- Skip Unnecessary Steps: I wouldn’t mix too many products; it complicates the process.
- Start with Ventilation: I’d ventilate before gathering supplies to dive right in.
- Upgrade Tools: I’d invest in a better vacuum cleaner for more efficient cleaning.
- Prepare for Surprises: I’d anticipate more time spent on stubborn areas like the kitchen to avoid feeling rushed.
With these tips and insights, you’ll be ready to tackle your winter cleaning with confidence. Happy cleaning!
Recommended Gear
Disclosure: As an Amazon Associate, we may earn from qualifying purchases at no extra cost to you.
Common Mistakes
- Not ventilating the area leading to inhalation of harmful fumes.
- Using too much cleaning product which can cause residue and streaks.
- Neglecting quality tools resulting in poor cleaning results.
- Skipping hard-to-reach surfaces like behind appliances or under furniture.

)